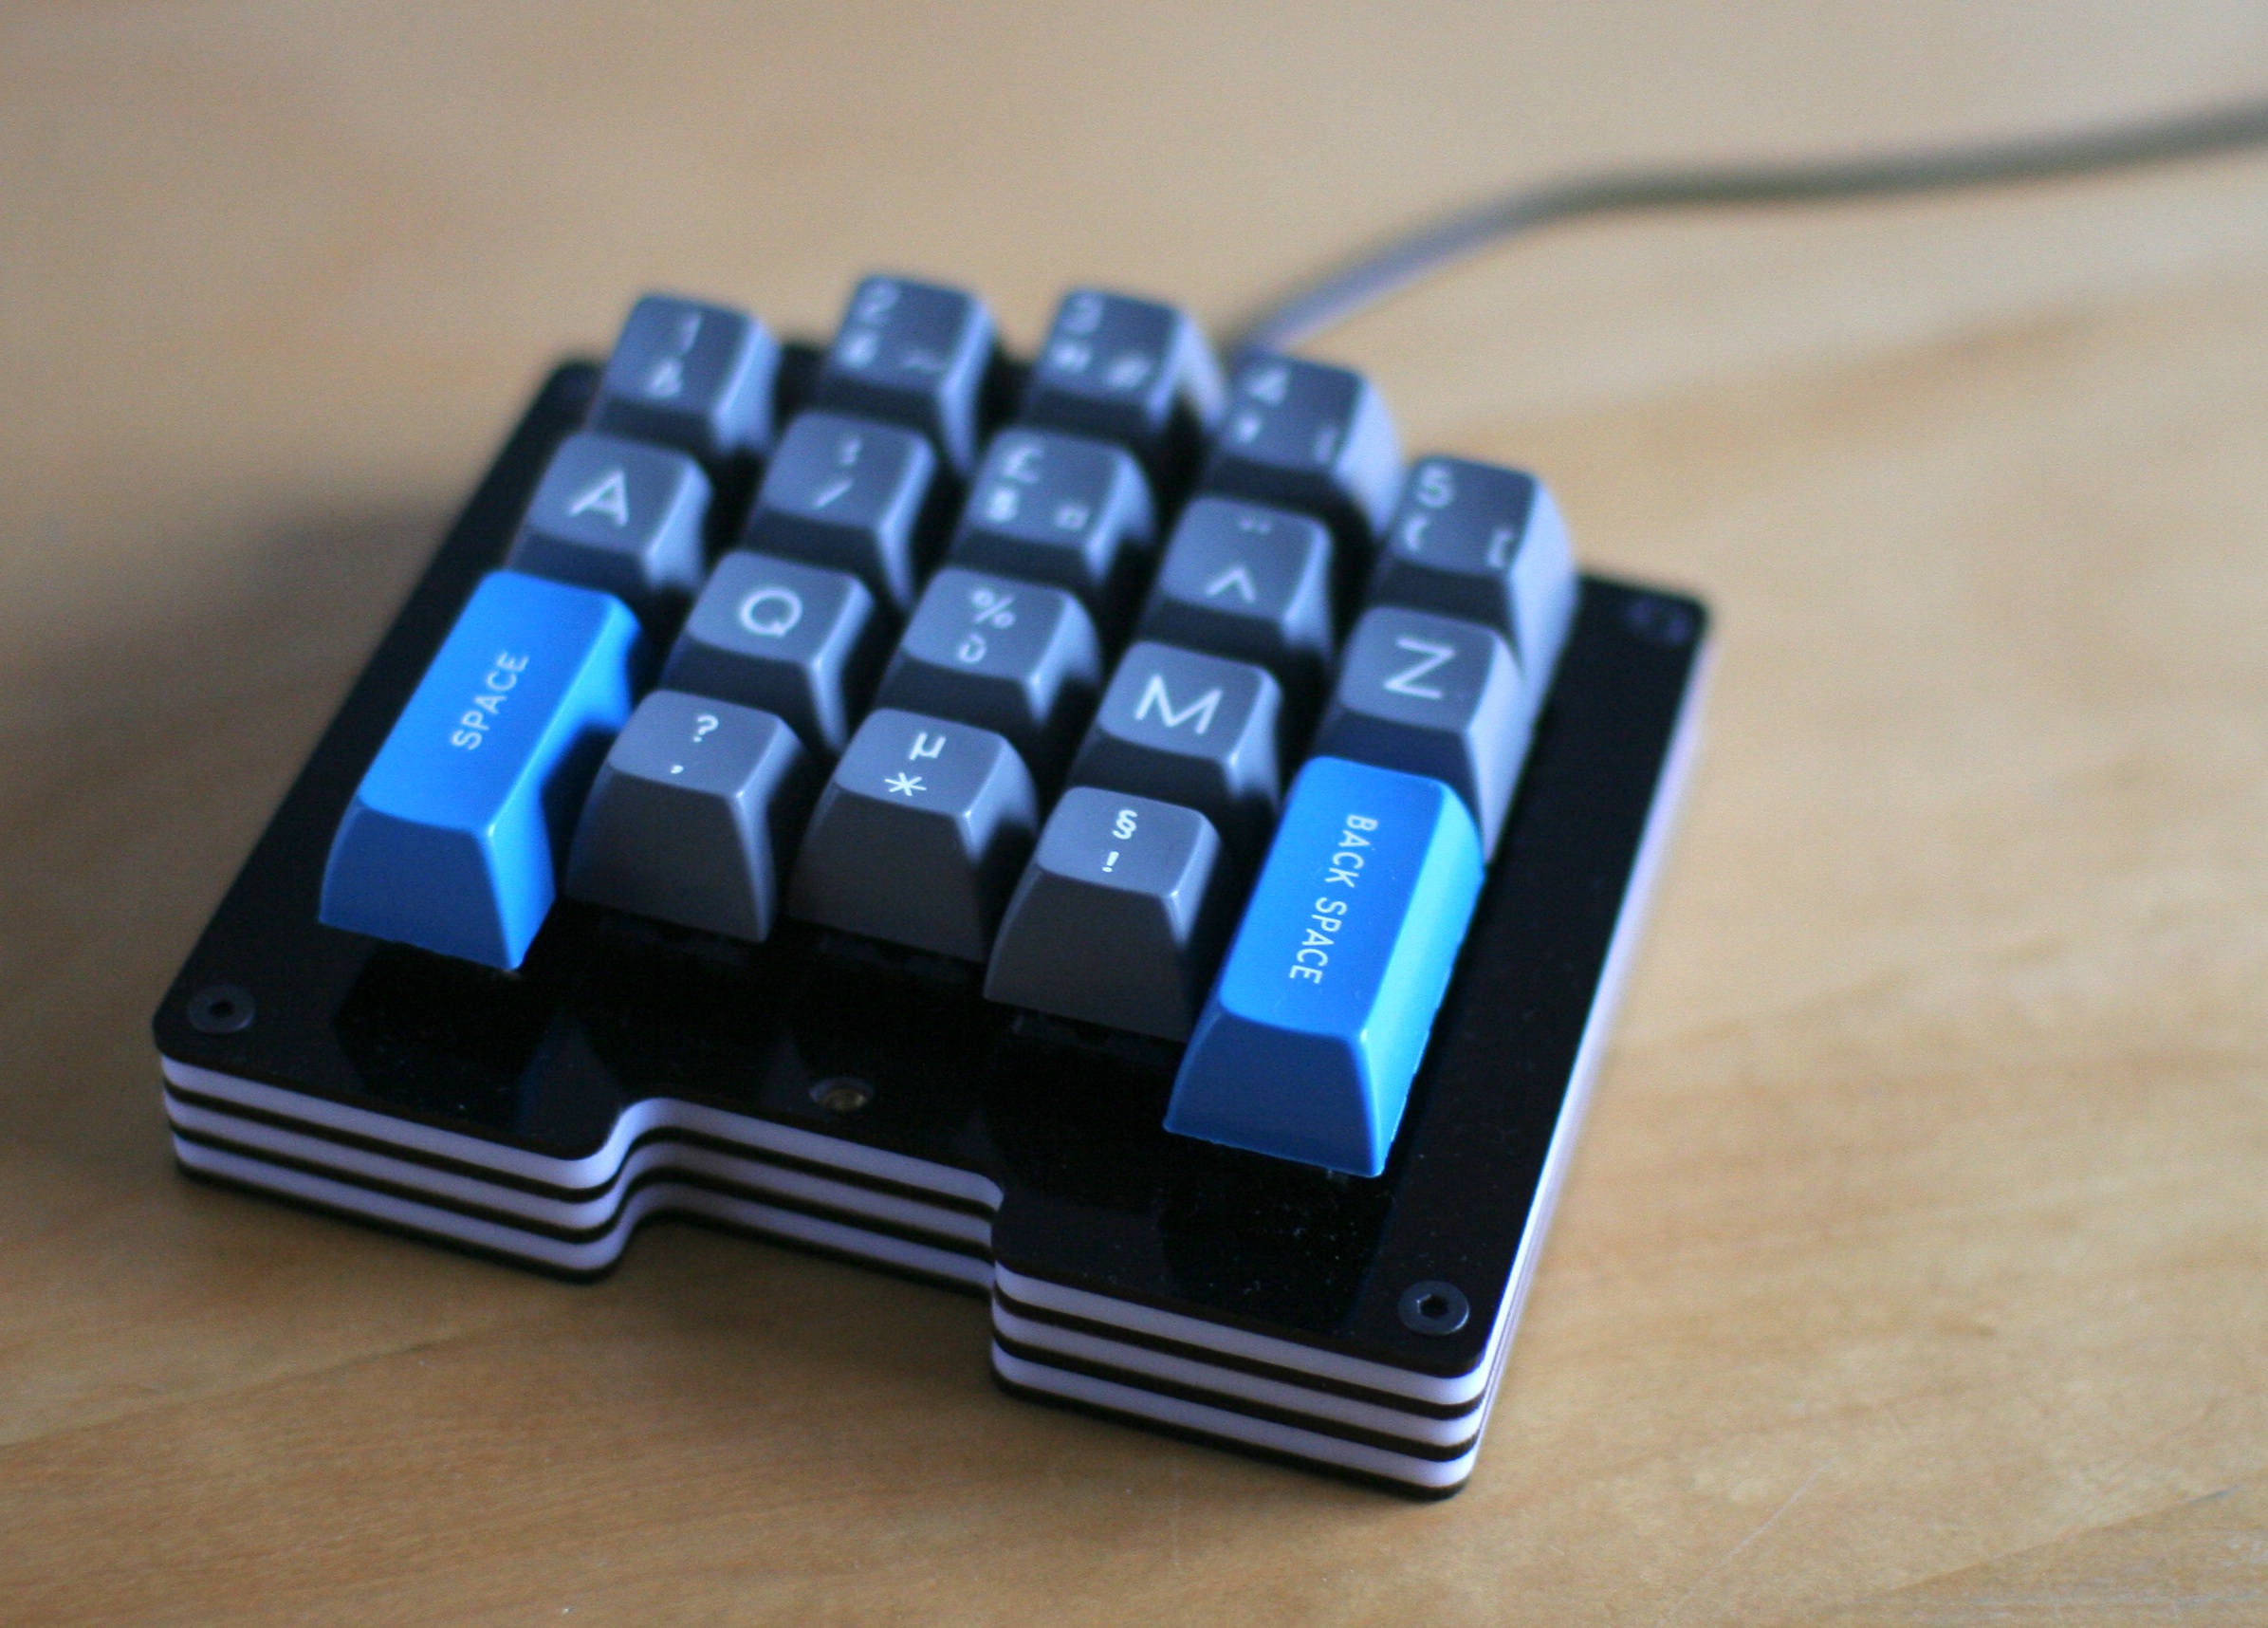
Hyper keyboard group buy

User avatar
pyrelink

02 Sep 2014, 13:28

I've gotta admit, I have not been following the HyperMicro super closely (up until now), but I really love what you have come up with.

I will definitely be in for one, once the guinea pigs have had a chance to test out the prototype :lol:

Case wise, I don't mind the cheap 2 plates+screws concept, but I feel if you really want a JD40 killer, you are going to need to step it up a bit. I am thinking a case milled entirely out of a block of solid lead. Possibly even gold plated lead, for the truly adventurous.


:D

User avatar
Delete

02 Sep 2014, 13:56

7bit wrote:
matt3o wrote: If you can't give up a switch you can still make a hole for the teensy on the bottom plate (I seem to recall the onehand does something like that), or find a way to raise the back of the case. A 17-18mm tall keyboard (on the front) is rather uncomfortable (for me at least).
What makes you think it is raised on the front when the Teensy is at the rear?
:?

@Delete: The qHack (5x15) comes later.
:-)
thank you i will take qHack
Last edited by Delete on 03 Sep 2014, 03:02, edited 1 time in total.

User avatar
matt3o
-[°_°]-

02 Sep 2014, 15:05

I ordered some very nice frosted and smoked acrylic and some clear polycarbonate. I'll make some tests for the hyper case this week. which layout should I start from? I'd like the ANSI 400 but I don't have 4u spacebar I'm afraid

User avatar
Muirium
µ

02 Sep 2014, 15:18

No 4u space bars? But you ordered in Round 5! Must order better next time. (I believe I have one in every colour…)

The ANSI400 layout is indeed one of the best from 7bit's full list:

Image
http://deskthority.net/post176289.html#p176289

I'm up for it. Especially with a stepped case. Mohitgarg made a few nice acrylic OneHand cases which aren't stepped but feature an internal recess for the Teensy, mine looks like this when complete:

Image
http://deskthority.net/workshop-f7/oneh ... ml#p135062

User avatar
matt3o
-[°_°]-

02 Sep 2014, 15:33

I mean that I don't have 4u "right now".

I'm not a big fan of the layered acrylic, it looks a bit like lego. The sides will be in 1 block. The easiest is to cut a hole for the teensy in the bottom plate. I have terrible memories about the stepped case :)

User avatar
Muirium
µ

02 Sep 2014, 15:39

The stepped case works fine. Filing it was the hard part (I still need to finish off the socket details actually). The narrow bits all hold together quite nicely when bolted up. But yeah, I wouldn't advise trying it in acrylic, at least not the hidden screw + stepped combo that we did. Choose one… maybe.

Are you actually thinking about a naked Teensy that's exposed to the desk below? Hmm…

User avatar
matt3o
-[°_°]-

02 Sep 2014, 15:43

yes, hidden screws + stepped case... brrr... that was pretty hardcore :) I mean, it turned out well, but a bit out of my keyboard DIY comfort zone.

yes, the teensy would be naked and make some sweet love with your desk. This also has the benefit of exposing the reset button.

User avatar
pyrelink

02 Sep 2014, 15:56

When you say exposed to the desk do you mean like cutting a hole so that the Teensy is flush with the bottom plate? If so, I like that idea quite a bit.

User avatar
matt3o
-[°_°]-

02 Sep 2014, 15:57

pyrelink wrote: When you say exposed to the desk do you mean like cutting a hole so that the Teensy is flush with the bottom plate? If so, I like that idea quite a bit.
yes, exactly

User avatar
Muirium
µ

02 Sep 2014, 16:10

How dangerous would that be for those of us, like me, who often type with a keyboard on a non-flat, non-static safe surface, especially clothing? I'd still like to slot something over the Teensy to protect it from a shock. Like an extra thin transparent final layer, which slots in as a window?

As for 4u space bars: you're right, I've fallen into 7bit's redefinition of past, present and future! There's still a difference between having something and having something on order

User avatar
matt3o
-[°_°]-

02 Sep 2014, 16:27

Muirium wrote: How dangerous would that be for those of us, like me, who often type with a keyboard on a non-flat, non-static safe surface, especially clothing? I'd still like to slot something over the Teensy to protect it from a shock. Like an extra thin transparent final layer, which slots in as a window?
The reset switch is rather stiff, hard to press by accident, anyway I'll have to make some tests, maybe the only exposed part could be the USB port.
Muirium wrote: As for 4u space bars: you're right, I've fallen into 7bit's redefinition of past, present and future! There's still a difference between having something and having something on order
a BIG difference.

User avatar
elllit

03 Sep 2014, 19:20

I know my way around a soldering iron and firmware stuff... but I've got some questions because I apparently lack the electronic and custom keyboard knowledge:

1) [Electronic-Amateur] On the PCB I see "DM0:0" what does the DM stand for? Same for the "SM0:0" at the bottom. The rest I made out as Diodes ("D"), Resistors ("R"), LEDs ("L"), Switches ("S"), and the Teensy.

2) [Custom-KB-Amateur] What firmware do you use on a keyboard such as the HyperMicro? I got an Ergodox that has a its firmware. But with what firmware do you start off with a keyboard like this? Is there a standard image, do you use the basic pjrc stuff, or is there something more fancy?

User avatar
Muirium
µ

03 Sep 2014, 19:28

1. That stuff at the front is for attaching a pointing device. So too is the second Teensy footprint, I think.

2. Two good options: Hasu and Soarer. I like Soarer's the best, because you set it up without editing any code, just like his converter.

User avatar
matt3o
-[°_°]-

03 Sep 2014, 19:34

don't worry you'll get a pre-configured firmware, all you'll need to do is to define your layout. As soon as soarer will release the code under an open source license I'll evaluate using it. Until then https://github.com/tmk/tmk_keyboard all the way
Last edited by matt3o on 03 Sep 2014, 19:35, edited 1 time in total.

User avatar
Muirium
µ

03 Sep 2014, 19:35

Using what? I'm intrigued!

User avatar
matt3o
-[°_°]-

03 Sep 2014, 19:36

Muirium wrote: Using what? I'm intrigued!
text editor? :)

User avatar
Muirium
µ

03 Sep 2014, 19:39

So we're editing source and rebuilding it (checking our errors, trying again, again, again) and then uploading it? It sounds so easy when you miss out all the steps!

User avatar
matt3o
-[°_°]-

03 Sep 2014, 19:43

if 7bit won't, I will cook a ready to compile firmware. You'll just need to change the FN layers I guess. Compile. Upload. Can be done on Mac/Win/Linux. If you don't want to pollute your system with dev tools, do it from virtual machine.

User avatar
Muirium
µ

03 Sep 2014, 19:45

Cool. If Soarer's controller isn't well suited to what I wind up doing, I'll take it! I don't mind dev tools (at least once I've figured out how to install them). But I do loathe Flash, Java, Silverlight, Steam… the bulky things with shit UIs.

User avatar
elllit

03 Sep 2014, 19:48

wow, quick answers, thanks.
Muirium wrote: 1. That stuff at the front is for attaching a pointing device. So too is the second Teensy footprint, I think.
hmmm, I see...
The second Teensy only has 4 pins attached 3 of which are routed down to the SM/DM stuff, 1 to the other Teensy. Meh, I should hang around more with the hardware developers at work and ask questions there instead of coding at my desk :D.
Muirium wrote: 2. Two good options: Hasu and Soarer. I like Soarer's the best, because you set it up without editing any code, just like his converter.
I'll take a look at both.
matt3o wrote: don't worry you'll get a pre-configured firmware, all you'll need to do is to define your layout. As soon as soarer will release the code under an open source license I'll evaluate using it. Until then https://github.com/tmk/tmk_keyboard all the way
I'll also look at this one (already wanted to, when I stumbled across it a couple of weeks ago while browsing the forums).
It's cool that there will be a pre-configured firmware, which I'll probably end up using. But it's always nice to have some deeper knowledge :D


Thanks, again.

User avatar
7bit

03 Sep 2014, 21:11

elllit wrote: I know my way around a soldering iron and firmware stuff... but I've got some questions because I apparently lack the electronic and custom keyboard knowledge:

1) [Electronic-Amateur] On the PCB I see "DM0:0" what does the DM stand for? Same for the "SM0:0" at the bottom. The rest I made out as Diodes ("D"), Resistors ("R"), LEDs ("L"), Switches ("S"), and the Teensy.

2) [Custom-KB-Amateur] What firmware do you use on a keyboard such as the HyperMicro? I got an Ergodox that has a its firmware. But with what firmware do you start off with a keyboard like this? Is there a standard image, do you use the basic pjrc stuff, or is there something more fancy?
The graphic is the old version with 2 controllers. M stands for mouse. The current version comes with only one controller which handles both keyboard and mouse buttons.

The firmware will be the same as for the ErgoDox or Phantom, but just adapted to the layout.

User avatar
elllit

04 Sep 2014, 07:24

7bit wrote:
elllit wrote: I know my way around a soldering iron and firmware stuff... but I've got some questions because I apparently lack the electronic and custom keyboard knowledge:

1) [Electronic-Amateur] On the PCB I see "DM0:0" what does the DM stand for? Same for the "SM0:0" at the bottom. The rest I made out as Diodes ("D"), Resistors ("R"), LEDs ("L"), Switches ("S"), and the Teensy.

2) [Custom-KB-Amateur] What firmware do you use on a keyboard such as the HyperMicro? I got an Ergodox that has a its firmware. But with what firmware do you start off with a keyboard like this? Is there a standard image, do you use the basic pjrc stuff, or is there something more fancy?
The graphic is the old version with 2 controllers. M stands for mouse. The current version comes with only one controller which handles both keyboard and mouse buttons.

The firmware will be the same as for the ErgoDox or Phantom, but just adapted to the layout.

Thanks for the clarification

User avatar
matt3o
-[°_°]-

05 Sep 2014, 15:41

I've got plate!

Image
Last edited by matt3o on 05 Sep 2014, 15:46, edited 1 time in total.

User avatar
Muirium
µ

05 Sep 2014, 15:46

Looking good!

Image

So, how do you go about making a 4.0u Costar stab?

User avatar
matt3o
-[°_°]-

05 Sep 2014, 15:51

I'll save this for later and build the 6.25 instead

User avatar
Muirium
µ

05 Sep 2014, 15:53

The easy way out. And easier for sourcing caps, too, of course. But the 6.25 isn't quite the looker of the 4.0 above.

User avatar
matt3o
-[°_°]-

05 Sep 2014, 15:59

unless 7bit provides 4u stab wires I don't see how we can do that layout. Devlin has 4u wires but they are not compatible with SP's keycaps

User avatar
Muirium
µ

05 Sep 2014, 16:03

HzFaq made me a 4u Cherry stab wire (I still have to bend the wire to fit exactly) but I know I lost you at the "Cherry"…

That one's going into a PCB mount on my M84 custom. They seem to be quite friendly for trimming to shorter lengths, without the switch-dodging shapes that Costar wires have.

User avatar
matt3o
-[°_°]-

05 Sep 2014, 16:05

sure I can bend wires myself but surely not mass production :)

User avatar
7bit

11 Sep 2014, 22:18

matt3o wrote: unless 7bit provides 4u stab wires I don't see how we can do that layout. Devlin has 4u wires but they are not compatible with SP's keycaps
Wires can be bend.
:roll:

Or maybe we ask Tipro if they can give us some for free.
:o
matt3o wrote: sure I can bend wires myself but surely not mass production :)
A few hundred should be enough.
:evilgeek:

Post Reply

Return to “Group buys”