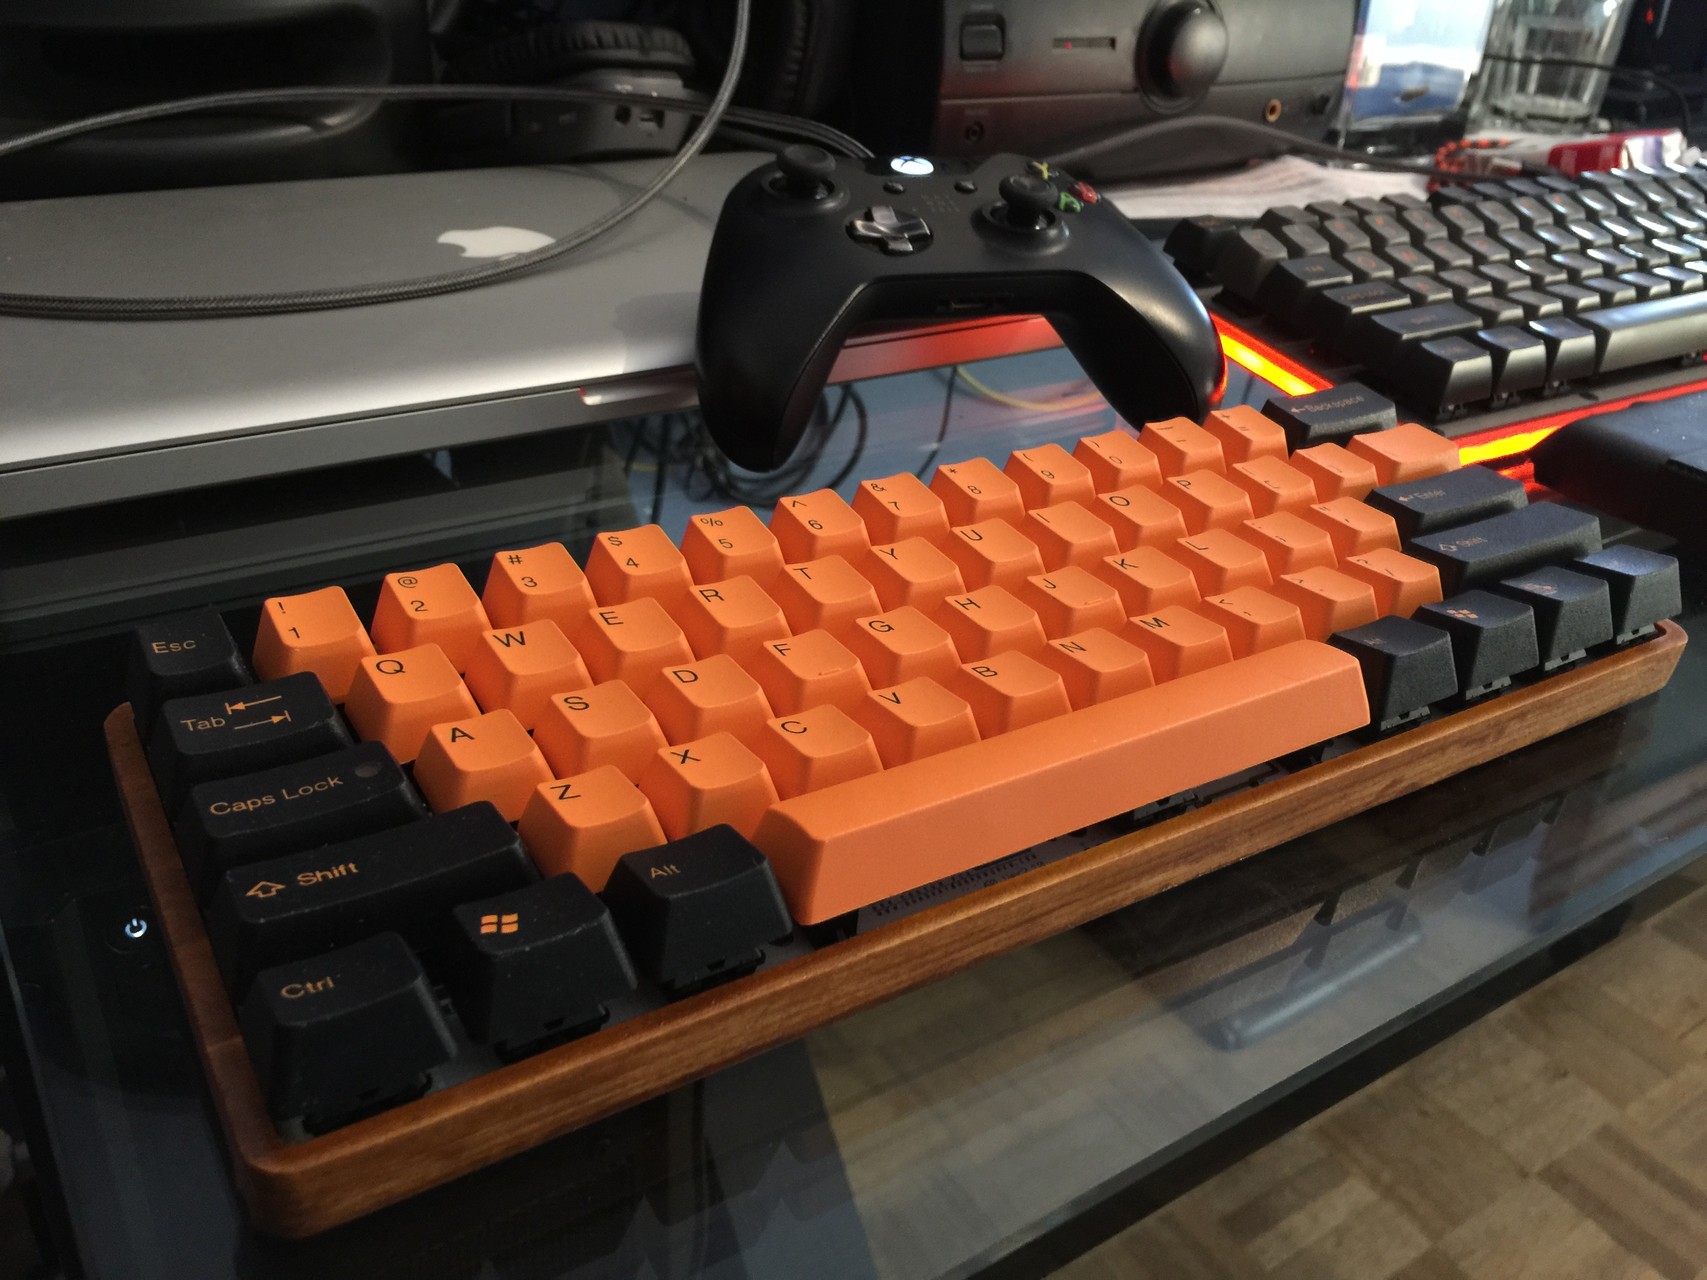
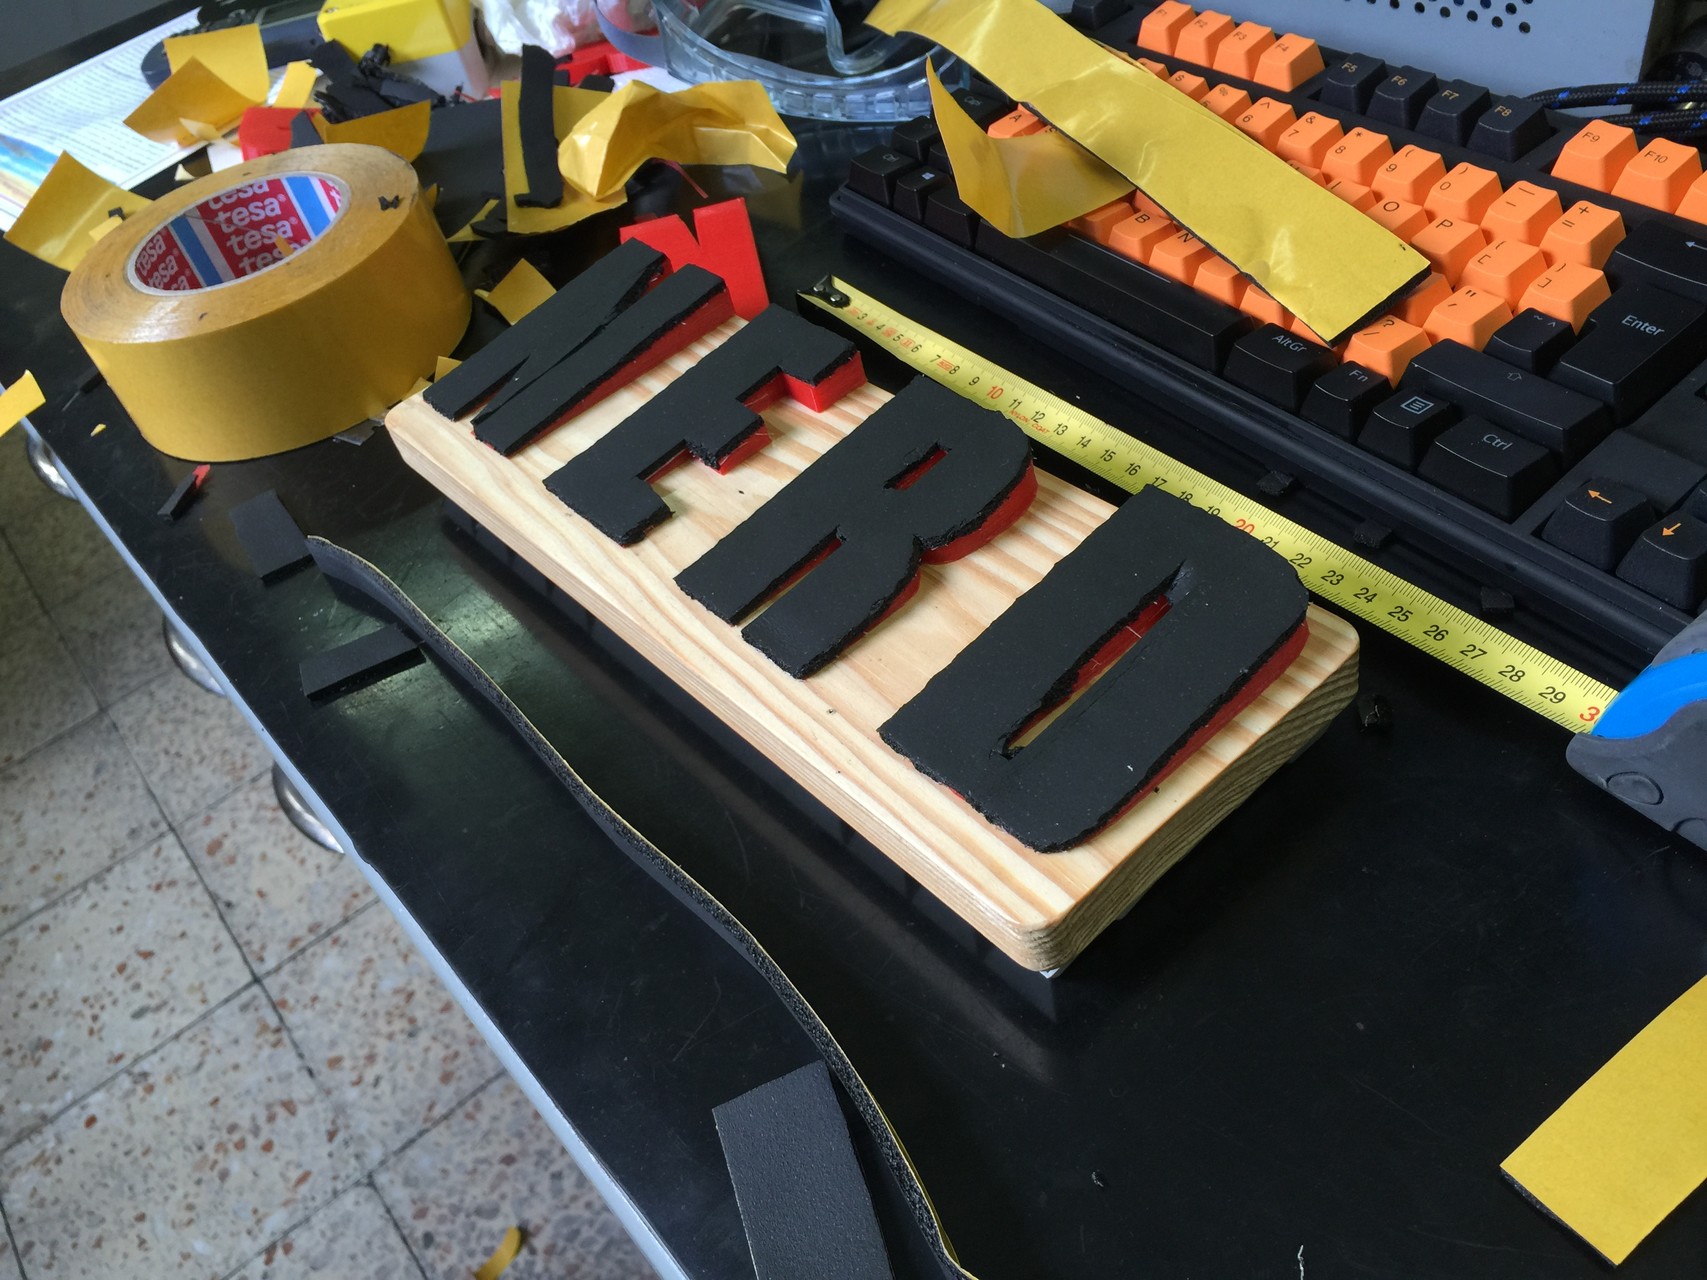
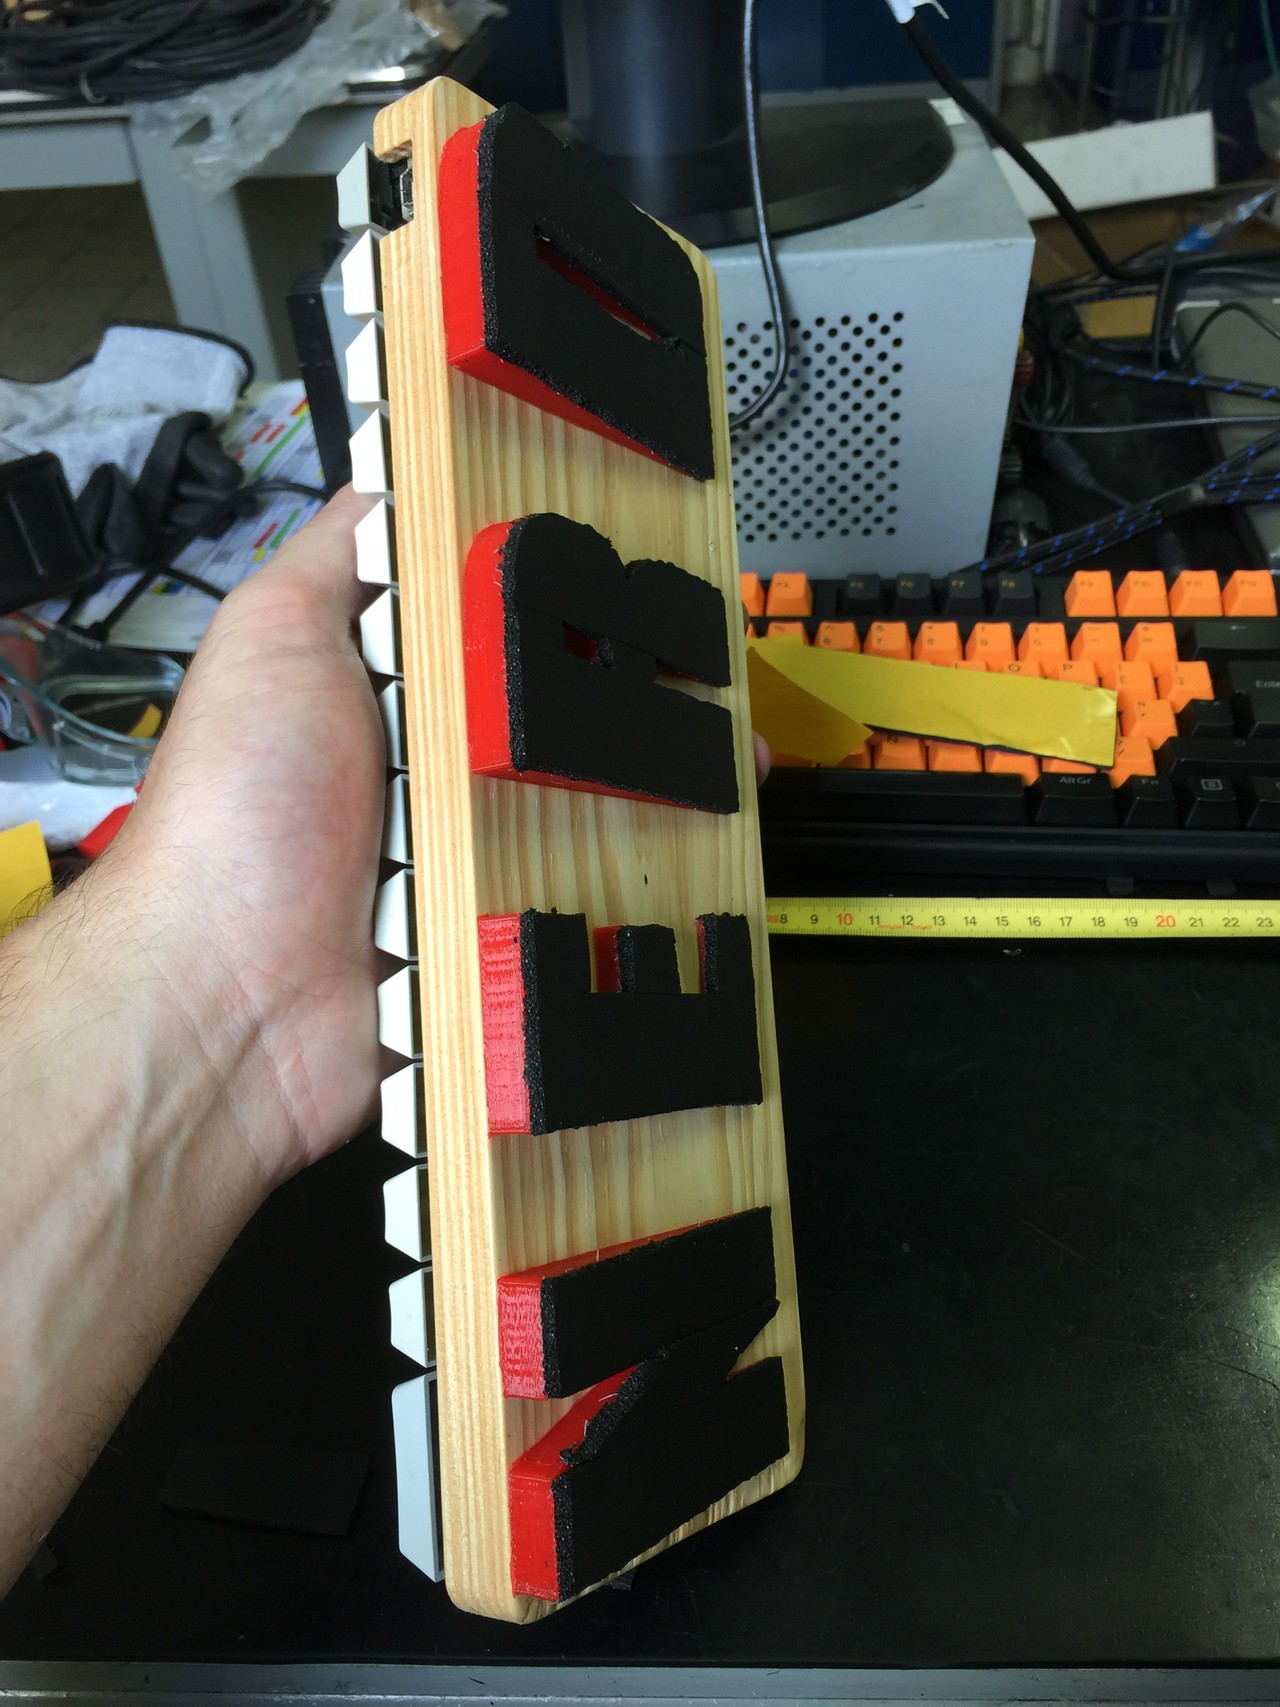
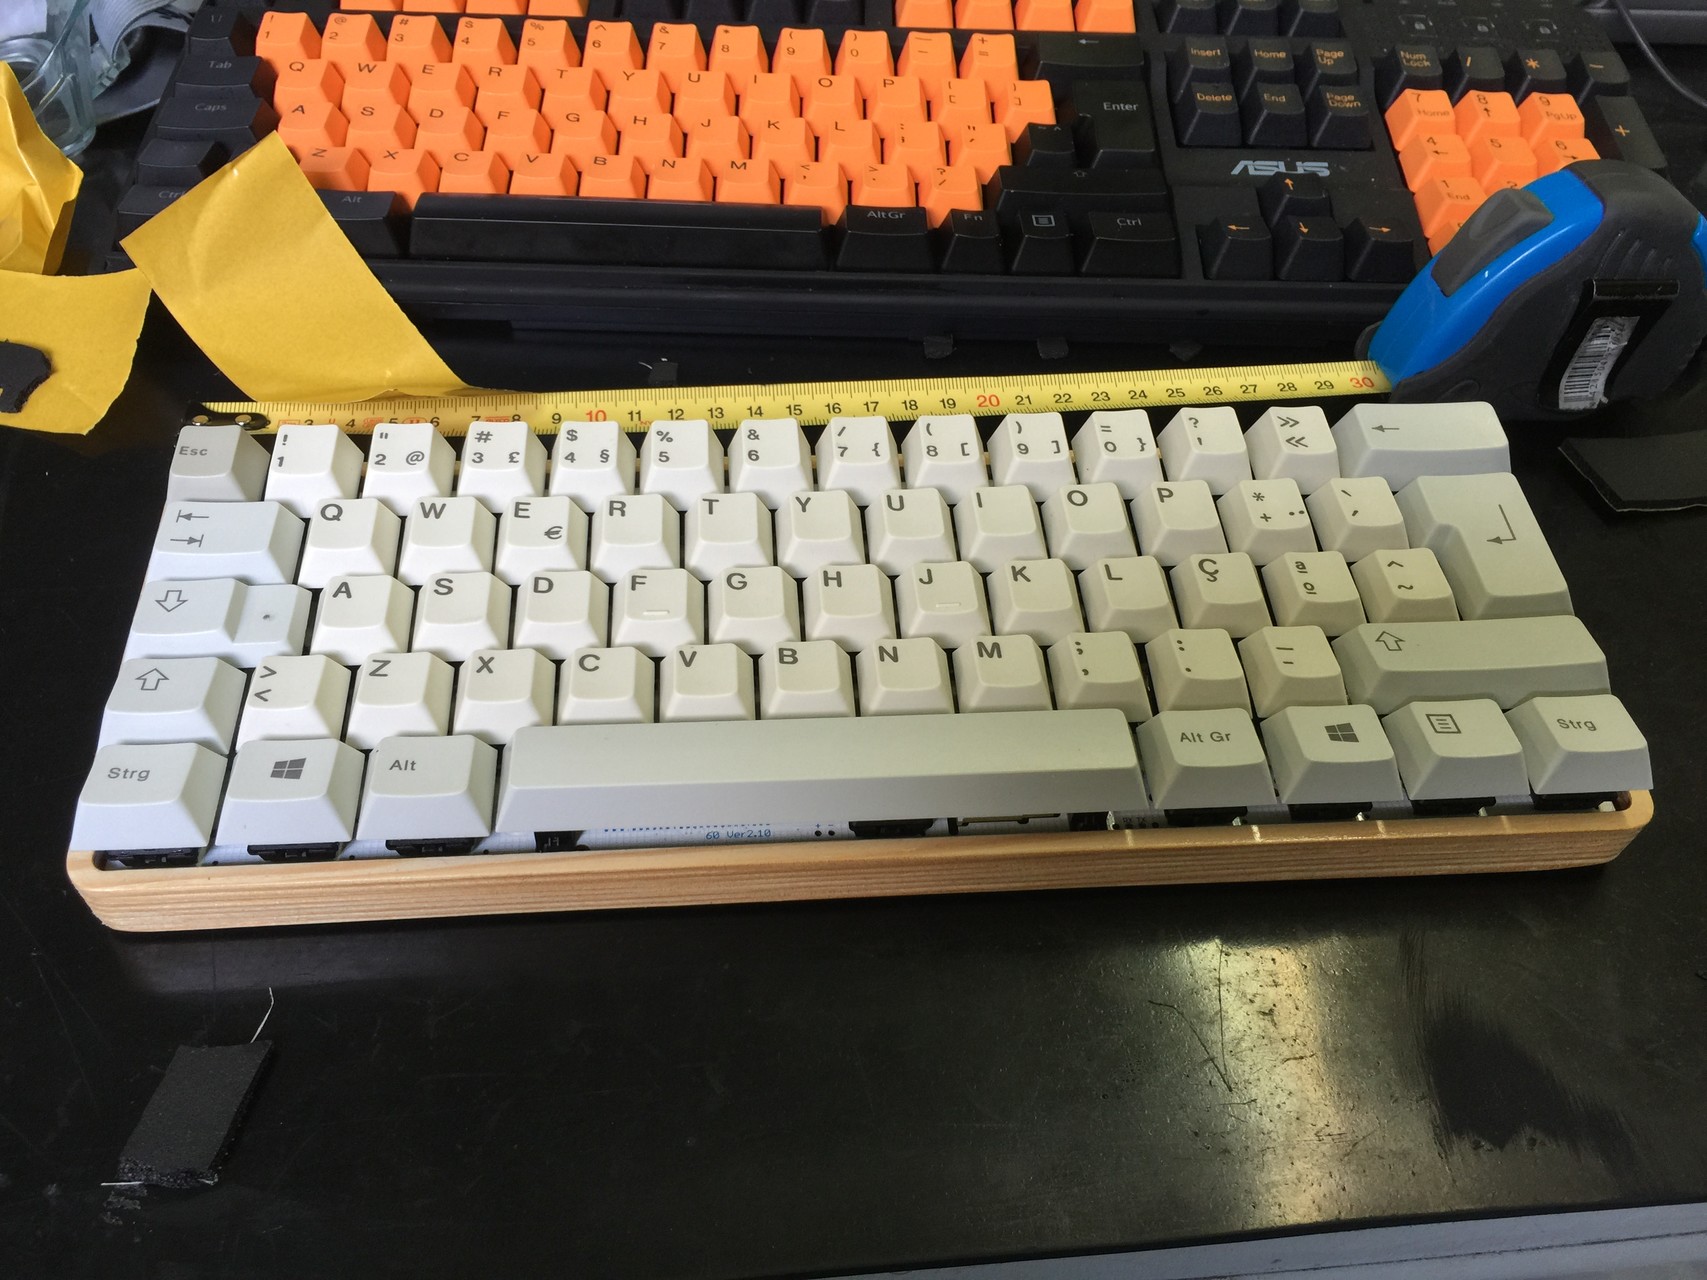
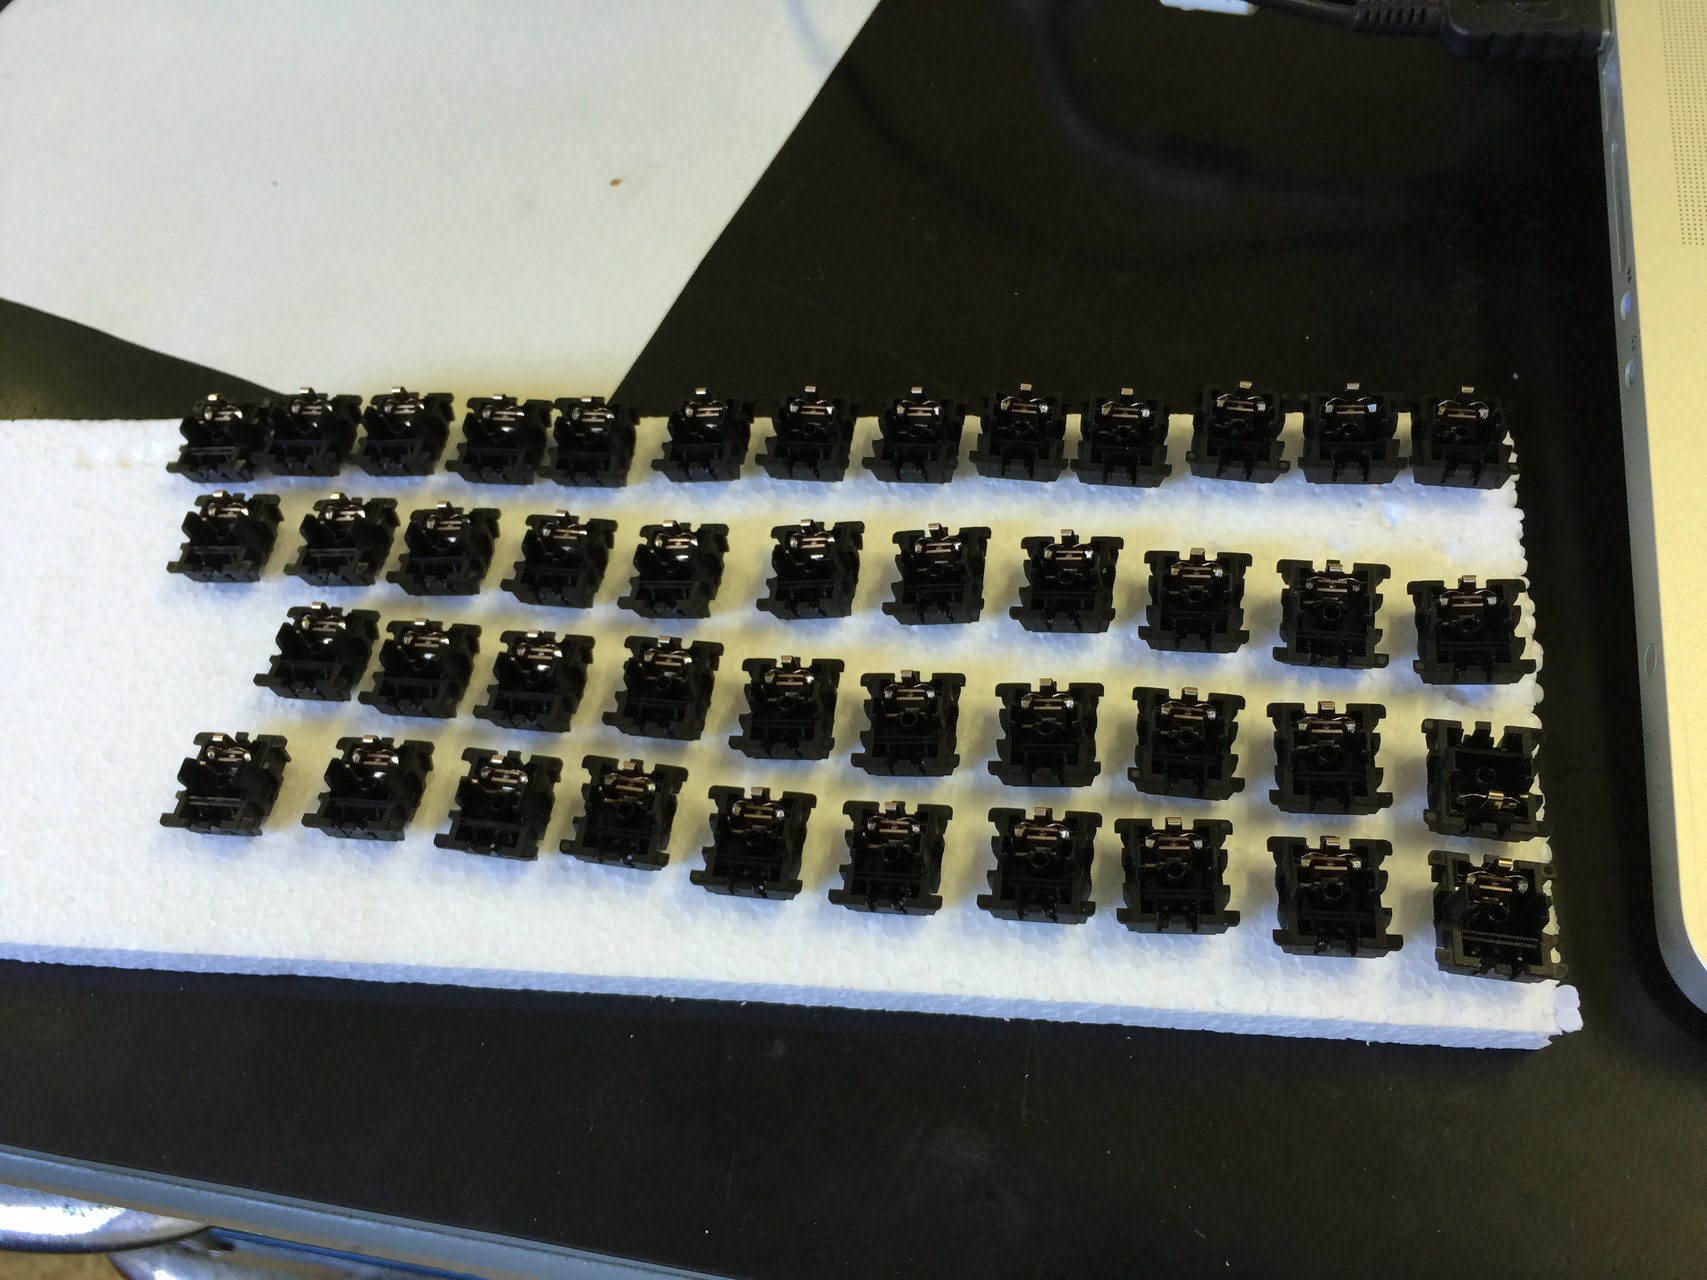
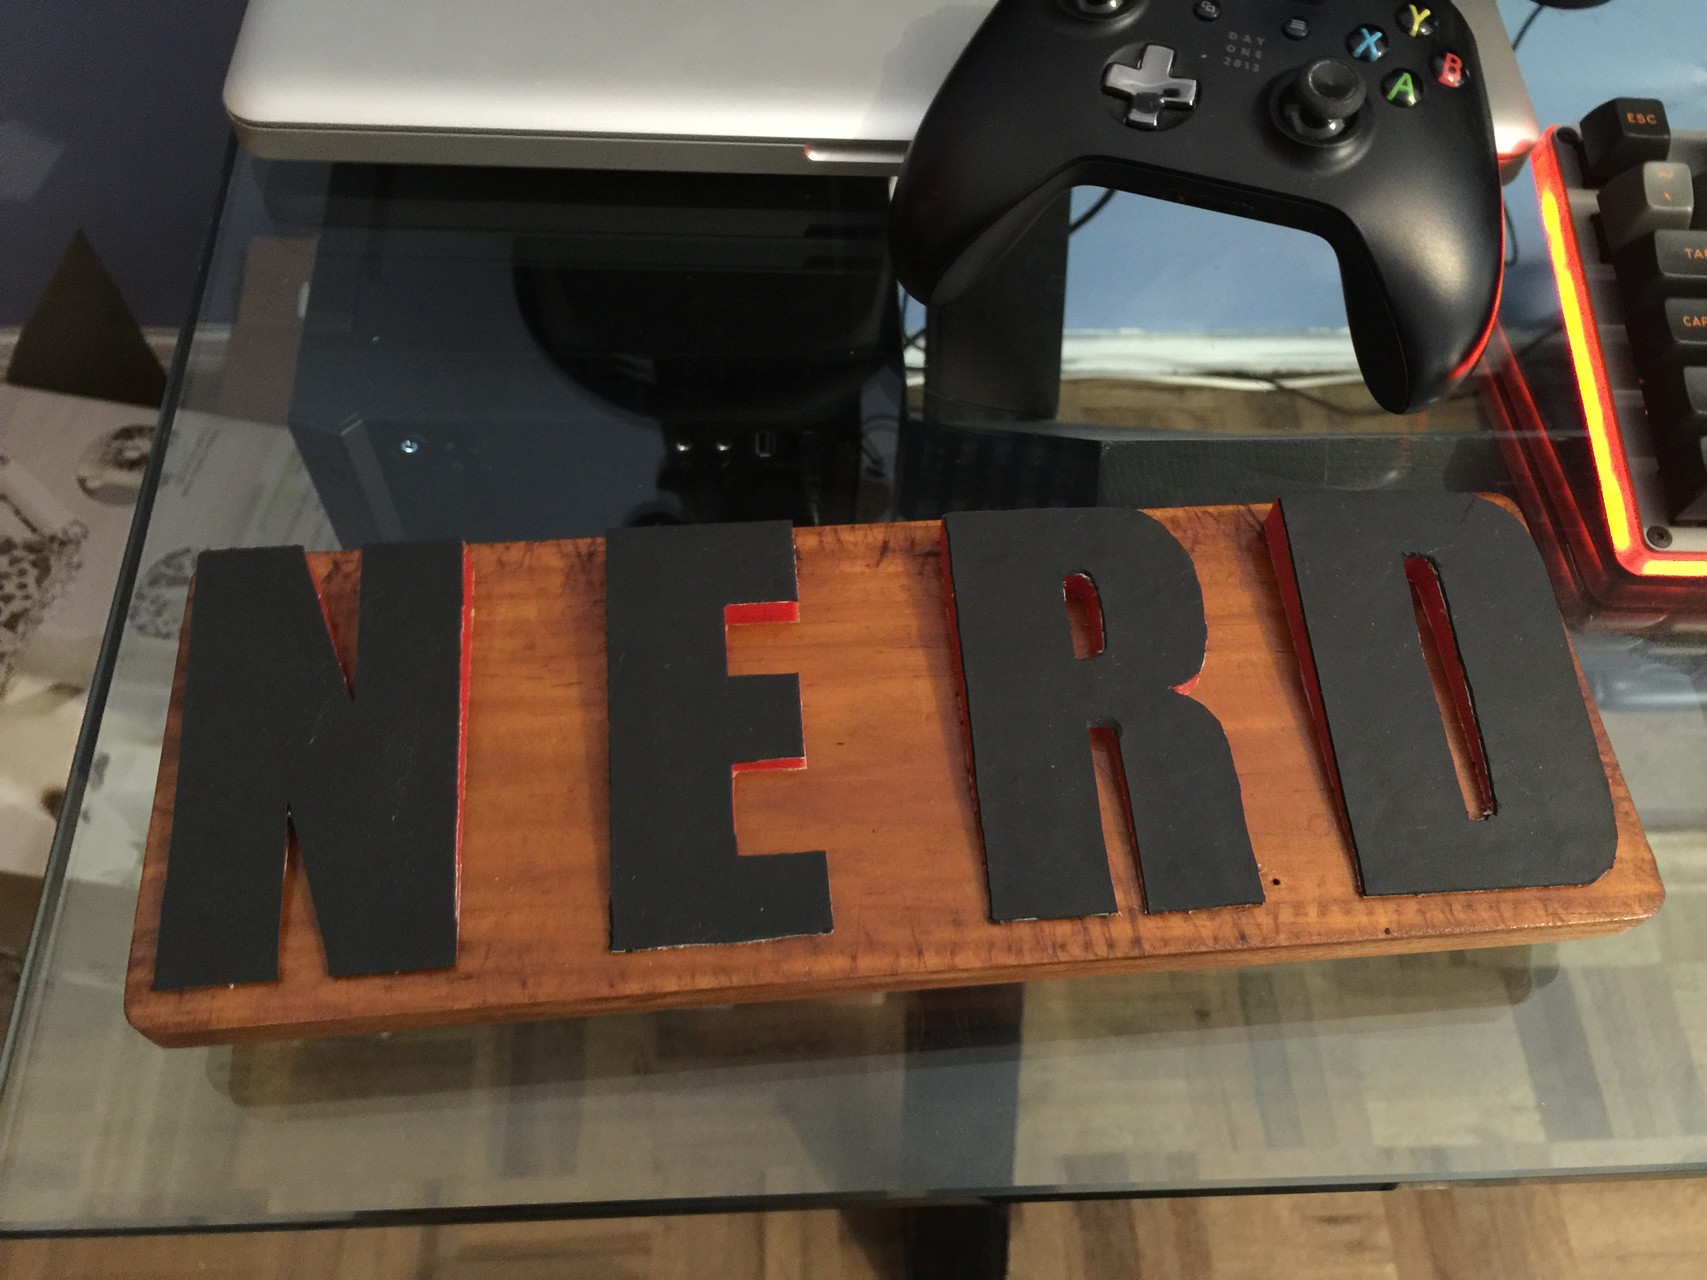
NerD 60 Custom wood case

User avatar
yobinad
\m/

30 Jul 2015, 15:08

Update
Image

Case
Image

Lub station :lol:
Image

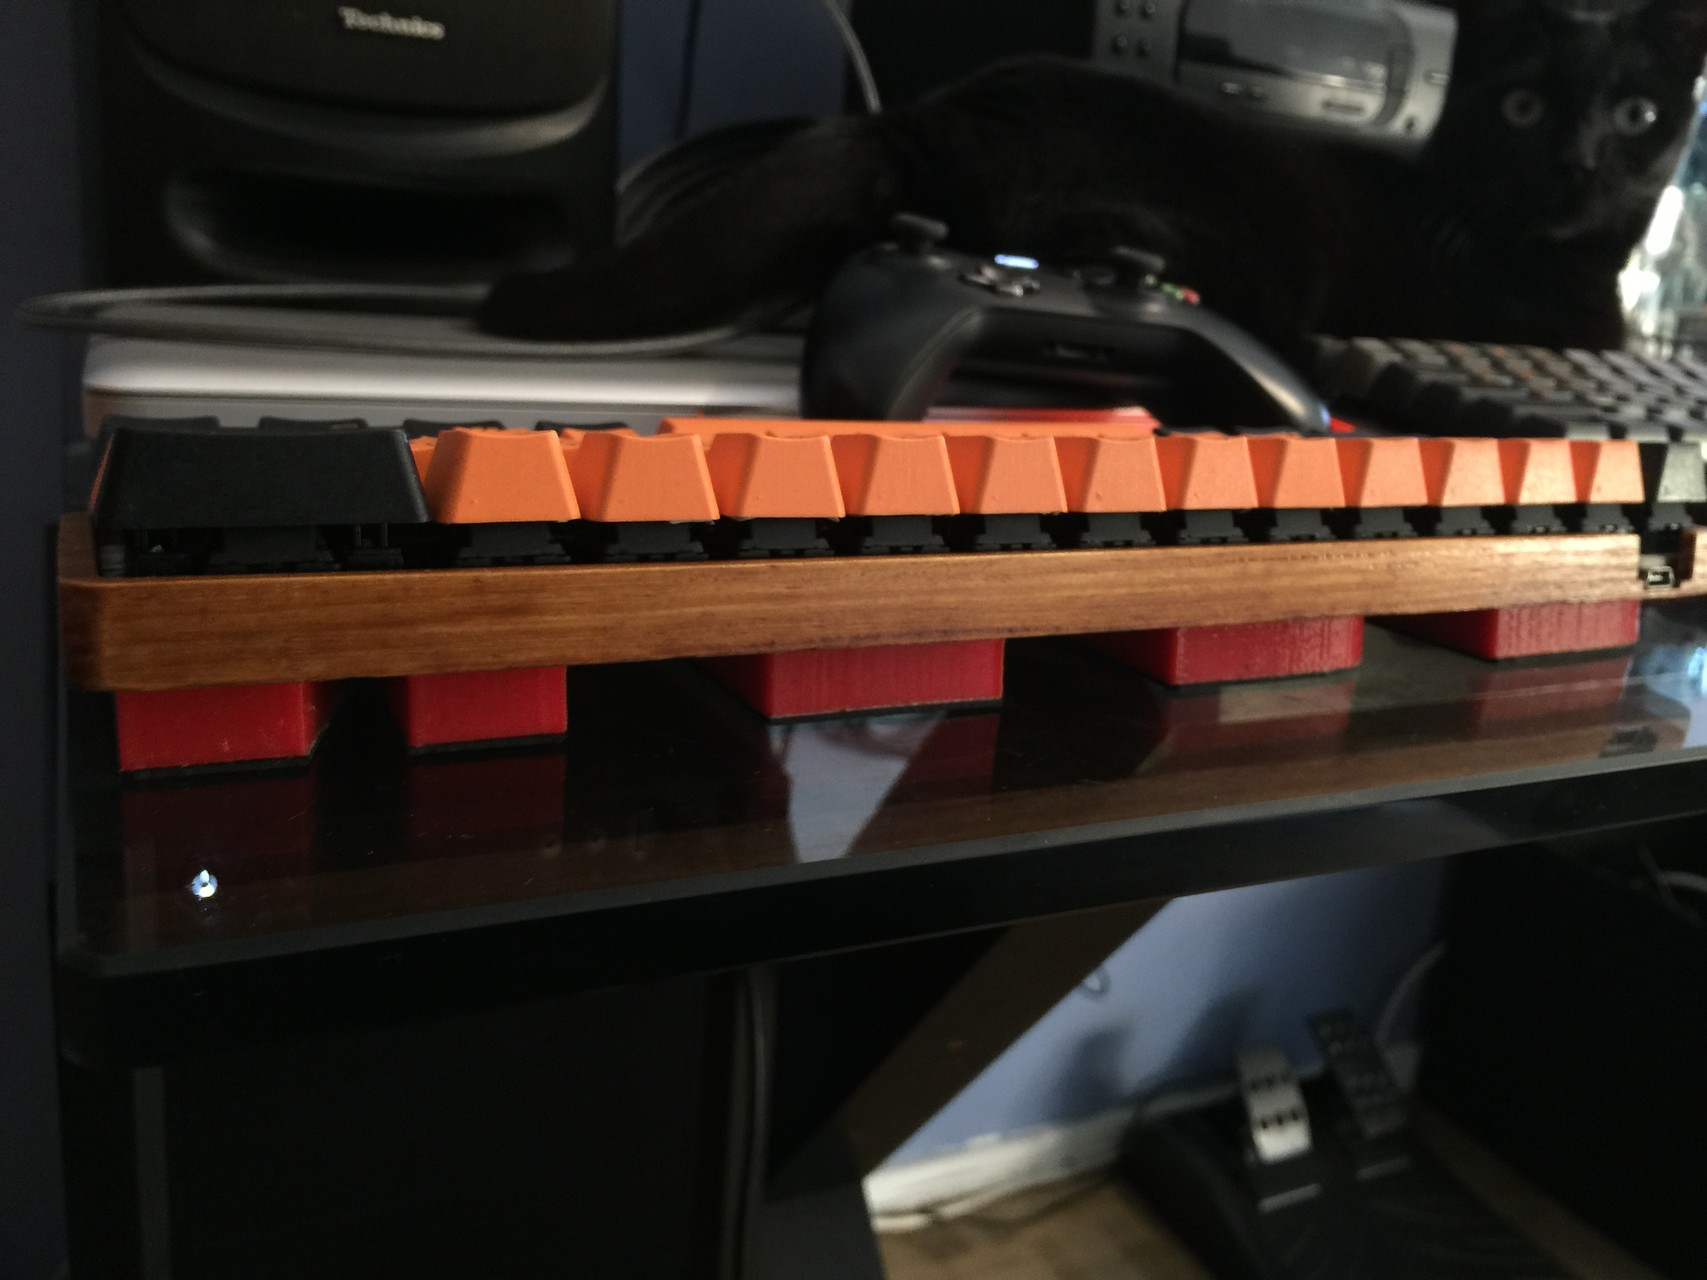
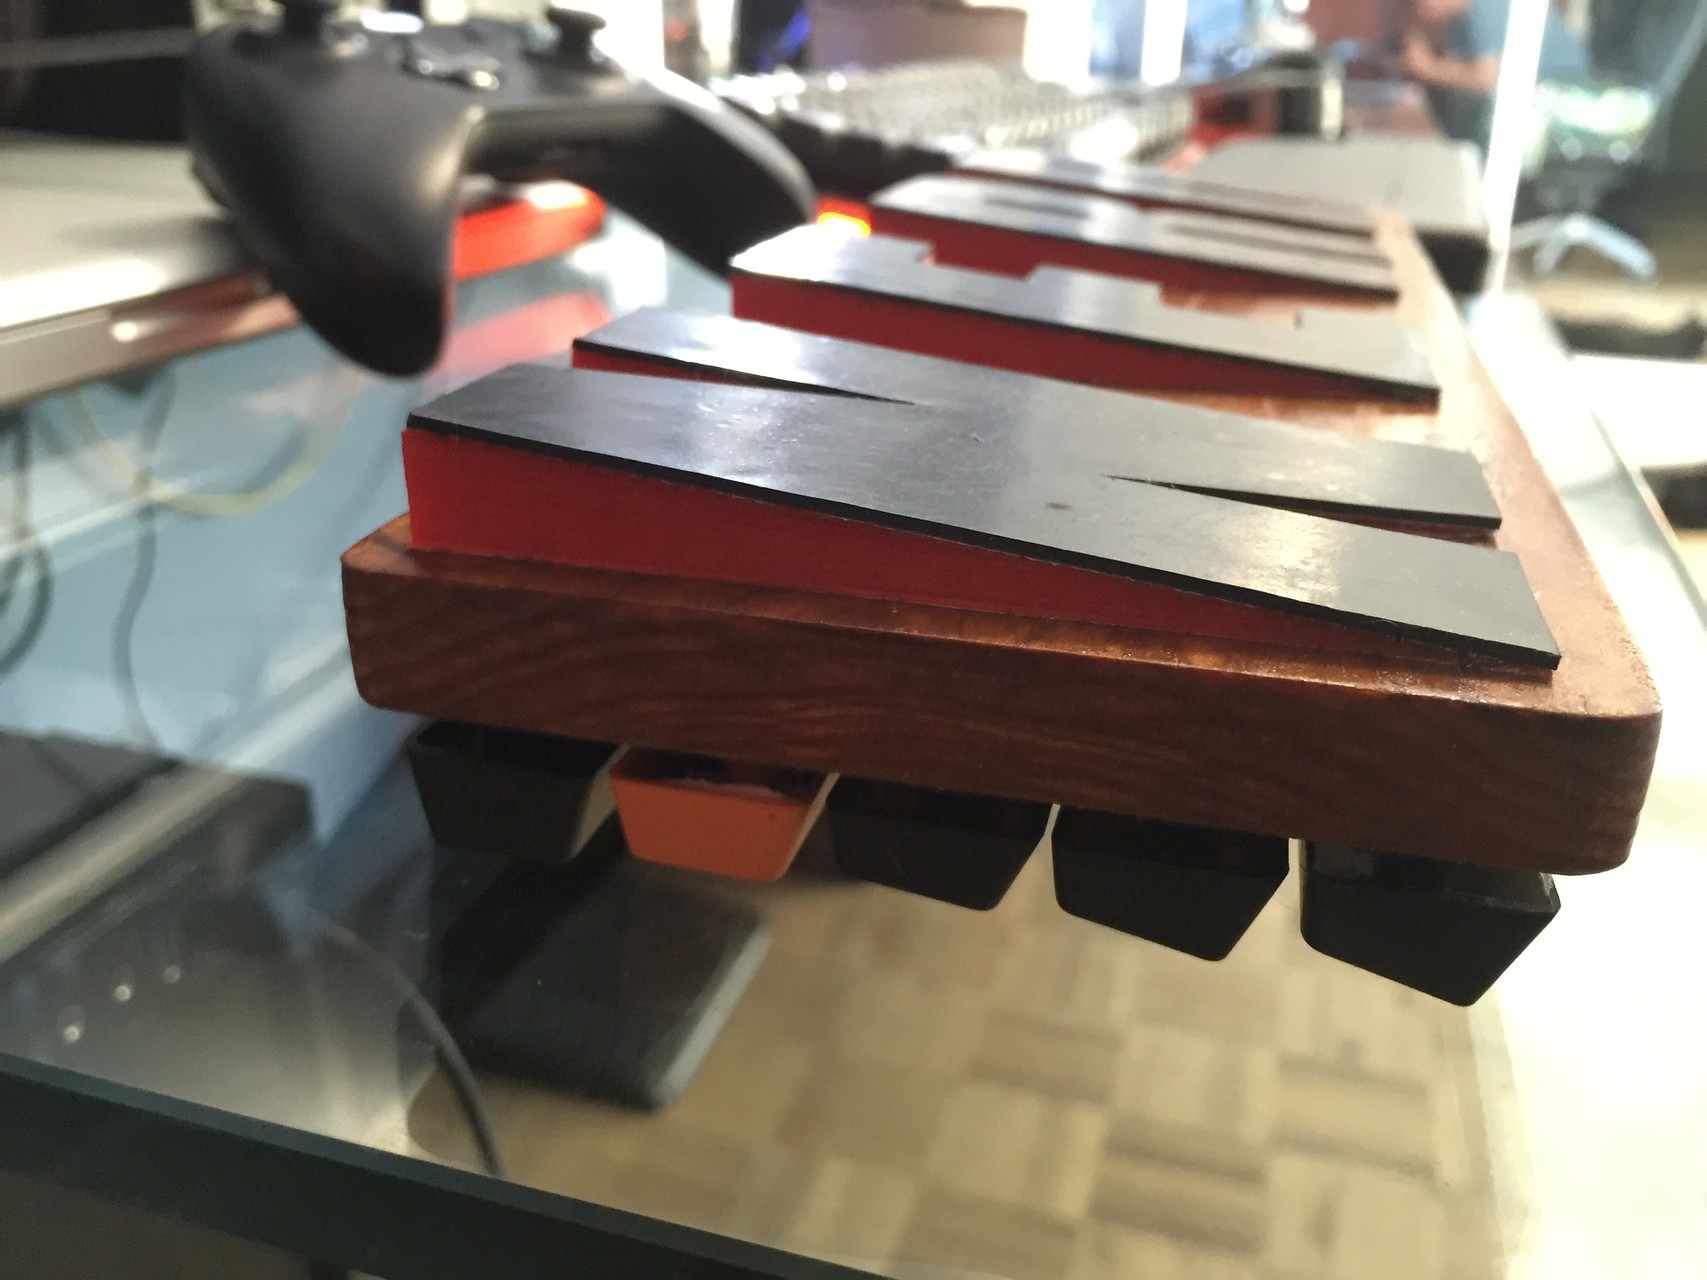
3D printed angle "feet"
Image

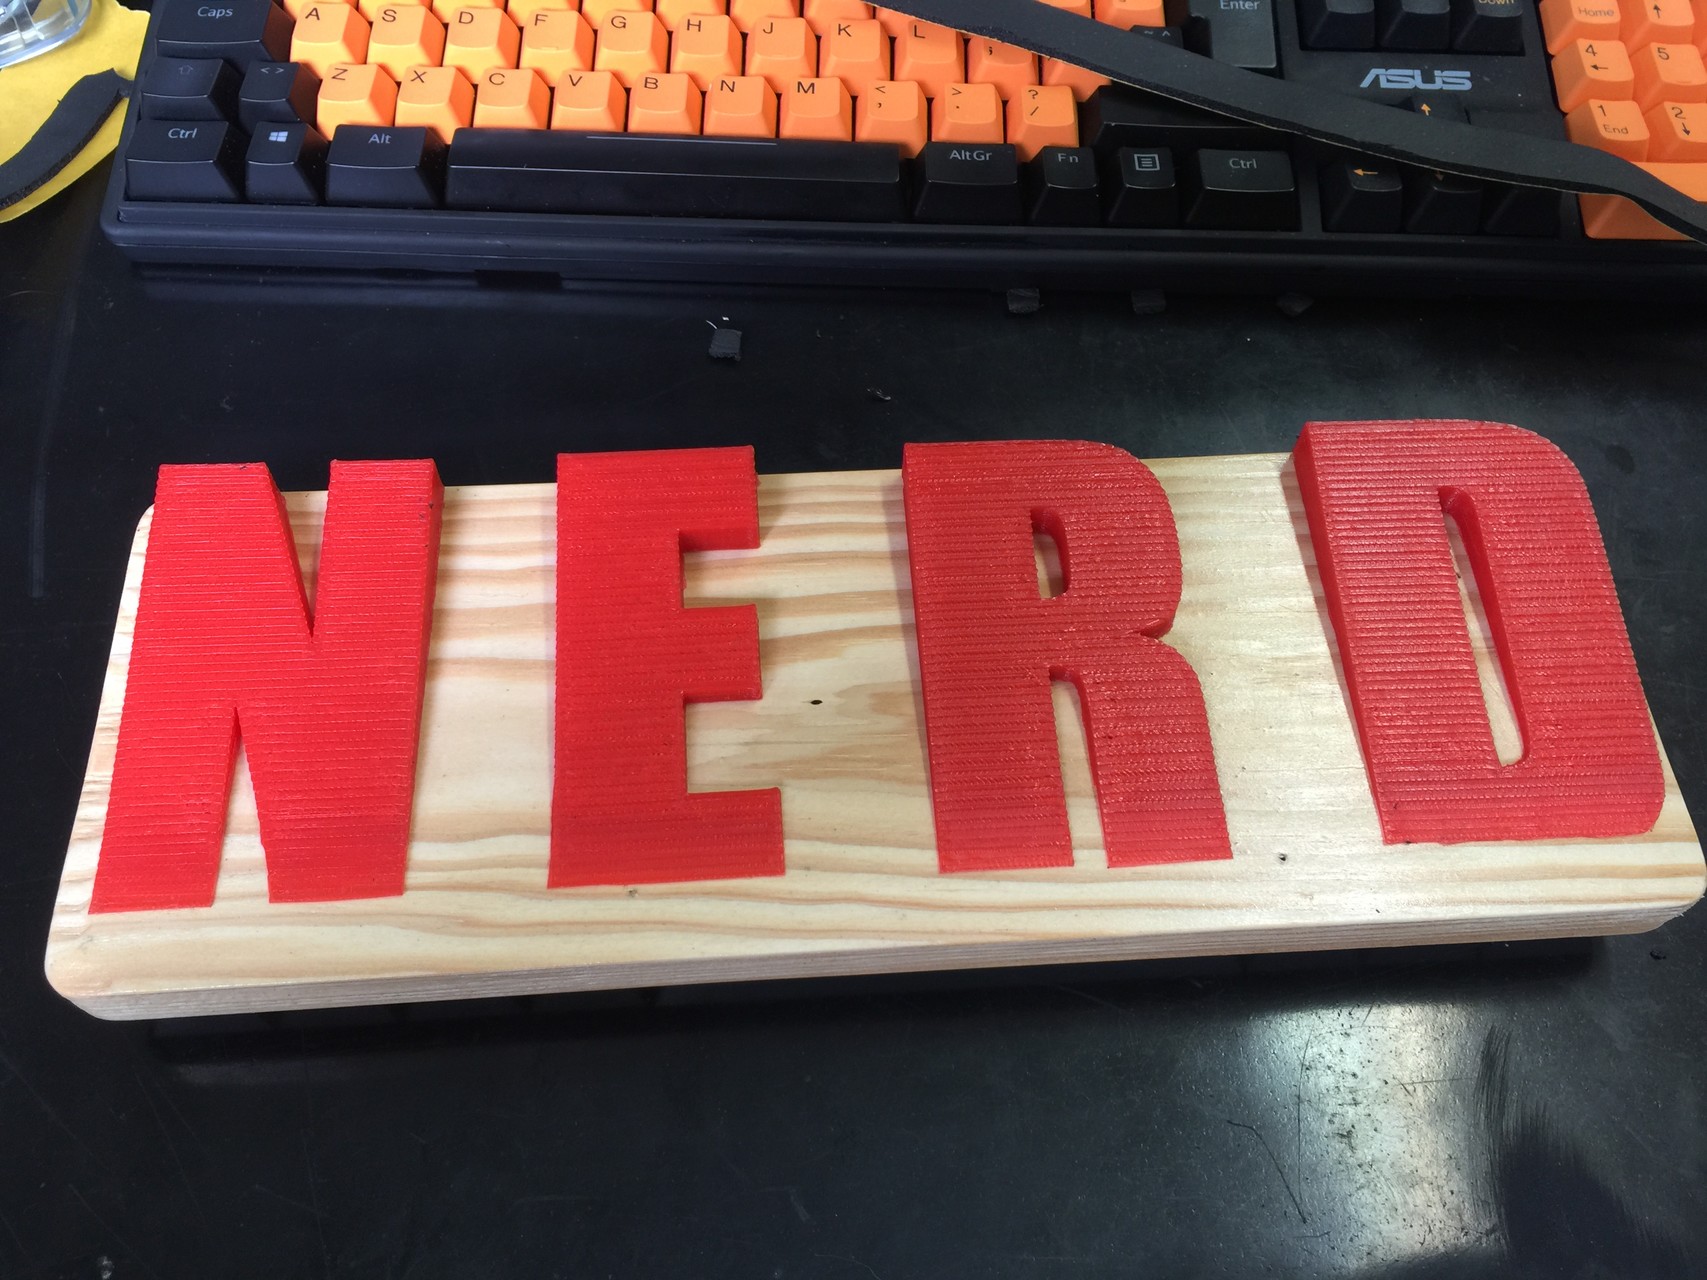
Armstrong foam adhesive tape guarantees solid standig
Used some double sided adhesive tape to glue the feet to the case
Image

Image

Image

Image
Last edited by yobinad on 20 Aug 2015, 23:24, edited 2 times in total.

User avatar
Muirium
µ

30 Jul 2015, 15:11

Those feet are glorious! Now I'm trying to imagine an entire case built from type…

User avatar
HzFaq

30 Jul 2015, 15:58

Nice work. The feet are good, the case is better :D.

User avatar
yobinad
\m/

30 Jul 2015, 16:04

The feet was my friends idea. They look really nice without the foam adhesive.
The plastic is very rigid. Without the foam it would be slippery.
There's is another kind of plastic, more rubberized, but my friend doesn't have it. I would not use the foam adhesive with that.

User avatar
pyrelink

30 Jul 2015, 18:01

That looks fantastic! About the case, I can see that some of the standoffs look as though they were glued down to the base, is that the case with all of them? Was any part of this milled? Any more pictures of the case building process?

User avatar
Madhias
BS TORPE

30 Jul 2015, 18:07

Very nice, I actually like all of it! The feet are something new and are a nice feature. Would you share the files of the case?

User avatar
yobinad
\m/

30 Jul 2015, 19:06

@pyrelink, the case was fully milled. Maybe the varnish makes it look like something is glued.

@Madhias, yes i can share the case file. It is 2D though. My friend likes to do it that way. I'll get the file from him and share it.

User avatar
yobinad
\m/

07 Aug 2015, 00:04

These are the two 2D files used to make the case.
Mind that this was made for ISO. ANSI requires some dremel on pcb support because LEFT SHIFT and ENTER stabs, and because of some in-switch leds on the bottom row.
The desirable depth was defined between gcode lines.

Inside and outside

User avatar
yobinad
\m/

13 Aug 2015, 01:09

Milled the pcb support 1mm and 3 on the bottom of the case.
Made a short video with me working with a "state of the art machine", milling the bottom of the case.

User avatar
yobinad
\m/

20 Aug 2015, 22:14

Made some changes in the case.
The switches were 4mm higher than i want. Milled 1mm of pcb support and 3mm at the bottom of the case.
I treated the case with oak stain, two coats.
Glued 1mm rubber to the letters with double sided adhesive tape and glued the letters to the case with double sided adhesive tape as well.

Image

Image

Image

Image

Image

Now i'm waiting for the gateron browns and for the HONEYB/CREAM set to finish it.

User avatar
HAL

20 Aug 2015, 22:23

yobinad wrote: Milled the pcb support 1mm and 3 on the bottom of the case.
Made a short video with me working with a "state of the art machine", milling the bottom of the case.
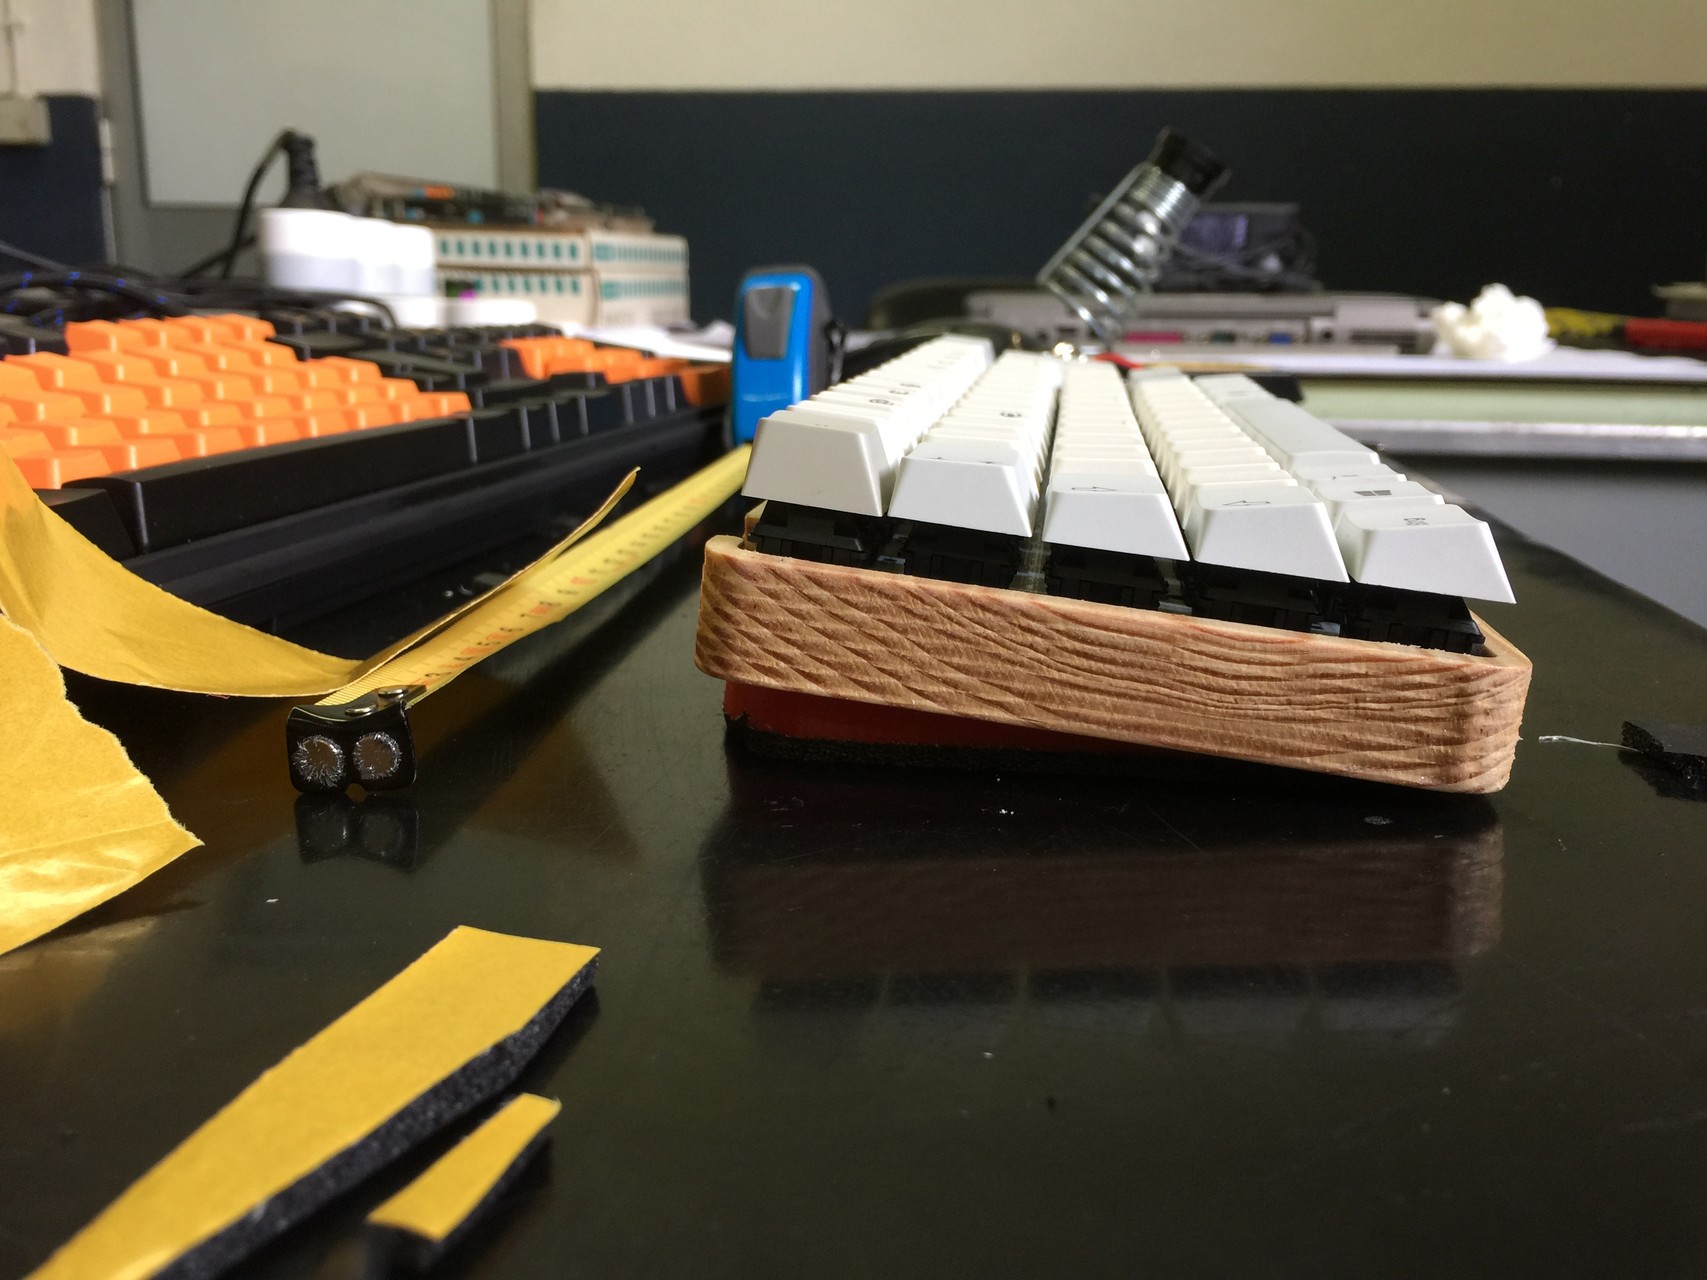
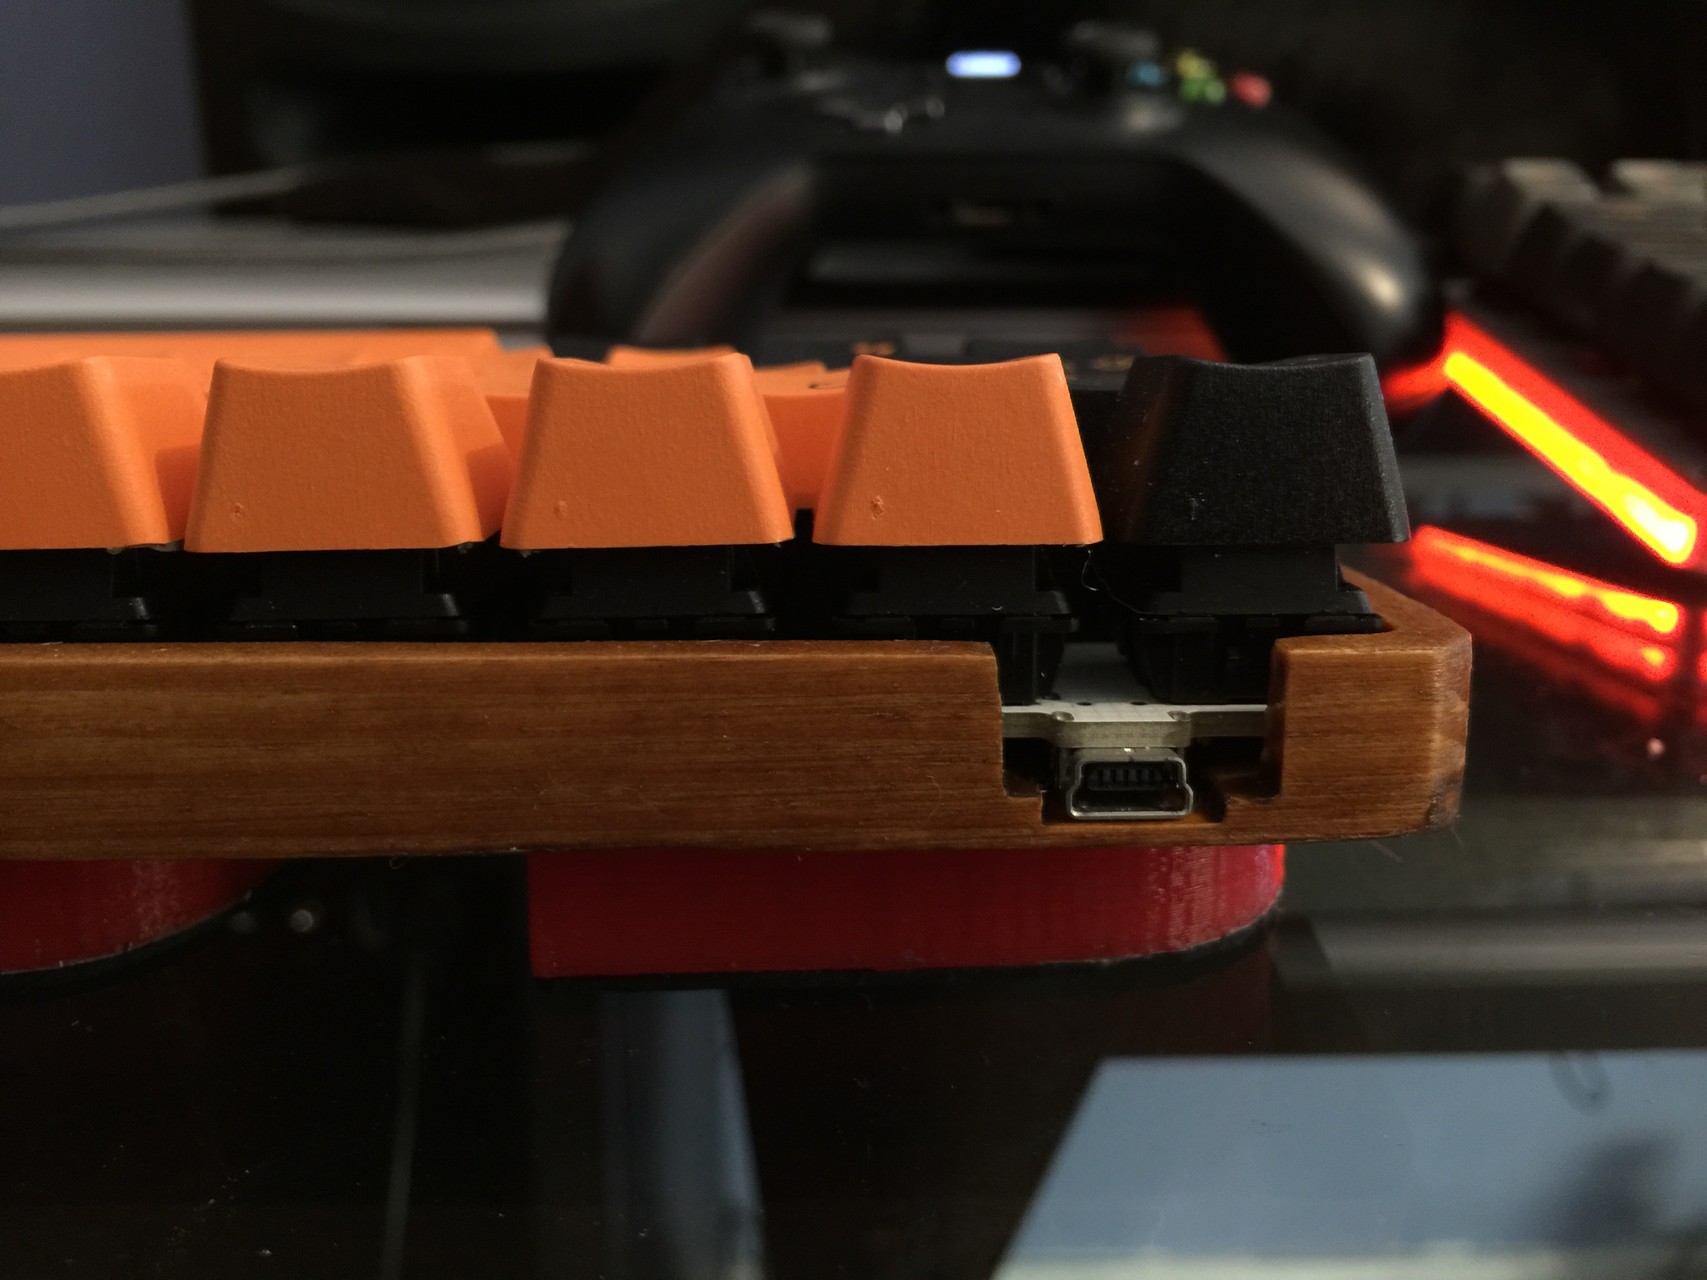
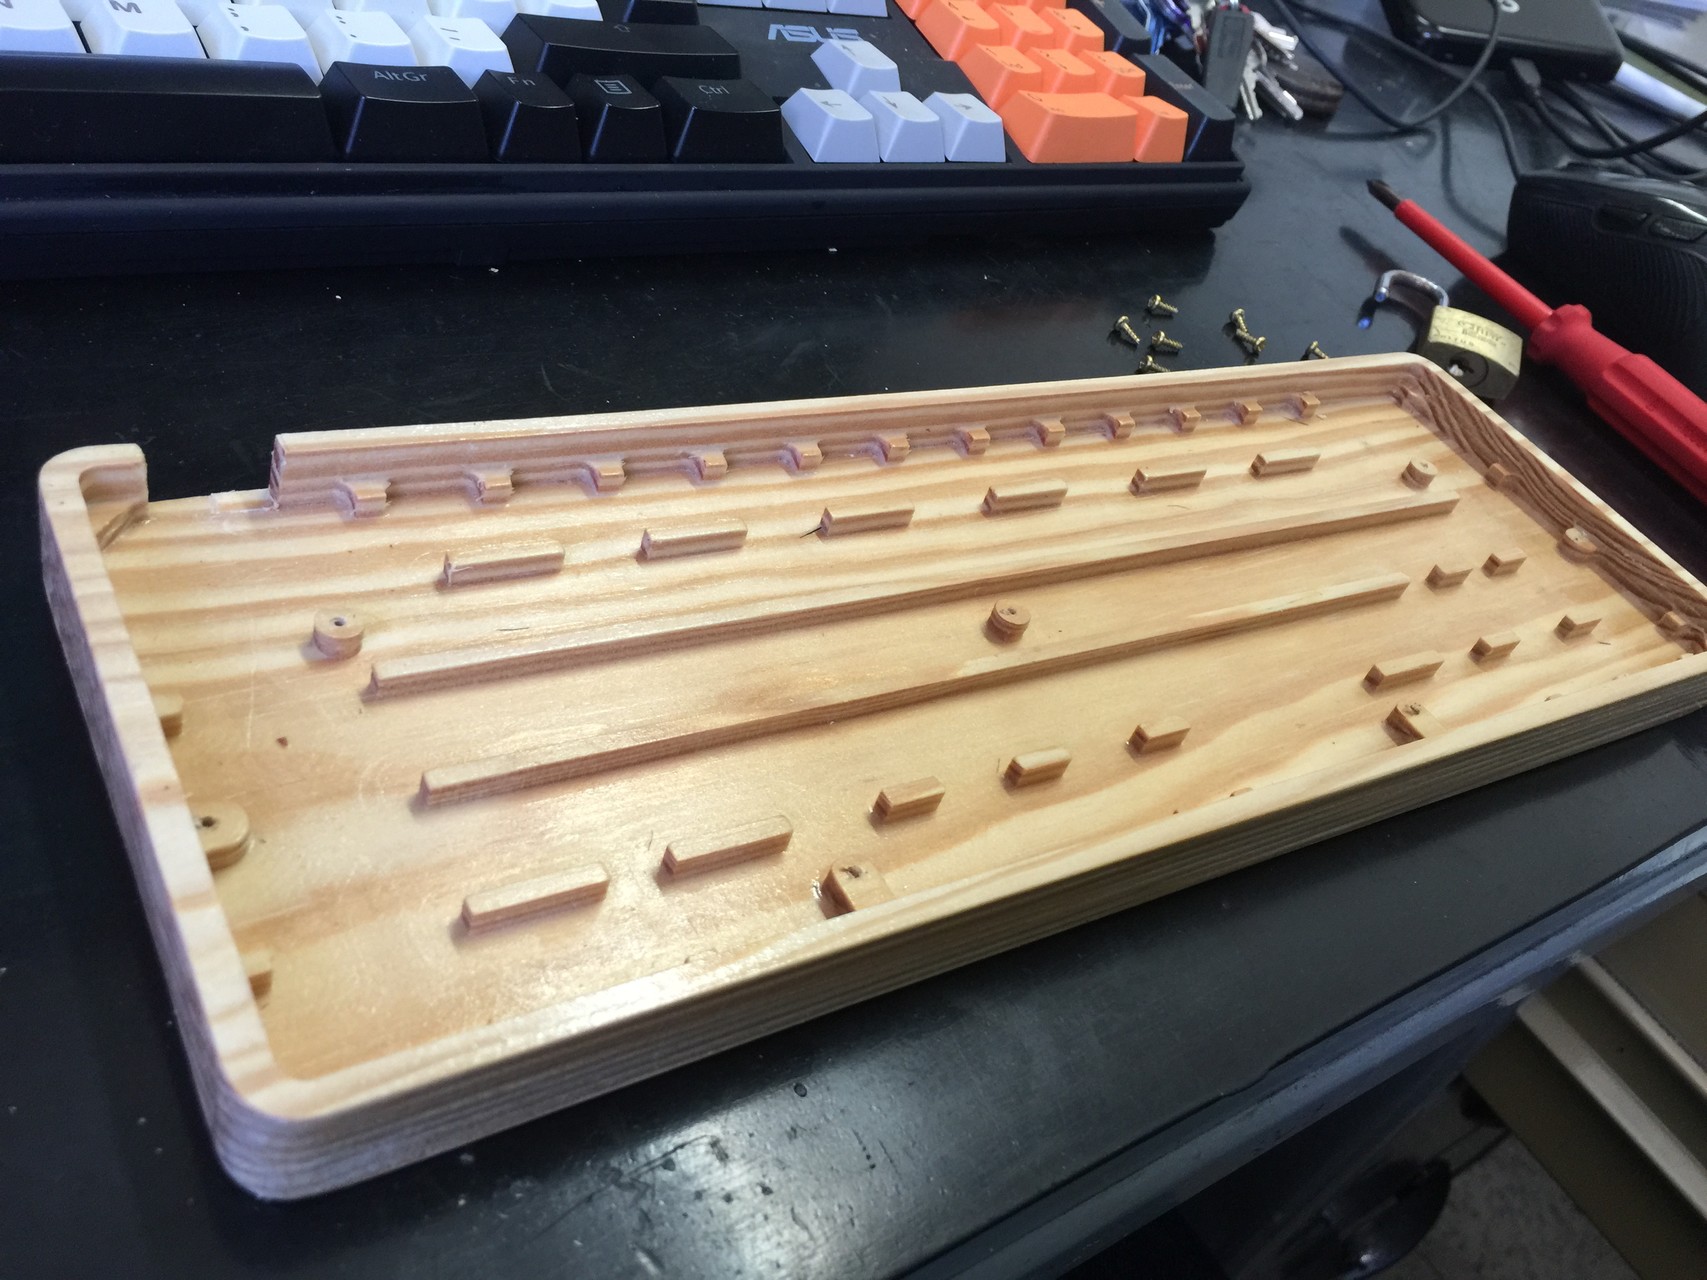
Very nice keyboard. And most impressive milling :o

Findecanor

20 Aug 2015, 22:50

By hand with drill-press? That is impressive.

User avatar
ramnes
ПБТ НАВСЕГДА

20 Aug 2015, 23:47

I want those feet. Group buy please!

Post Reply

Return to “Workshop”