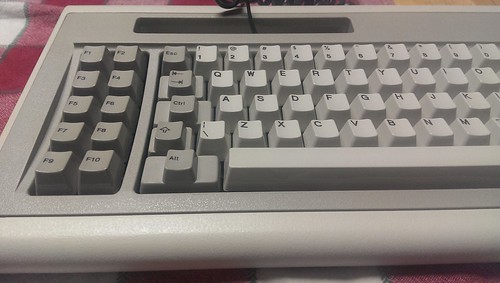
The keyboard:
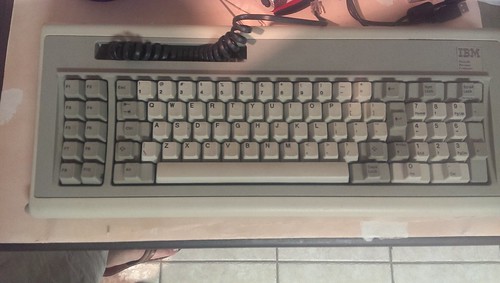
A little dingy, but not too bad…
Opening the case:
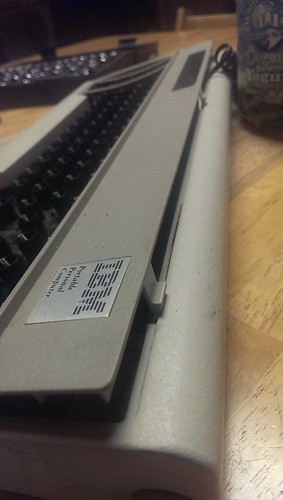
There are three little tabs holding the darker beige cover to the main case. All three are at the top of the board with one on the left, center and right. The plastic is fragile!!!
With the case open and the caps off…I hadn’t figured out how to get the spacebar off yet.
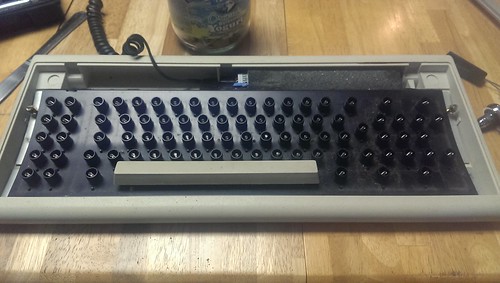
The guts of the keyboard are held to the case by those two brass screws, one on each side.
Spacebar stabilizer hooks from underneath
Don’t do what I did – I couldn’t see any stabilizer, so I just pulled and eventually one side of the spacebar popped free. I easily could have snapped the plastic that hooks onto the stabilizer, luckily I didn’t. The only way to get to the stabilizer and unhook it from the spacebar is to separate the backplate and the barrel frame…
Here you can see a hint of the PCB through the stabilizer guide hole. When you look under the spacebar all you see are three plastic barrels, one in the middle (the actual buckling spring) and one on each side for the stabilizer.
Construction:
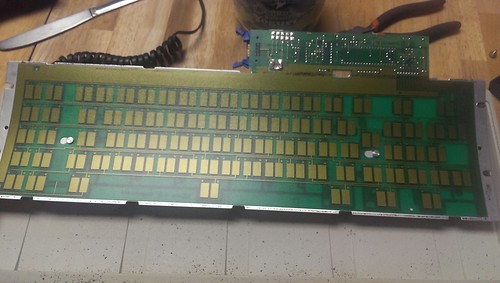
I’ve read that this keyboard does not have a metal plate inside of it. This confuses me since the whole thing appears to be made of metal! The keyboard is a sandwich of two metal plates, the backplate and a top plate. They both are made with the same curve so they spoon together perfectly. The backplate is a solid piece of metal, no holes through it (for rivets) like in a typical Model M. The PCB is curved and attached to the backplate with 2 large metal brads.
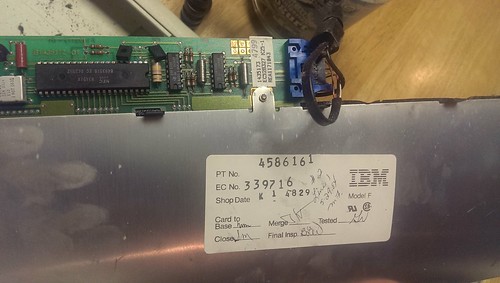
Backplate and PCB:
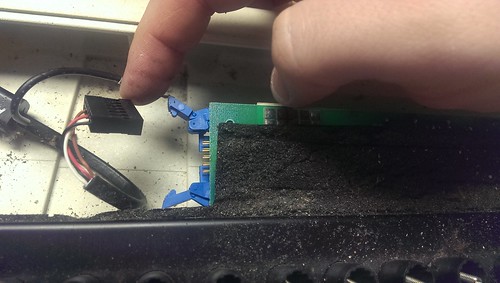
Grounding wire is attached to the PCB
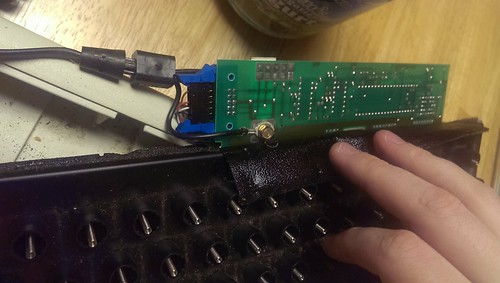
Back – grounding screw goes through the PCB and attaches to the backplate
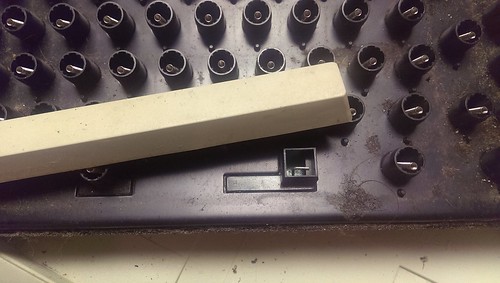
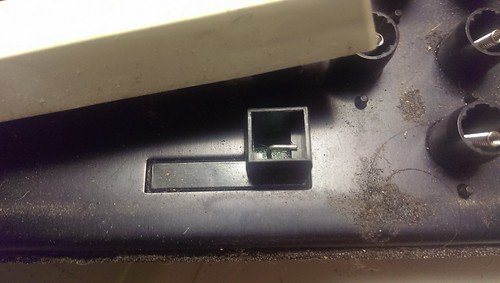
Heavy duty cable connector!
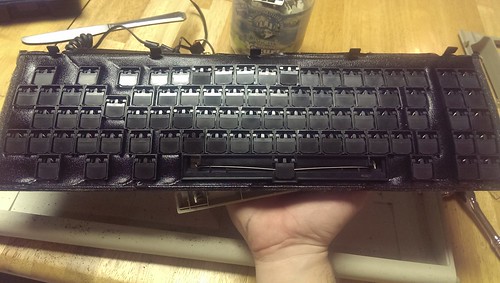
The top plate is both a solid black backdrop for the keycaps and also the frame that holds the barrels for the switches. The top plate has hooked tabs that interlock with the backplate to hold everything together.
Hooked tabs, 5 per side, hold the two plates tightly together:
One tab folded over to “lock” the plates together:
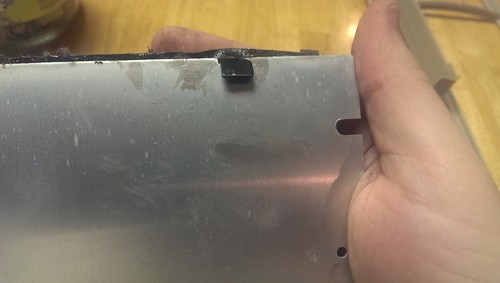
I had to bend this back to slide the 2 plates apart.
There is a foam mat between the top plate and the barrels/buckling springs. I’m guessing this helps with noise reduction and vibration. It is also sticky on both sides. I think this may help prevent dust etc from working between the plates. Everything was very clean in here…
Removed backplate and PCB:
Here you can see the stabilizer, under the top plate and completely unreachable without taking the whole keyboard apart!
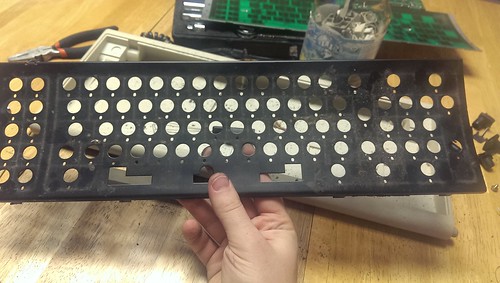
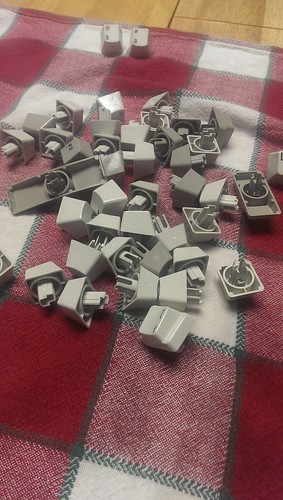
Metal frame for the barrels before cleaning.
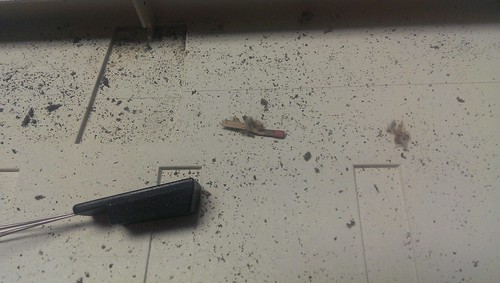
There was a match-head in the keyboard…
Cleaning the caps:
Laundry detergent and warm water. The water turned an ugly shade of brown almost instantly!
A beautiful clean keyboard!

The plastic and textures have held up amazingly well. With it clean it looks almost brand new!
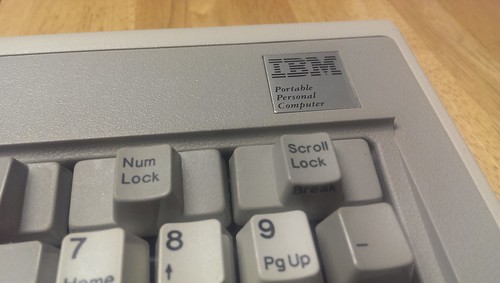
“Portable” Personal Computer!!! I love it!
Next Steps:
Figure out how to use Soarer’s Converter and get this board back in circulation!