Page 2 of 2
Posted: 23 May 2015, 13:11
by HzFaq
I was wondering about this the other day, great job, it looks amazing.
Is this just practice for the Realforce version?

Posted: 23 May 2015, 13:22
by Muirium
Yeah, if only Topre made TKLs…
Anyway, I'm thoroughly pleased to see this project back in action and nearing the finish. Whether clear coated, in the end, or not! While I don't have anything like this in mind for a Realforce, there are several classic boards out there that manufacturers neglected to offer in space saving format. Space Invaders come to mind: and I've got a candidate lined up for the chop already:
Natch, I need to open one up to really know much. And they're currently in America so it won't be soon. But does anything about these guys look bad news? Besides the Big Ass Enter, of course, which I have plans to replace. I'm thinking ANSI or even HHKB layout mod, once a certain source comes through with the caps!
Posted: 23 May 2015, 15:29
by 002
Will definitely be following intently if you decide to do that project, Mu.
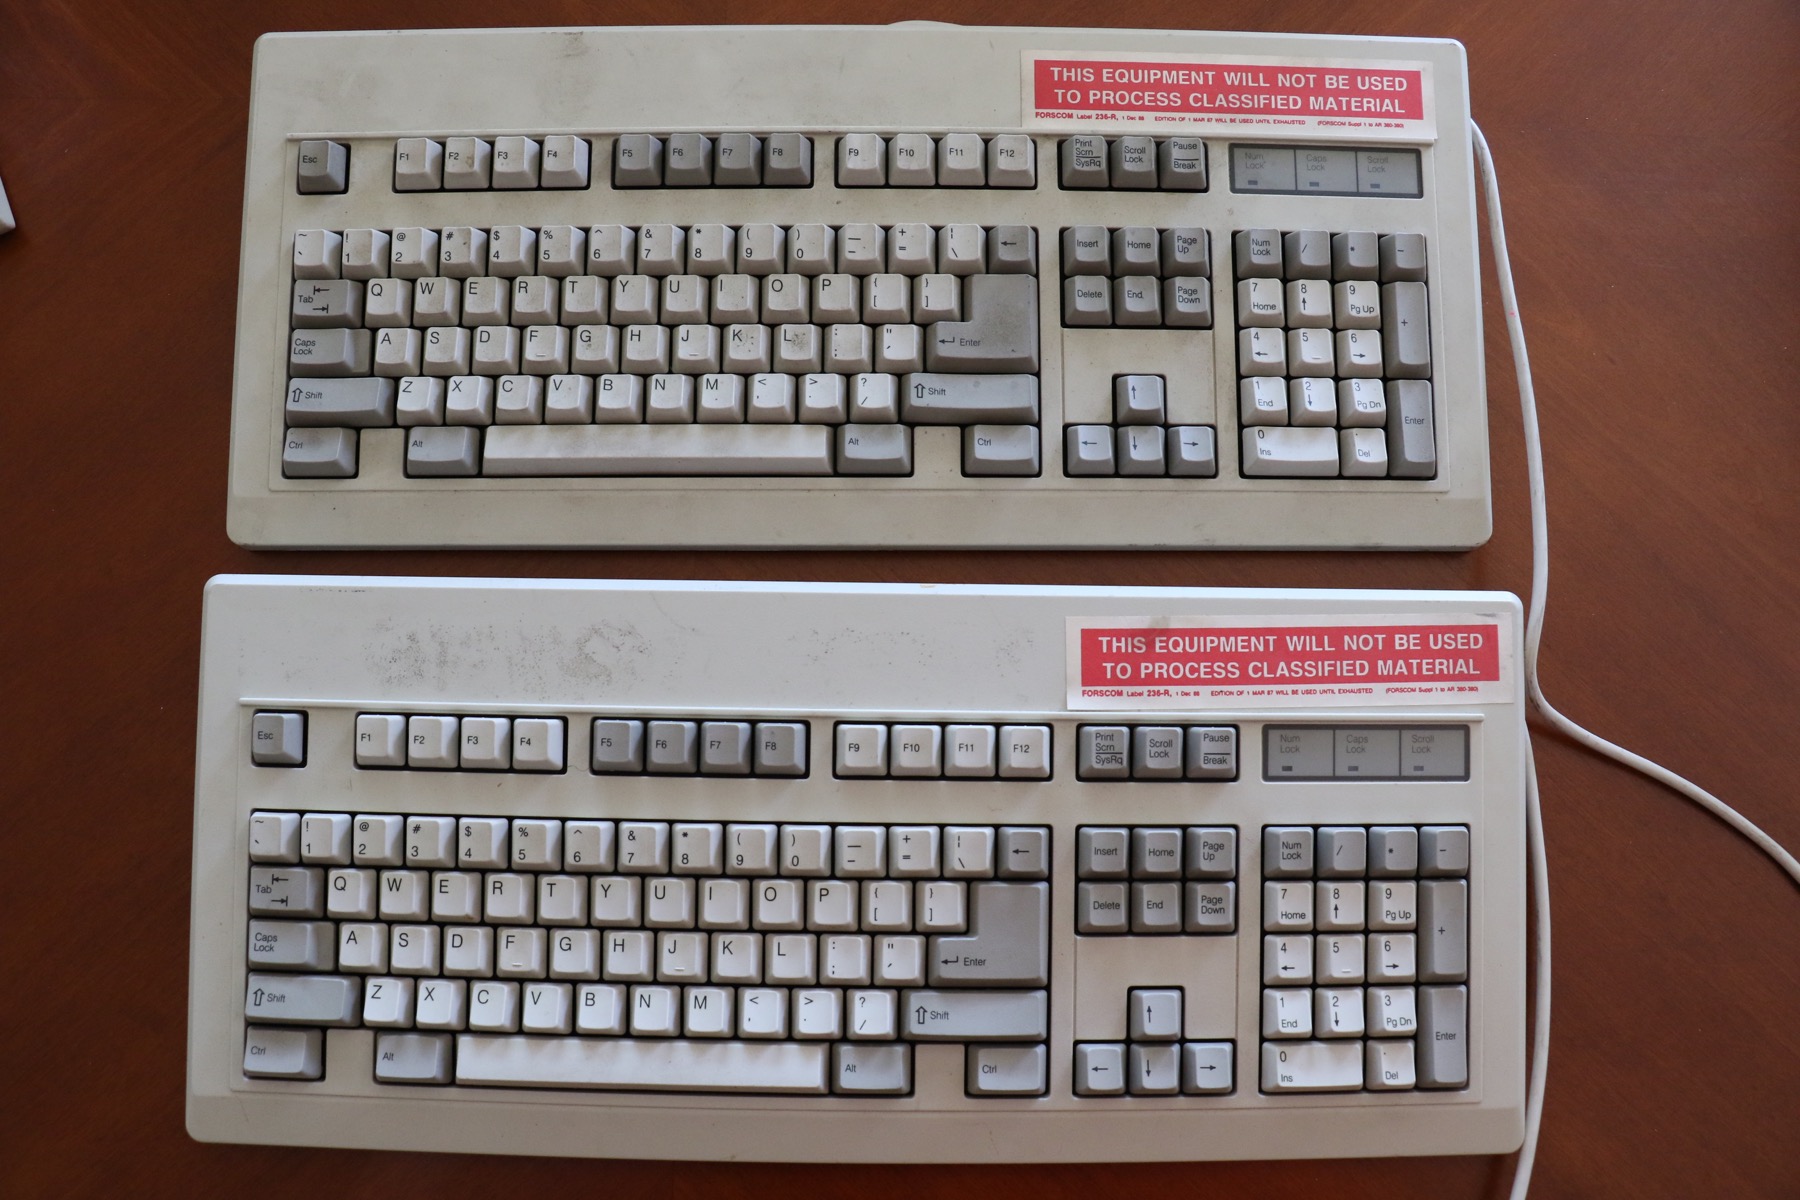
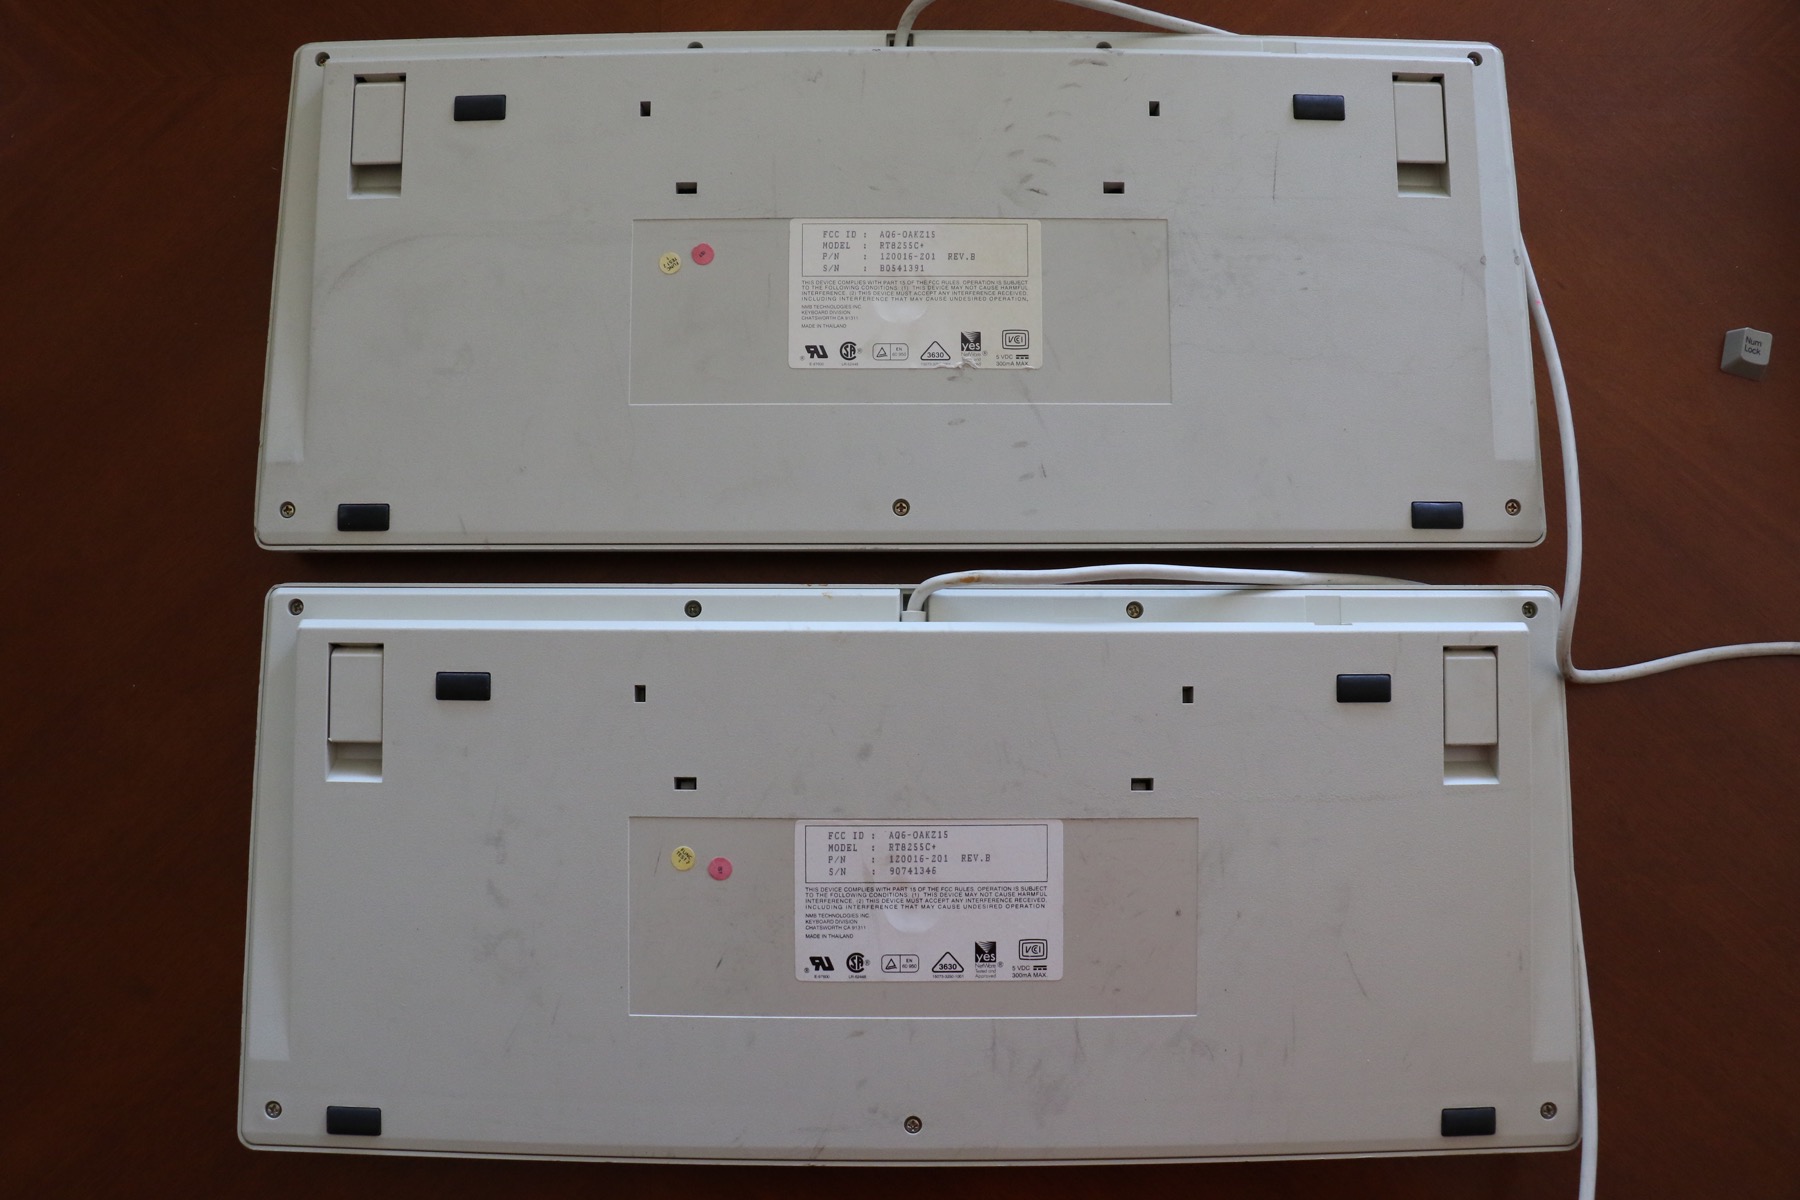
Fury Bear SSK would have to be a world first

The case on those pictured looks more akin to the G80-1000's and the little ridges here and there are more intimidating when approaching the SSK mod in my opinion.
CeeSA did it though!
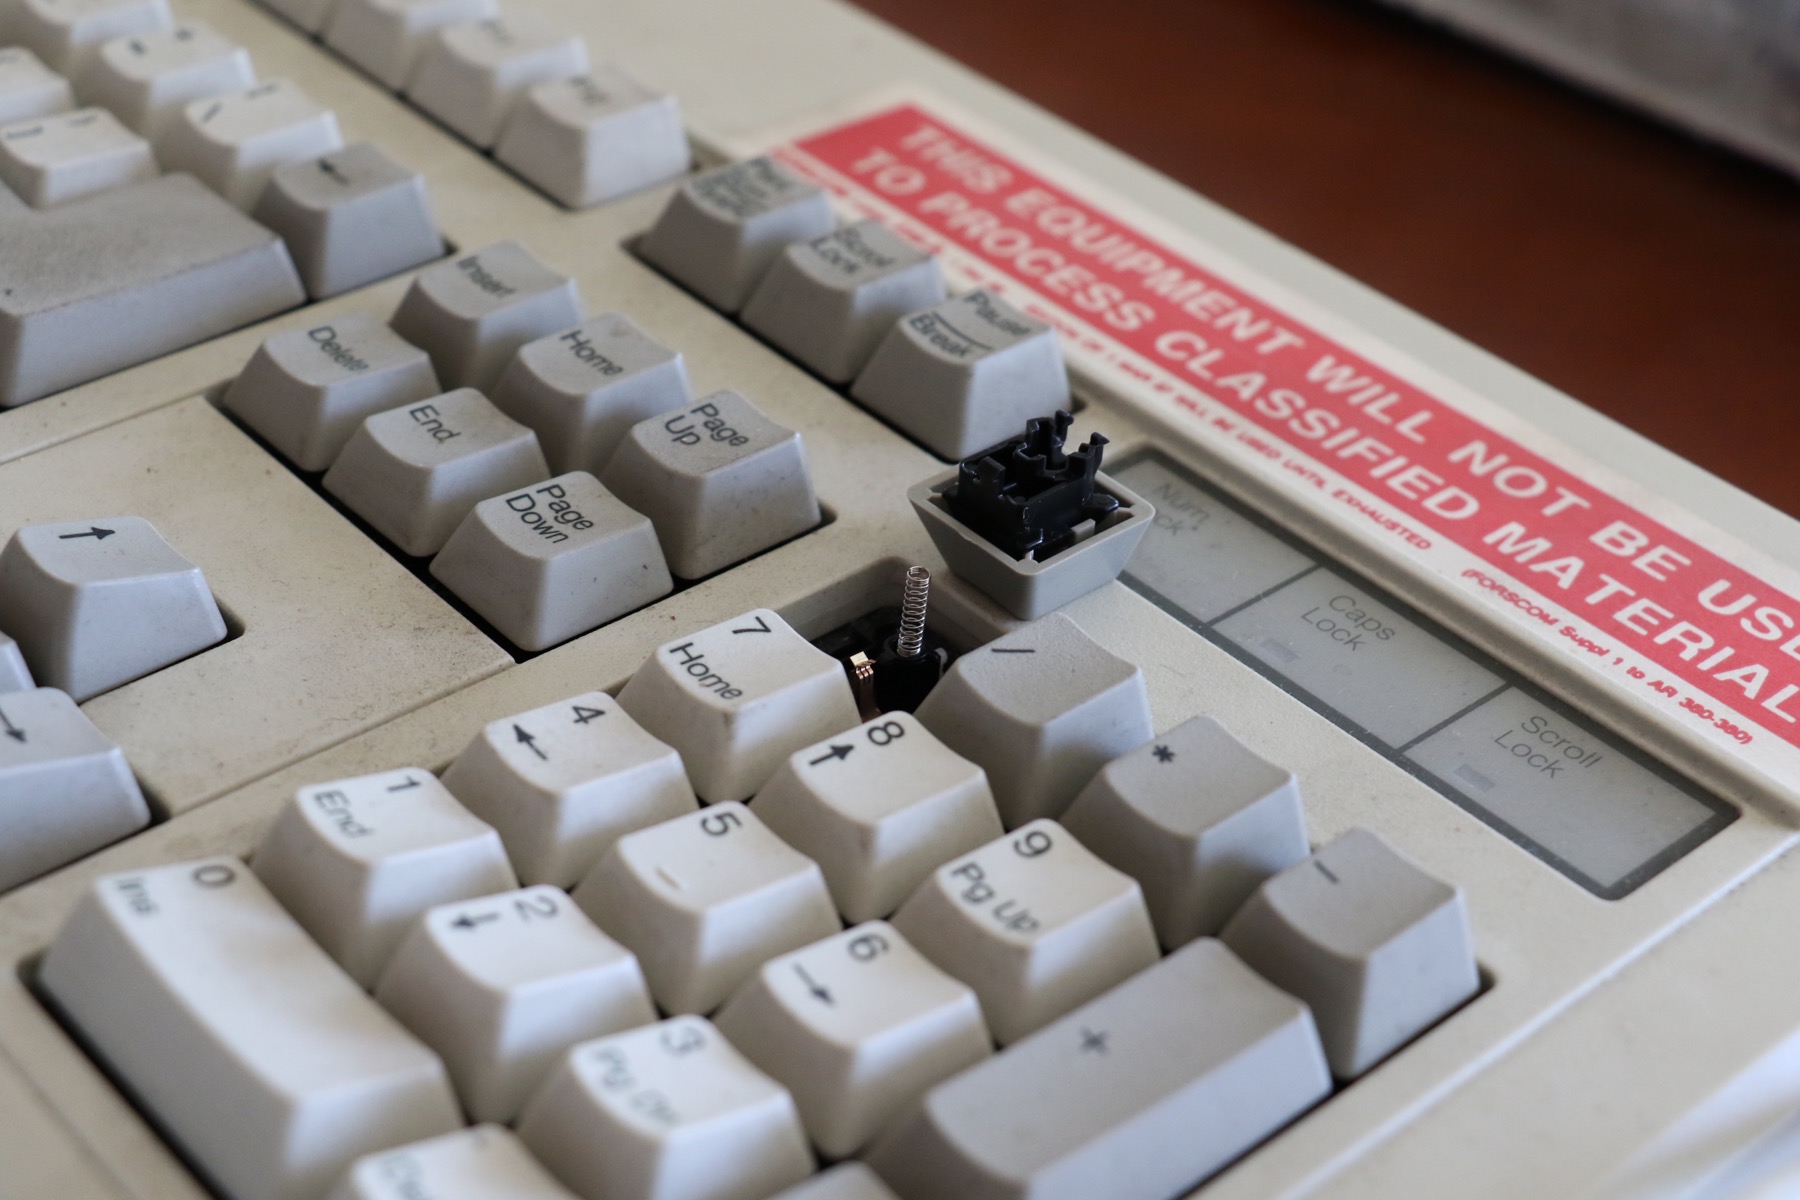
As for a Realforce TKL mod...well as pointed out that is really not necessary. How does one recover from something like this?:
Posted: 23 May 2015, 18:51
by Muirium
Oh I definitely mean to do it. That NMB is only a shadow of my
pride and joy with ISO layout and fancy dyesubs. I got this one from Cindy for the express purpose of a TKL chop. You'll know when I'm getting busy because I'll be onto you for advice!
Interesting that CeeSA did it to a G80-1000, I might be up to a little something with a G80-1500 HAD from Kbdfr if I can get it through the mail on the cheap… anyone in Berlin interested in proxying?
Posted: 24 May 2015, 10:25
by Madhias
002 wrote: ↑Will definitely be following intently if you decide to do that project, Mu.
As for a Realforce TKL mod...well as pointed out that is really not necessary. How does one recover from something like this?:
Oh my, what happened here? The first picture and then the second one is like from a horror movie!
Posted: 24 May 2015, 10:37
by 002
Haha -- apparently it was for a switch tester, but I'm not so sure. You could easily disassemble a Realforce to make a switch tester without being so destructive but who knows...different strokes for different folks I guess.
Posted: 24 May 2015, 12:09
by cinnamoncider
The top looks really clean with paint applied. What paint are you going to use for ABS? Do you think that the paint would wear out over use?
Posted: 24 May 2015, 19:45
by billnye
This looks amazing! Great job, 002.
Posted: 24 May 2015, 23:39
by 002
Thanks guys
For finishing I am using:
Primer: Rust-oleum Ultra Cover 2x Primer
Paint: Lucite 400 Acrylic Lacquer
Protection: Dulux Duramax Gloss Clear Coat
I've learned this morning that there is a semi gloss version of the Duramax so I might go out and grab some of that after work.
Posted: 26 May 2015, 02:23
by Mal-2
I wanted to point out that for the filling of areas that are hard to fill with putty, there is something known as "ghetto epoxy": cyanoacrylate ("super") glue, and baking soda. Apply a thin layer of glue, sprinkle on the powder, blow off the excess, repeat. It gets hot enough to burn skin, but not hot enough to melt most plastics. Once it sets, it can be sanded or ground like any other epoxy. Unlike most epoxy, it remains translucent — not a problem if you're painting over it, and possibly useful if you want to backlight it.
Posted: 26 May 2015, 04:22
by 002
Good stuff -- I actually did something similar to fix a boo-boo I made early in the process where I'd sanded the putty too early and chipped some away. I mixed superglue in with some plastic dust from the sanding and filled the tiny gap. It worked very well.