Cherry G80 11800 Bricolage

User avatar
Madhias
BS TORPE

01 Feb 2014, 23:30

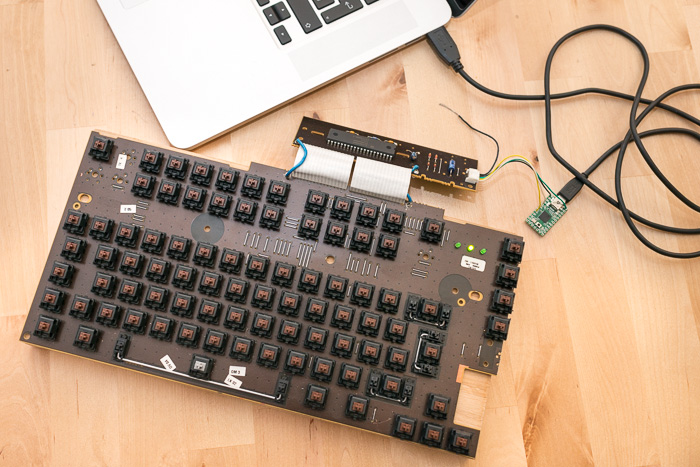
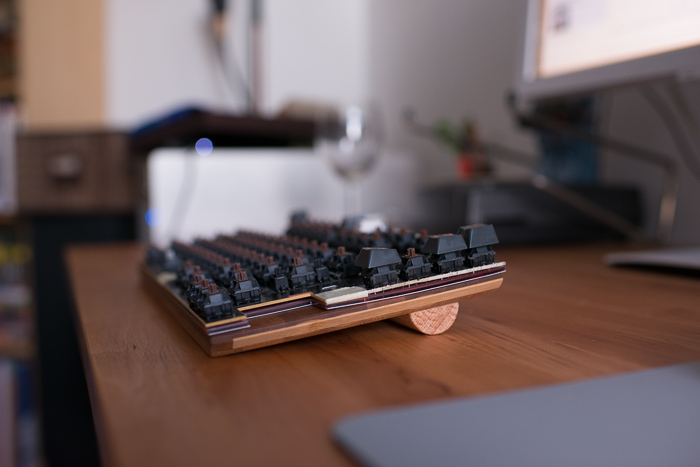
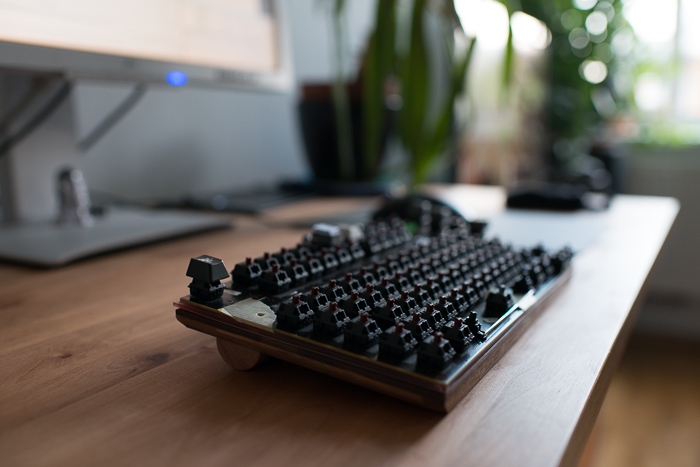
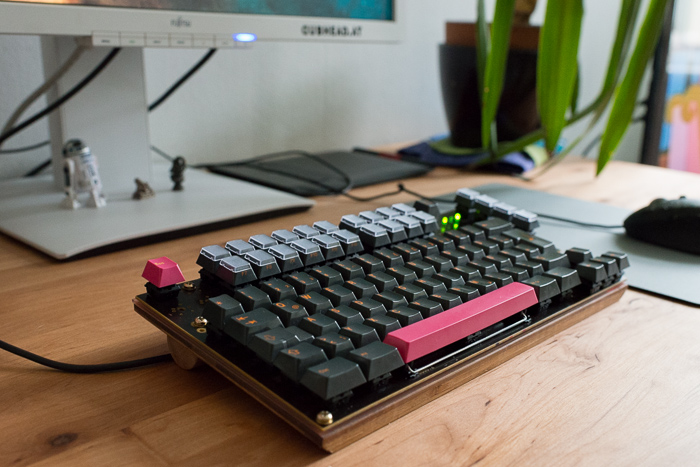
So i've "found" a Cherry / Compaq G80 11800 in our server room, not used anymore. I remember typing on this device before being keyboard addicted - but only a little bit when there was a real problem which could not be solved with remote connection. I don't really know what to do, but i love the bottom-out sound of these brown switches, and could use many of the Skidata keycaps on it, maybe make some weird switch combinations and playing with a Teensy.

Image

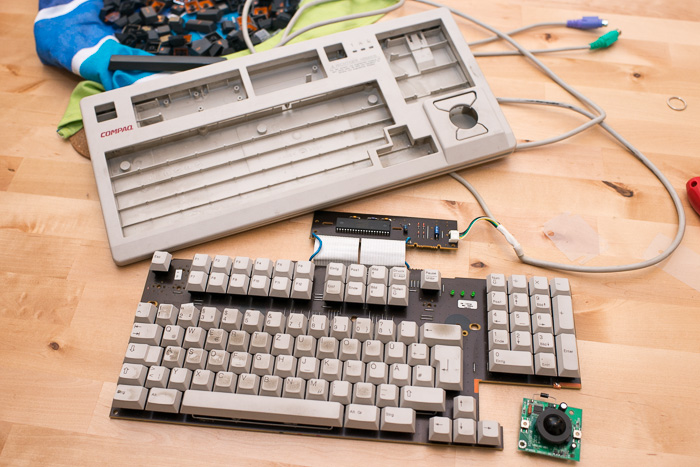
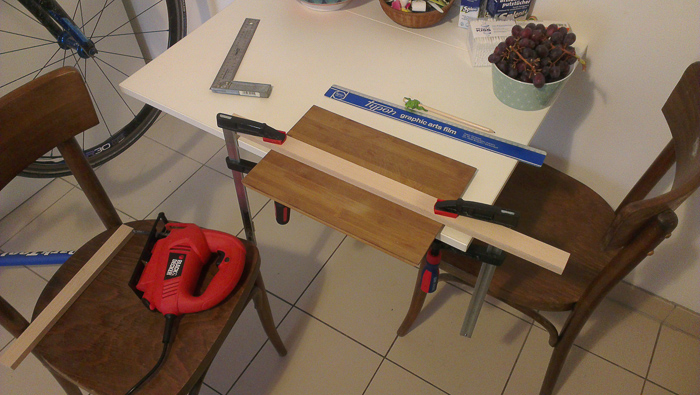
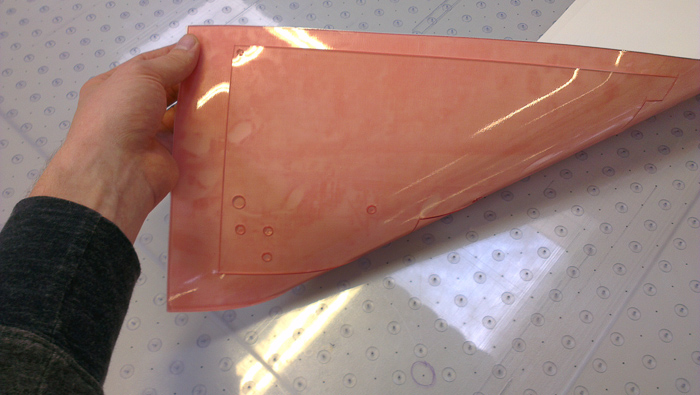
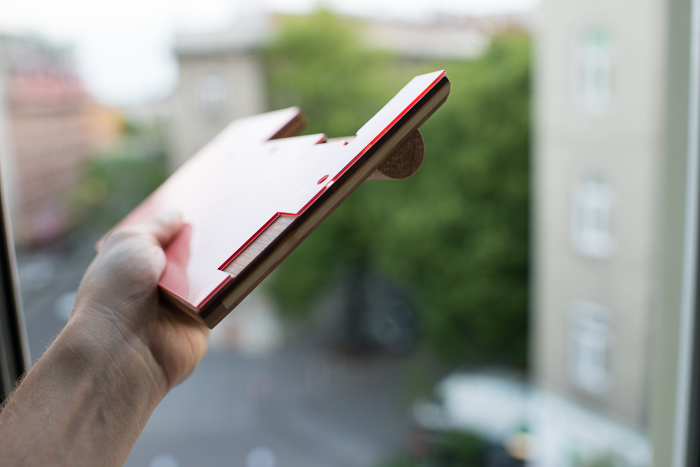
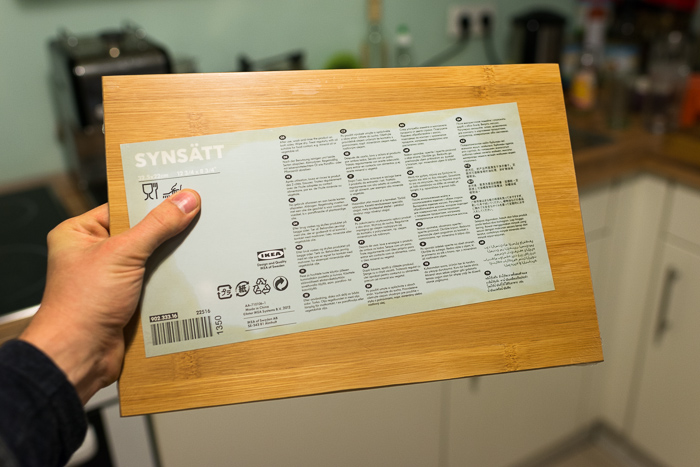
I have not cleaned anything, and want to fix the board on a piece of wood. I've already cut two pieces today, one the full length, and one width without the ten-keys. I don't know yet, if i should make a TKL out of it! It looks very clean on the back, and just two arrow keys go through the ten-key numbers, but i would not really know what to do (but read the other TKL selfmade threads here).

Image

Findecanor

01 Feb 2014, 23:51

You can make it tenkeyless by cutting between the 741 and 852 columns on the numpad. No soldering would be required to keep the rest of the keyboard working.

On my Compaq MX-11800, I did that, and then I cut away some more and glued a new six-key cluster to the right of Return and Backspace, but that required some more wires and the resulting wire mess is not pretty.

User avatar
kint

02 Feb 2014, 00:00

click on the spoiler tags:
http://deskthority.net/marketplace-f11/ ... t2649.html
easy fix. :)

Findecanor

02 Feb 2014, 00:47

kint wrote:click on the spoiler tags:
http://deskthority.net/marketplace-f11/ ... t2649.html
easy fix. :)
Rerouting the cable to the left looks like a good idea. My cable is quite a tight fit, being still on the right, out the original hole.

I had dissolved parts of the ABS case in acetone to use as putty, but it did not turn out as seamless as I thought it would.

User avatar
Madhias
BS TORPE

02 Feb 2014, 09:53

kint wrote:click on the spoiler tags:
http://deskthority.net/marketplace-f11/ ... t2649.html
easy fix. :)
I didn't see this thread before, thanks for the link. A fine mod you made back then! Noone bought it? I will also cut away the number block, and have to do this jumper wire job.
Findecanor wrote:You can make it tenkeyless by cutting between the 741 and 852 columns on the numpad. No soldering would be required to keep the rest of the keyboard working.
Thanks!

User avatar
kint

02 Feb 2014, 13:25

I did cut through the middle of 741 as you can see. Regarding Findecanors post, I can't remember whether it would have worked without the jumper wires, if I had cut beneath 741. In my case the case modification layed the cut line onto the PCB. As PCB revisions may have a different tracing anyway the talk about that is rather pointless. I sold it some days after that as someone found the thread, iirc for 20€. :)

User avatar
Madhias
BS TORPE

12 Feb 2014, 22:34

Yay, it works! I cut trough the middle of 741, and used a Teensy.

Image

User avatar
CeeSA

13 Feb 2014, 10:43

I wonder... for what is the teensy?

JBert

13 Feb 2014, 11:04

Custom key layout (the keyboard has no win keys), macros, USB support, or maybe even to make the keyboard smaller by cutting off the top row (where the controller is connected) and hooking in a Teensy as new controller?

Lots of reasons.

User avatar
kint

13 Feb 2014, 11:06

as for now I guess it's for simple USB conversion... :) nice job. Did you have to jumper wire, or did it just fit because you left 741 intact?

User avatar
Madhias
BS TORPE

13 Feb 2014, 11:22

CeeSA wrote:I wonder... for what is the teensy?
As a PS2 / USB Converter, for learning, just playing and try out, never soldered before (bought an iron, and stuff). I don't really have an idea what i will do next with this project.
kint wrote:Did you have to jumper wire, or did it just fit because you left 741 intact?
I think it fits for now because i left the 741 intact.

User avatar
Madhias
BS TORPE

08 May 2014, 22:18

So that's what i've done so far. It's just a 'Skeleton' case for my G80-11800. I'm not finished yet, but i like it. Between the PCB and the wood there is a flexo printing plate cut out by a Kongsberg cutter.

Image
Image
Image
Image
Image
Image
Image
Image

User avatar
Madhias
BS TORPE

29 May 2014, 19:09

It's not to bad, fun to play around with switches, caps, will be a Frankenbord or something like this.

Image

I used a piece of wood from IKEA, which i found in our kitchen, and bought now another one. Maybe i will not cut the wood as done before, and screw the PCB on the top to have about 6-7cm palm rest.
Spoiler:
Image

User avatar
scottc

29 May 2014, 19:15

Wow, that looks fantastic! Very professional-looking. I'm quite jealous.

User avatar
Icarium

29 May 2014, 23:16

Does indeed look very cool. I wonder how it feels, after all they're just plate mounted and screwed to a piece of wood. Then again the original 11800 feels amazing imho. The browns feel so much better than in my Kinesis.

User avatar
Dubsgalore

30 May 2014, 00:58

Very nice! you did a great job, looks really clean

Nice use of the OG Skidata set as well :lol:

User avatar
Madhias
BS TORPE

30 May 2014, 08:42

Icarium wrote:Does indeed look very cool. I wonder how it feels, after all they're just plate mounted and screwed to a piece of wood. Then again the original 11800 feels amazing imho. The browns feel so much better than in my Kinesis.
I put a polymere plate (normally used for flexo printing or stamps) between the wood and the PCB, with a thickness of 2,54 mm and a maybe 0.3-4 mm thick adhesive tape. That dampens a little bit, and feels 'normal' now i would say. I tried different thickness of the polymere plate, started with 1,14 mm which is to thin, and 5 or 6 mm plates, which are too soft.
Spoiler:
Image
Image
Image
I'm typing on it like 'CLOCK CLOCK CLOCK *space* CLOCK CLOCK CLOCK' :D

MinnesotaNahs

27 Aug 2015, 22:37

Any chance I could get the teensy firmware that you used? I'm thinking about doing something similar with my board.

User avatar
Madhias
BS TORPE

27 Aug 2015, 23:02


MinnesotaNahs

28 Aug 2015, 04:36

thanks man!

Post Reply

Return to “Workshop”