New method for AT's ANSI mod's spacebar barrel

User avatar
ag36

09 Aug 2018, 16:46

I've cut the long barrel a little too much so I fitted 3mm foam instead, very easy to do and will help stabilizing the extra barrels(perhaps not as good as cutting them precisely).

So far the space on barrel stabilizer works fine but without the dummy barrel Model M has for the spacebar the spacebar wiggles a bit, I wonder if anyone tried to put another barrel for the spacebar?
IMG_20180811_181455.jpg
IMG_20180811_181455.jpg (4.7 MiB) Viewed 5920 times
IMG_20180811_174133.jpg
IMG_20180811_174133.jpg (4.51 MiB) Viewed 5920 times
IMG_20180811_174116.jpg
IMG_20180811_174116.jpg (6.59 MiB) Viewed 5920 times
Attachments
IMG_20180809_154809.jpg
IMG_20180809_154809.jpg (3.89 MiB) Viewed 6254 times
IMG_20180807_022706.jpg
IMG_20180807_022706.jpg (3.41 MiB) Viewed 6258 times
IMG_20180807_022631.jpg
IMG_20180807_022631.jpg (4.93 MiB) Viewed 6258 times
Last edited by ag36 on 11 Aug 2018, 19:18, edited 1 time in total.

andrewjoy

09 Aug 2018, 17:25

Nice work mate !

You dye them blue caps yourself or where unicomp staff awake for once when they made them, they look good !

User avatar
ag36

09 Aug 2018, 17:27

Thanks! That's actually from Unicomp, it seems they might have retooled.

andrewjoy

09 Aug 2018, 17:28

I think for some of the keys they have yes.

Its more the fact of them not giving a crap if the text is aligned properly, or if they even get your order right.

User avatar
ag36

09 Aug 2018, 17:36

That's even worse if you're ordering from overseas, the function key numeral keys set I've bought had severe bleeding and a iso set with misaligned legends but nothing I could do about it because I paid $60 for one-way shipping.

User avatar
Darkshado

10 Aug 2018, 06:20

How did you stabilize the spacebar?

User avatar
fohat
Elder Messenger

10 Aug 2018, 13:45

I have used small metal tabs epoxied down, as shown in my guide, but now I generally use the wcass method with 7/16" SAE washers.

User avatar
ag36

10 Aug 2018, 14:36

I used washer but I have no access to 7/16" SAE washers so I cut some hips plastic into washers.

User avatar
troglotype

10 Aug 2018, 18:38

Thank you for the post! Even though I'm a complete BS novice, I plan on doing both the ANSI and spacebar mods on an AT that's on its way here. Because there are experienced modders in this thread, I allow myself to ask a question: What spacebar would one order from Unicomp for that Alt+Space+Alt mod? There are three options:

- Large pearl
- Small pearl - pre 7/2013
- Small pearl - post 7/2013

My apologies if I'm asking the obvious and thank you for any help!

P.S. The blue caps look temptingly nice. But getting ten function keys with blurred legends doesn't sound like fun...

User avatar
Muirium
µ

10 Aug 2018, 19:22

I believe the one you want is “large” namely 7 units, the only available size IBM ever used. The smaller ones are for Unicomp’s own later keyboards.

I’ve tried the metal washer method (using washers sent to me expressly for this purpose by someone who had done it themselves) but I must be doing it wrong. They never stayed still, and downright sucked for the purpose, making clanking noises as they shuffled around. I took them off and rock my Kishsaver unstablised. Anyone got a proper detailed No Seriously You Are An idiot’s guide? I need it!

workshop-f7/to-save-a-kishsaver-t8052.h ... 0Kishsaver

User avatar
ag36

10 Aug 2018, 21:03

Muirium wrote: I believe the one you want is “large” namely 7 units, the only available size IBM ever used. The smaller ones are for Unicomp’s own later keyboards.

I’ve tried the metal washer method (using washers sent to me expressly for this purpose by someone who had done it themselves) but I must be doing it wrong. They never stayed still, and downright sucked for the purpose, making clanking noises as they shuffled around. I took them off and rock my Kishsaver unstablised. Anyone got a proper detailed No Seriously You Are An idiot’s guide? I need it!

workshop-f7/to-save-a-kishsaver-t8052.h ... 0Kishsaver
You need to glue the washers, non permanent, removable glues like silicone should work no idea if hot glue is better. My washer was friction fitted because I made them.

User avatar
troglotype

10 Aug 2018, 22:19

Muirium wrote: I believe the one you want is “large” namely 7 units, the only available size IBM ever used. The smaller ones are for Unicomp’s own later keyboards.

I’ve tried the metal washer method (using washers sent to me expressly for this purpose by someone who had done it themselves) but I must be doing it wrong. They never stayed still, and downright sucked for the purpose, making clanking noises as they shuffled around.


Thank you for the advice! I'll order the "large" one.

Maybe the "washer" solution works better with XT barrels because their alignment pegs keep the stabilizer straight? I will try to use the "dummy" barrel to achieve a similar effect.

User avatar
fohat
Elder Messenger

10 Aug 2018, 23:14

Muirium wrote:
making clanking noises as they shuffled around.
It does go without saying that the original tabs must be removed, doesn't it?

I have never tried it with an XT style barrel, but my guess is that it would not work at all because the center stud probably interferes with the movement of the wire. Besides being thicker than Model F wires, Model M wires are longer and move closer to the barrels when down.

The only real difference that I have found is that the travel of "V" and "M" is reduced by perhaps 1mm or less, which doesn't really matter because it is just an early bottom-out that does no harm. I can't imagine how or why you would glue the washers in place.

User avatar
Muirium
µ

10 Aug 2018, 23:53

fohat wrote: It does go without saying that the original tabs must be removed, doesn't it?
Muirium wrote: Anyone got a proper detailed No Seriously You Are An idiot’s guide? I need it!
See, I wasn't kidding!
ag36 wrote: You need to glue the washers, non permanent, removable glues like silicone should work no idea if hot glue is better. My washer was friction fitted because I made them.
fohat wrote: I can't imagine how or why you would glue the washers in place.
Sounds like there's rival methods here. (And a good reason why I like my guides as explicit as possible! Anything that's open to interpretation is open to egregious errors! When I'm involved…)
troglotype wrote: Maybe the "washer" solution works better with XT barrels because their alignment pegs keep the stabilizer straight? I will try to use the "dummy" barrel to achieve a similar effect.
You could be onto something. I have an XT and an AT as well as the Kishy, but it's been aeons since I had all of them opened and I forget the differences. Fortunately I did take pictures. So here's what my Kishsaver's barrels look like:

Image
Which style is that?

Besides the Kishy's half wobbly spacebar, I am quite interested in easier ways to ANSI mod an AT. I use my AT with a modded layout, but I left the spacebar the same because I'm wary of metalwork. Two more mods around that HAAAAYOOODGE spacebar would be nice. Especially if I could keep the daft thing's extra heavy weight, which I've grown to admire!

User avatar
fohat
Elder Messenger

11 Aug 2018, 00:53

Muirium wrote:
I am quite interested in easier ways to ANSI mod an AT.
Several issues on the table here. I am going to dig through my photos and see if I can find a handful that shed light on the situation.

To get a standard alt-spacebar-alt layout you will have to Dremel out the square sides of the openings in the plate into half-circles on each side. The existing square sides are (almost ?) exactly half-barrel diameters - presumably 1980s IBM engineers were fanatical about consistency.

In my photos I used an XT-style barrel (with "freestanding" studs (posts) centered below the barrel (as opposed to the AT-122-4704-style barrels with side buttresses on the diagonal lower right of the barrel body)) and cut/ground back the undercarriage by about half of the diameter of the barrel on each side to mate up against the side of the foot (plinth ?) of the barrel (to help keep the newly-added barrel snug). If you wanted to preserve the long under-carriage, you would have to dream up some other jury-rig, but I have done this and I know that it works.

Please ask me additional questions if you wish, but I will be occupied off and on for much of the weekend.
Attachments
F AT undercarriage cut-right.JPG
F AT undercarriage cut-right.JPG (533.38 KiB) Viewed 5995 times
F-AT-mods-alt-cuts-barrel-below-e.JPG
F-AT-mods-alt-cuts-barrel-below-e.JPG (332.63 KiB) Viewed 5995 times
F-AT-mods-alt-cuts-barrel-above.JPG
F-AT-mods-alt-cuts-barrel-above.JPG (934.25 KiB) Viewed 5995 times
F-AT-mods-alt-cut-right.JPG
F-AT-mods-alt-cut-right.JPG (1.13 MiB) Viewed 5995 times
wcass-7-16-SAE-washer-F-toM.JPG
wcass-7-16-SAE-washer-F-toM.JPG (155.5 KiB) Viewed 5995 times

User avatar
ag36

11 Aug 2018, 01:48

My method doesn't reduce the travel at all though :) Thin plastic sheet.

User avatar
Darkshado

11 Aug 2018, 04:33

I also tried the SAE 7/16 washers but didn't like the travel impediment and rattling. (Don't mind the barrel on B, that was a test.)
For what it's worth, I used a regular AT-style buttress barrel for the spacebar, with the goal of preserving the spacebar frame and stabilizer, works fine. Hacked the modifier keycaps to keep the case as-is too. The only non-reversible changes I made to that board are the rotary tool work and paint.
F AT - Spacebar mod.jpg
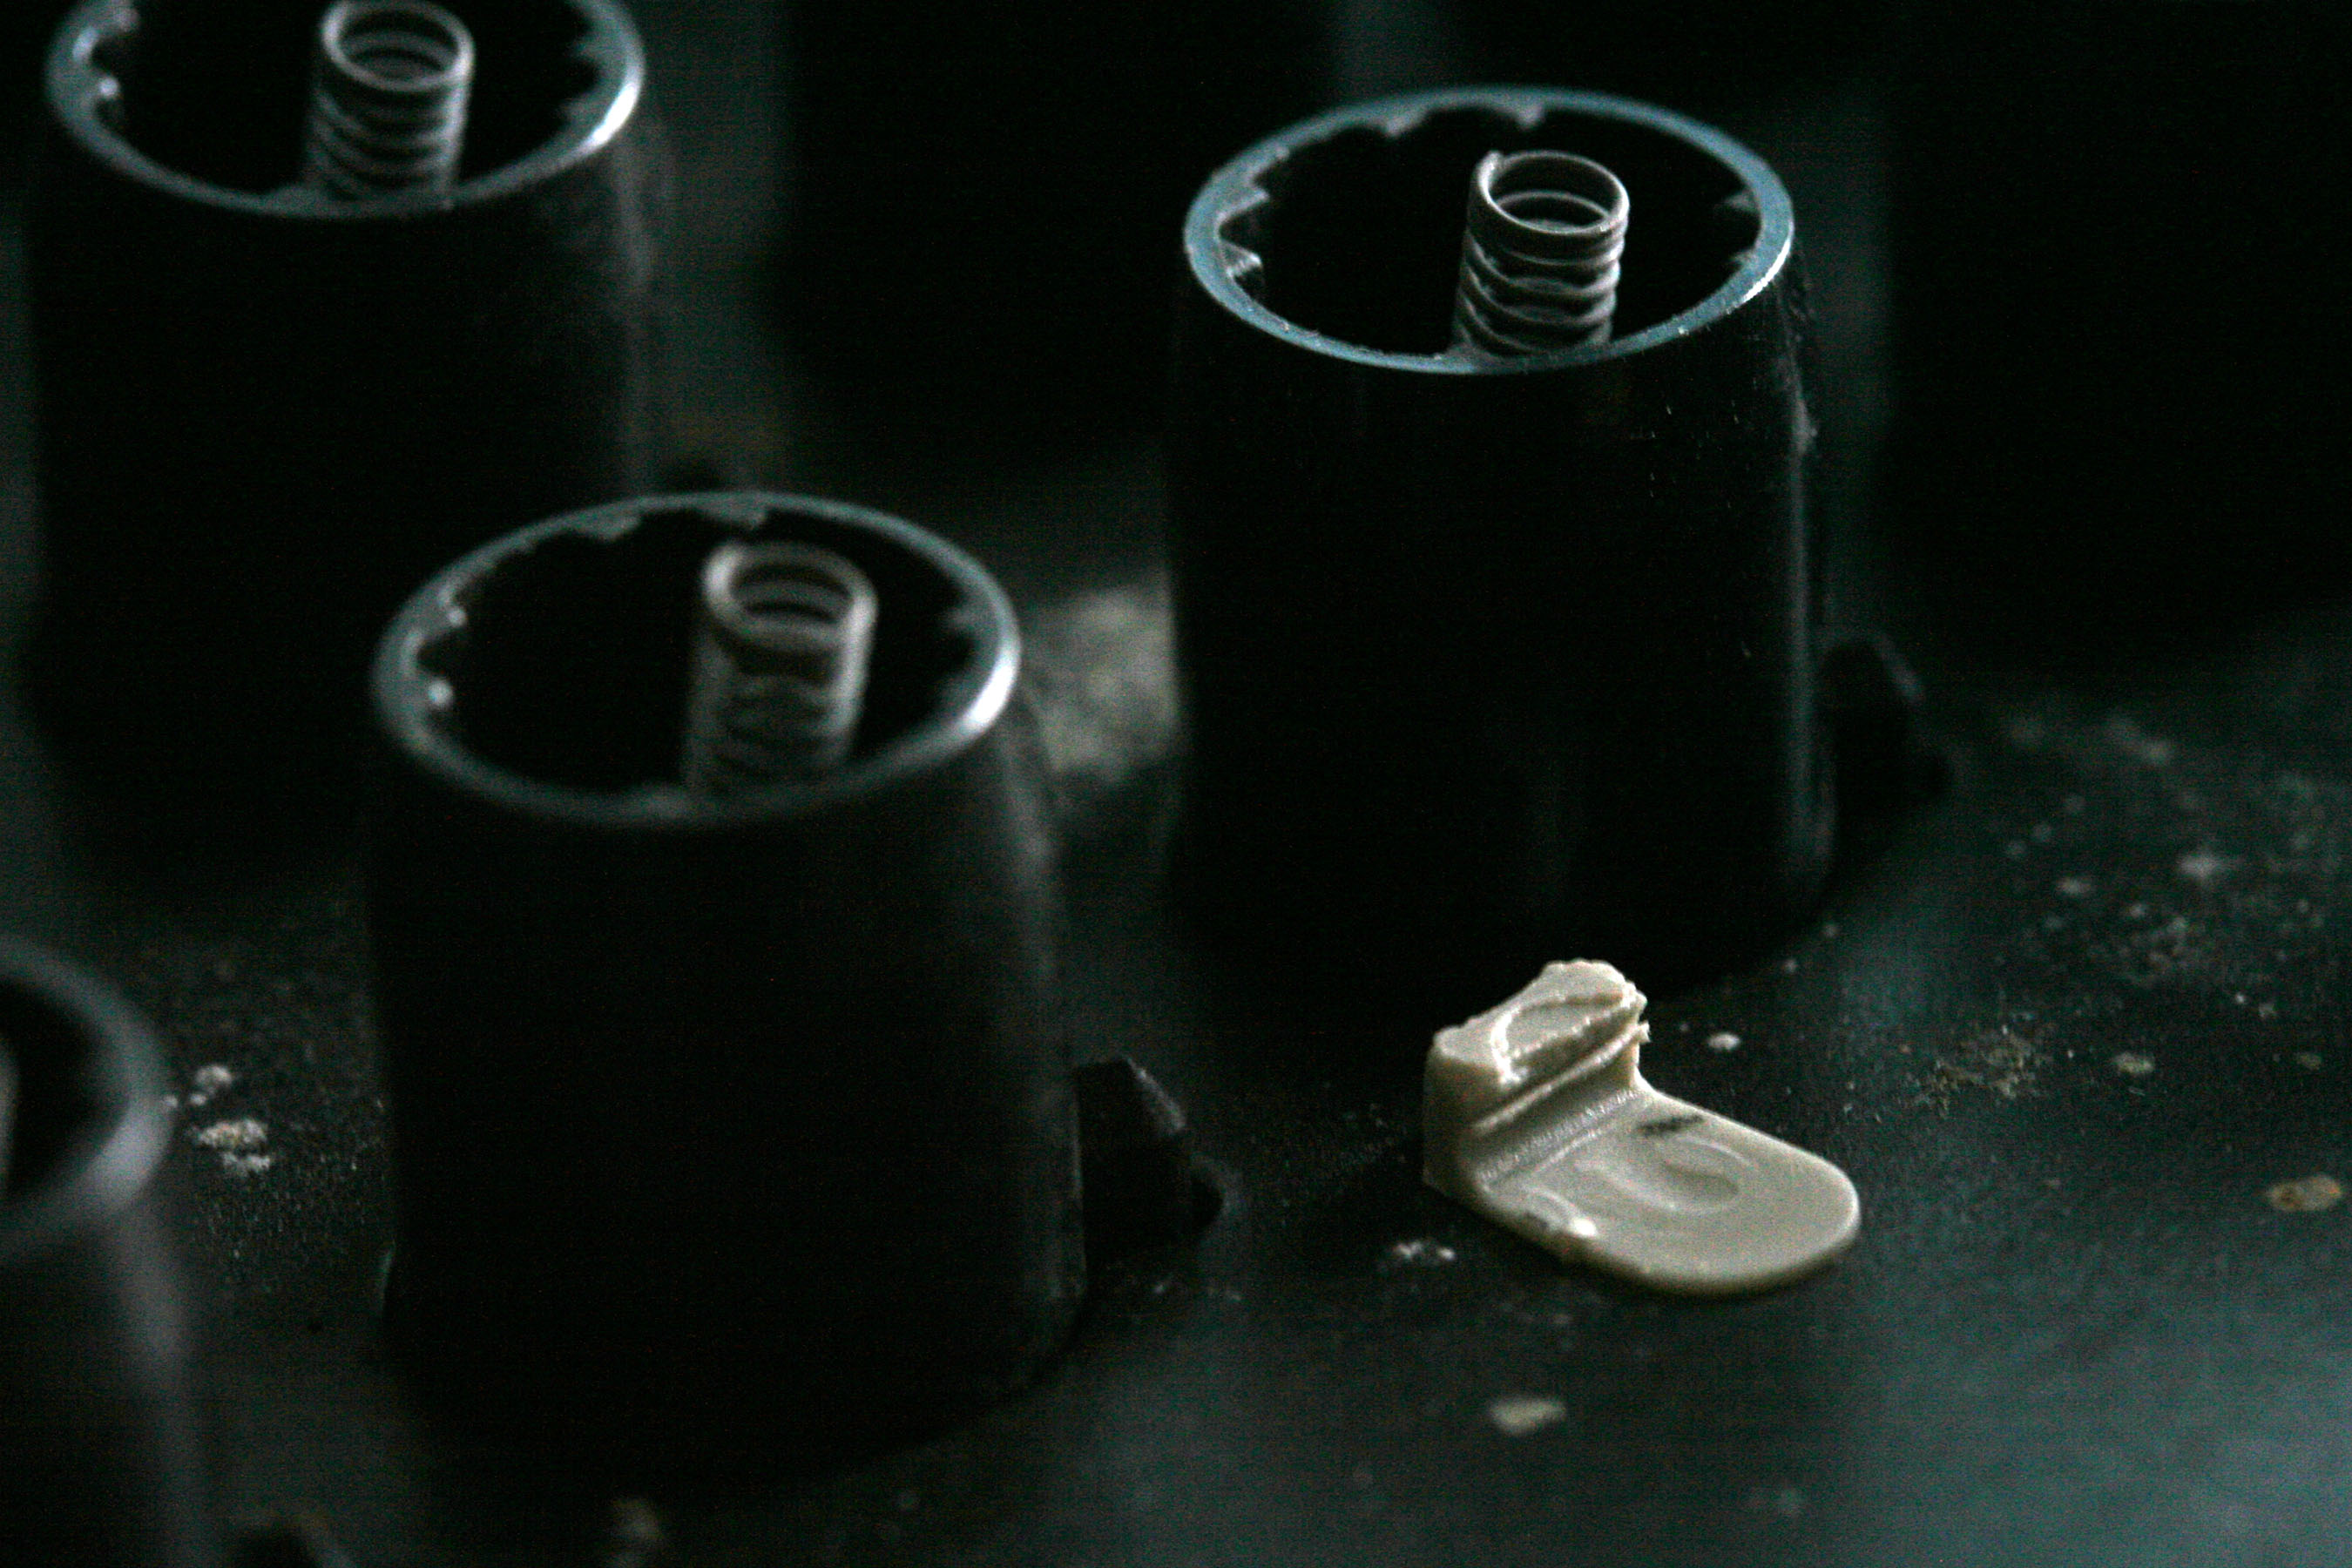
F AT - Spacebar mod.jpg (3.21 MiB) Viewed 5973 times
(Note to self: check fit of the 1.25u ISO left shift.)

Thin plastic and a drop of hot glue? Got any pictures of that? Would be easier than epoxy-ing metal tabs (as fohat) or transplanting numpad stabilizers with custom-made wire (as E TwentyNine over on GH).

Another option I've been meaning to explore next time I have the case open: reversing the wire so the full length is on the bar and the "hooks" are out, it did fit in the very front of the case.

User avatar
troglotype

11 Aug 2018, 13:20

Darkshado wrote: Hacked the modifier keycaps to keep the case as-is too.
Interesting! I would like to keep the mod as non-intrusive and reversible as possible, too. How did you hack the modifier keycaps, if I may ask?
ag36 wrote: My method doesn't reduce the travel at all though :) Thin plastic sheet.
I'm also very curious how you did that.

User avatar
ag36

11 Aug 2018, 19:17

1.5mm HIPS sheet.
Attachments
IMG_20180811_181552.jpg
IMG_20180811_181552.jpg (3.13 MiB) Viewed 5923 times

User avatar
troglotype

11 Aug 2018, 19:41

ag36 wrote: 1.5mm HIPS sheet.
Thank you!

These blue modifiers look really nice!

User avatar
ag36

12 Aug 2018, 03:51

troglotype wrote:
ag36 wrote: 1.5mm HIPS sheet.
Thank you!

These blue modifiers look really nice!

You're welcome :)

User avatar
Darkshado

12 Aug 2018, 06:16

troglotype wrote:
Darkshado wrote: Hacked the modifier keycaps to keep the case as-is too.
Interesting! I would like to keep the mod as non-intrusive and reversible as possible, too. How did you hack the modifier keycaps, if I may ask?
I used a small box cutter style knife; what I should have used for a cleaner result is a rotary tool. (I don't recall if I had already bought mine at the time...)

User avatar
troglotype

12 Aug 2018, 10:59

Darkshado wrote:
troglotype wrote:
Darkshado wrote: I used a small box cutter style knife
I can already feel my hands shaking :)

User avatar
sealclubber

13 Aug 2018, 17:15

That alt spacebar alt setup is really slick. Managed to put a unicomp 6.25 spacebar on my xt using 3d printed stabs just superglued right onto the plate but never did anything fancy to the space left over. Really nice work!

User avatar
digital_matthew

13 Aug 2018, 17:21

When did you get those blue Unicomp keys? They look closer to the MOPAR Blue than the ones I currently own. It may be just the photos though. Awesome work, BTW! :)

green-squid

13 Aug 2018, 19:23

:) Nice writeup! Your board looks great with those blue modifiers by the way

User avatar
ag36

14 Aug 2018, 00:34


Post Reply

Return to “Keyboards”