IBM 3101 Beamspring keyboard restoration.

User avatar
chzel

24 Jan 2016, 15:31

So, thanks to dzhoou, I got me a beamspring!
Advertised as a barn find, it turns out it was an accurate description!
After a couple of weeks in transit, it arrived in perfect packaging, in a huge box with styrofoam and stuff.
D72_2073.jpg
D72_2073.jpg (681.76 KiB) Viewed 9395 times
I got it out and had a look...and immediately decided to start cleaning it...It was rather nasty, so some pics are going under spoiler tags for the sake of any squirmish reader among us!

Quite a bit of dirt on there, all caps are present, although 7,8 and 9 had bent stems.
D72_2077.jpg
D72_2077.jpg (769.15 KiB) Viewed 9395 times
This one is for Halvar: The secret compartment!
Nothing too secret of course,just DIP switches!
D72_2088.jpg
D72_2088.jpg (683.13 KiB) Viewed 9395 times
And instructions
D72_2089.jpg
D72_2089.jpg (616.91 KiB) Viewed 9395 times
I pulled a cap, and the contamination shield has disintegrated completely.
D72_2078.jpg
D72_2078.jpg (754.47 KiB) Viewed 9395 times
The back of the beast, unfortuntely the manual and cover are missing.
D72_2079.jpg
D72_2079.jpg (783.54 KiB) Viewed 9395 times
1979 CANADA INTERNATIONAL BUSINESS MACHINES CORPORATION
D72_2080.jpg
D72_2080.jpg (717.86 KiB) Viewed 9395 times
The label, born on the 18th week of 1982. The first keyboard I own that's older than me.
D72_2082.jpg
D72_2082.jpg (902.42 KiB) Viewed 9395 times
So, I don nitrile gloves and dig in...
Blue screws with star lock washers!
D72_2087.jpg
D72_2087.jpg (740.23 KiB) Viewed 9395 times
And I'm greeted by this little guy.
Spoiler:
D72_2090.jpg
D72_2090.jpg (648.65 KiB) Viewed 9395 times
As soon as I snap the pic he rushes somewhere inside, only to be found again later!

This is what I'm dealing with...
D72_2095.jpg
D72_2095.jpg (873.46 KiB) Viewed 9395 times
Nastiness alert:
Spoiler:
D72_2093.jpg
D72_2093.jpg (764.38 KiB) Viewed 9395 times
D72_2097.jpg
D72_2097.jpg (774.02 KiB) Viewed 9395 times
D72_2098.jpg
D72_2098.jpg (721.66 KiB) Viewed 9395 times
D72_2099.jpg
D72_2099.jpg (830.66 KiB) Viewed 9395 times
To be continued...
Last edited by chzel on 23 Feb 2016, 15:11, edited 1 time in total.

User avatar
chzel

24 Jan 2016, 15:31

Nastiness continues:
Spoiler:
D72_2103.jpg
D72_2103.jpg (844.84 KiB) Viewed 9374 times
D72_2108.jpg
D72_2108.jpg (848.7 KiB) Viewed 9374 times
Only one rusted switch,
D72_2104.jpg
D72_2104.jpg (944.1 KiB) Viewed 9374 times
So much contamination, so little shield...
D72_2106.jpg
D72_2106.jpg (757.23 KiB) Viewed 9374 times
Shield pulled off, the plate has some corrosion, but nothing too bad.
D72_2109.jpg
D72_2109.jpg (851.77 KiB) Viewed 9374 times
The controller board
D72_2110.jpg
D72_2110.jpg (891.35 KiB) Viewed 9374 times
D72_2111.jpg
D72_2111.jpg (866.48 KiB) Viewed 9374 times
D72_2112.jpg
D72_2112.jpg (854.81 KiB) Viewed 9374 times
Lift the switch assembly and oh, the horror...
Spoiler:
D72_2114.jpg
D72_2114.jpg (771.01 KiB) Viewed 9374 times
D72_2116.jpg
D72_2116.jpg (760.89 KiB) Viewed 9374 times
The solenoid and cable entry
D72_2117.jpg
D72_2117.jpg (766.49 KiB) Viewed 9374 times
D72_2118.jpg
D72_2118.jpg (795.73 KiB) Viewed 9374 times
Spidey again...Getting a good macro shot of a spider running for it's life is damn hard...
Spoiler:
D72_2119.jpg
D72_2119.jpg (640.35 KiB) Viewed 9374 times
Switch sandwich removed and mounted upside down for safe opening
D72_2121.jpg
D72_2121.jpg (845.56 KiB) Viewed 9374 times
D72_2123.jpg
D72_2123.jpg (759.15 KiB) Viewed 9368 times
Last edited by chzel on 24 Jan 2016, 15:42, edited 2 times in total.

User avatar
chzel

24 Jan 2016, 15:31

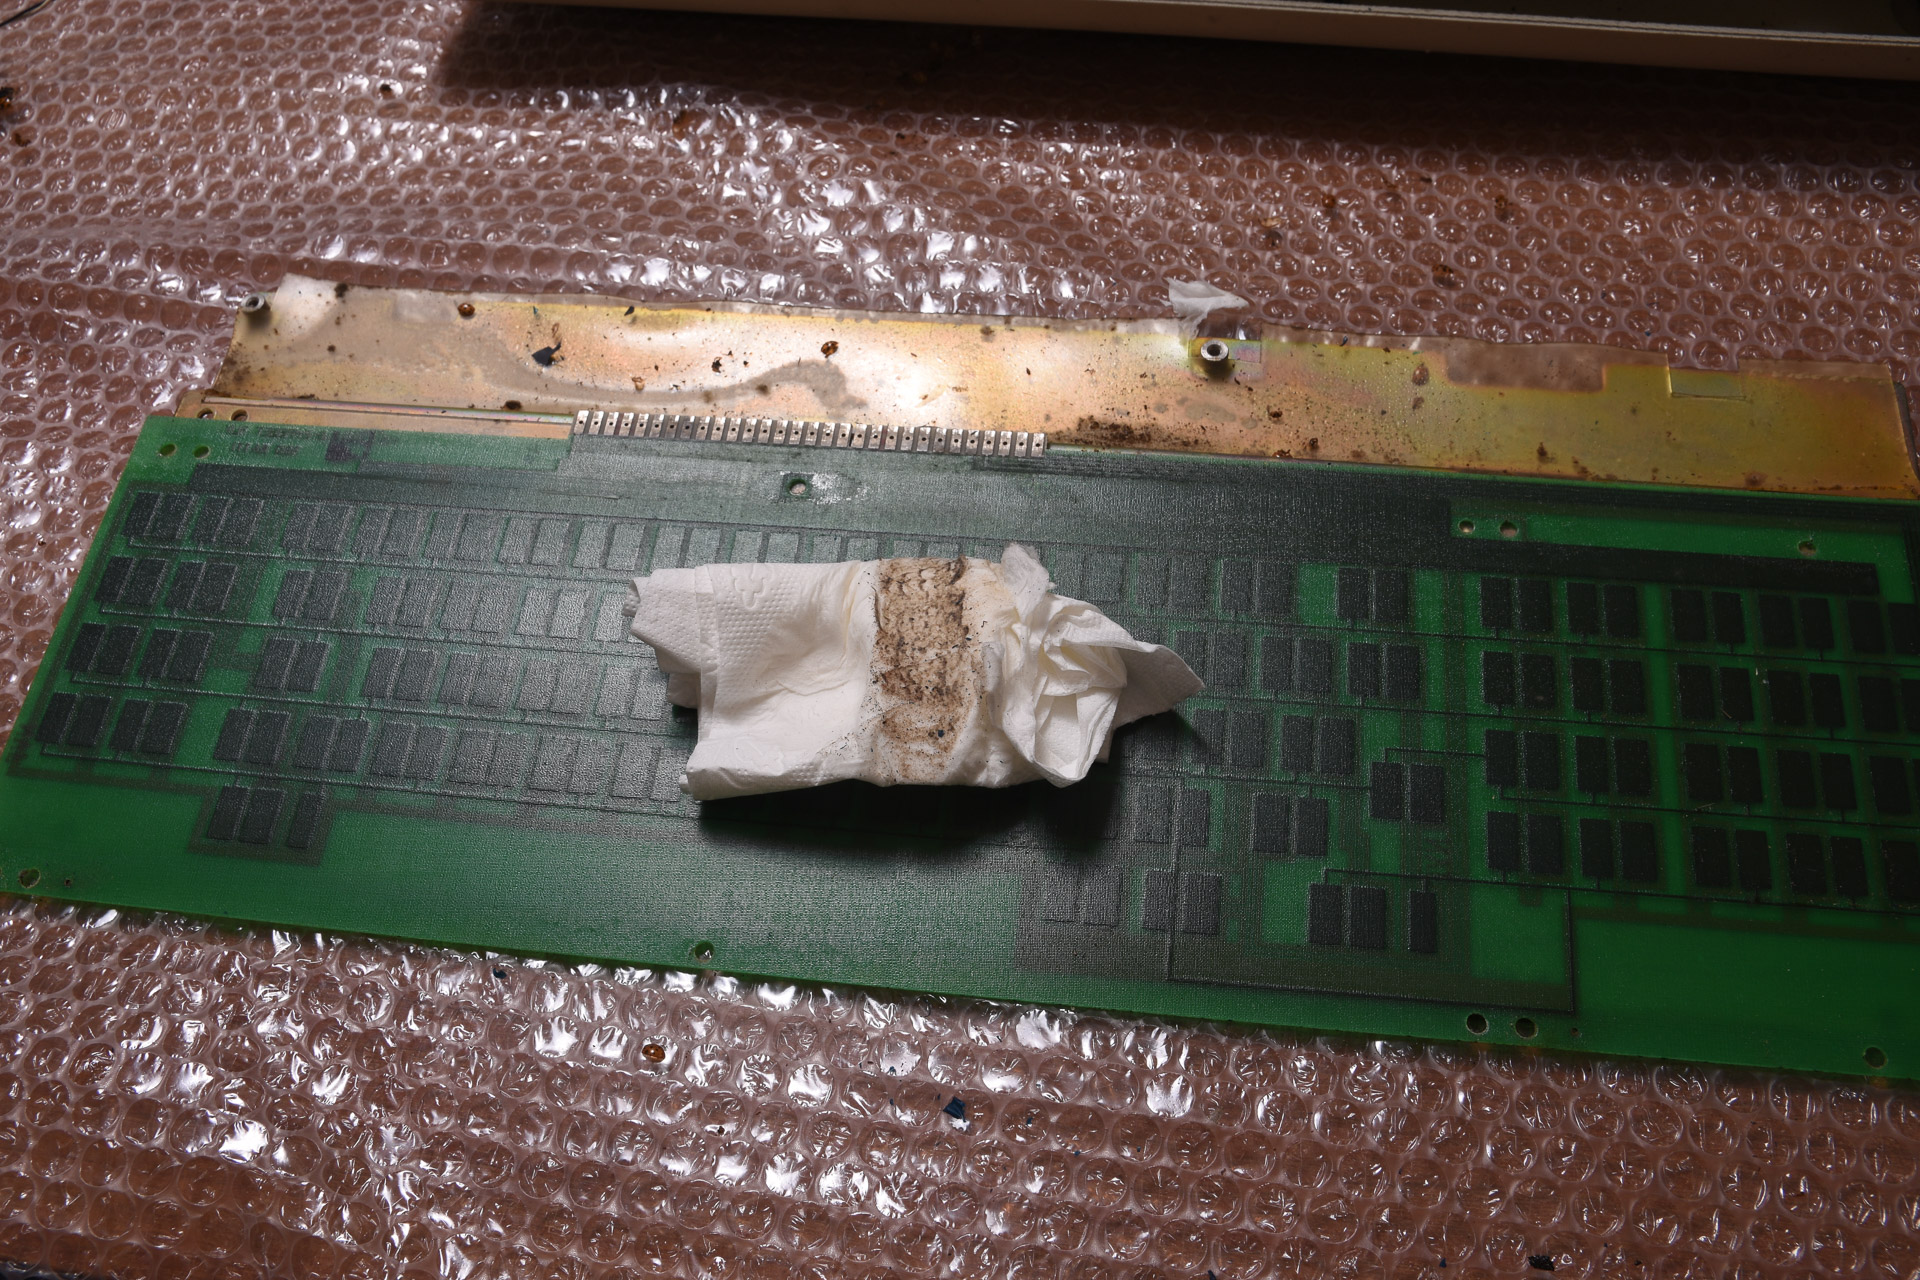
The pad card had a ton of crud on it. IPA to the rescue.
D72_2124.jpg
D72_2124.jpg (850.33 KiB) Viewed 9363 times
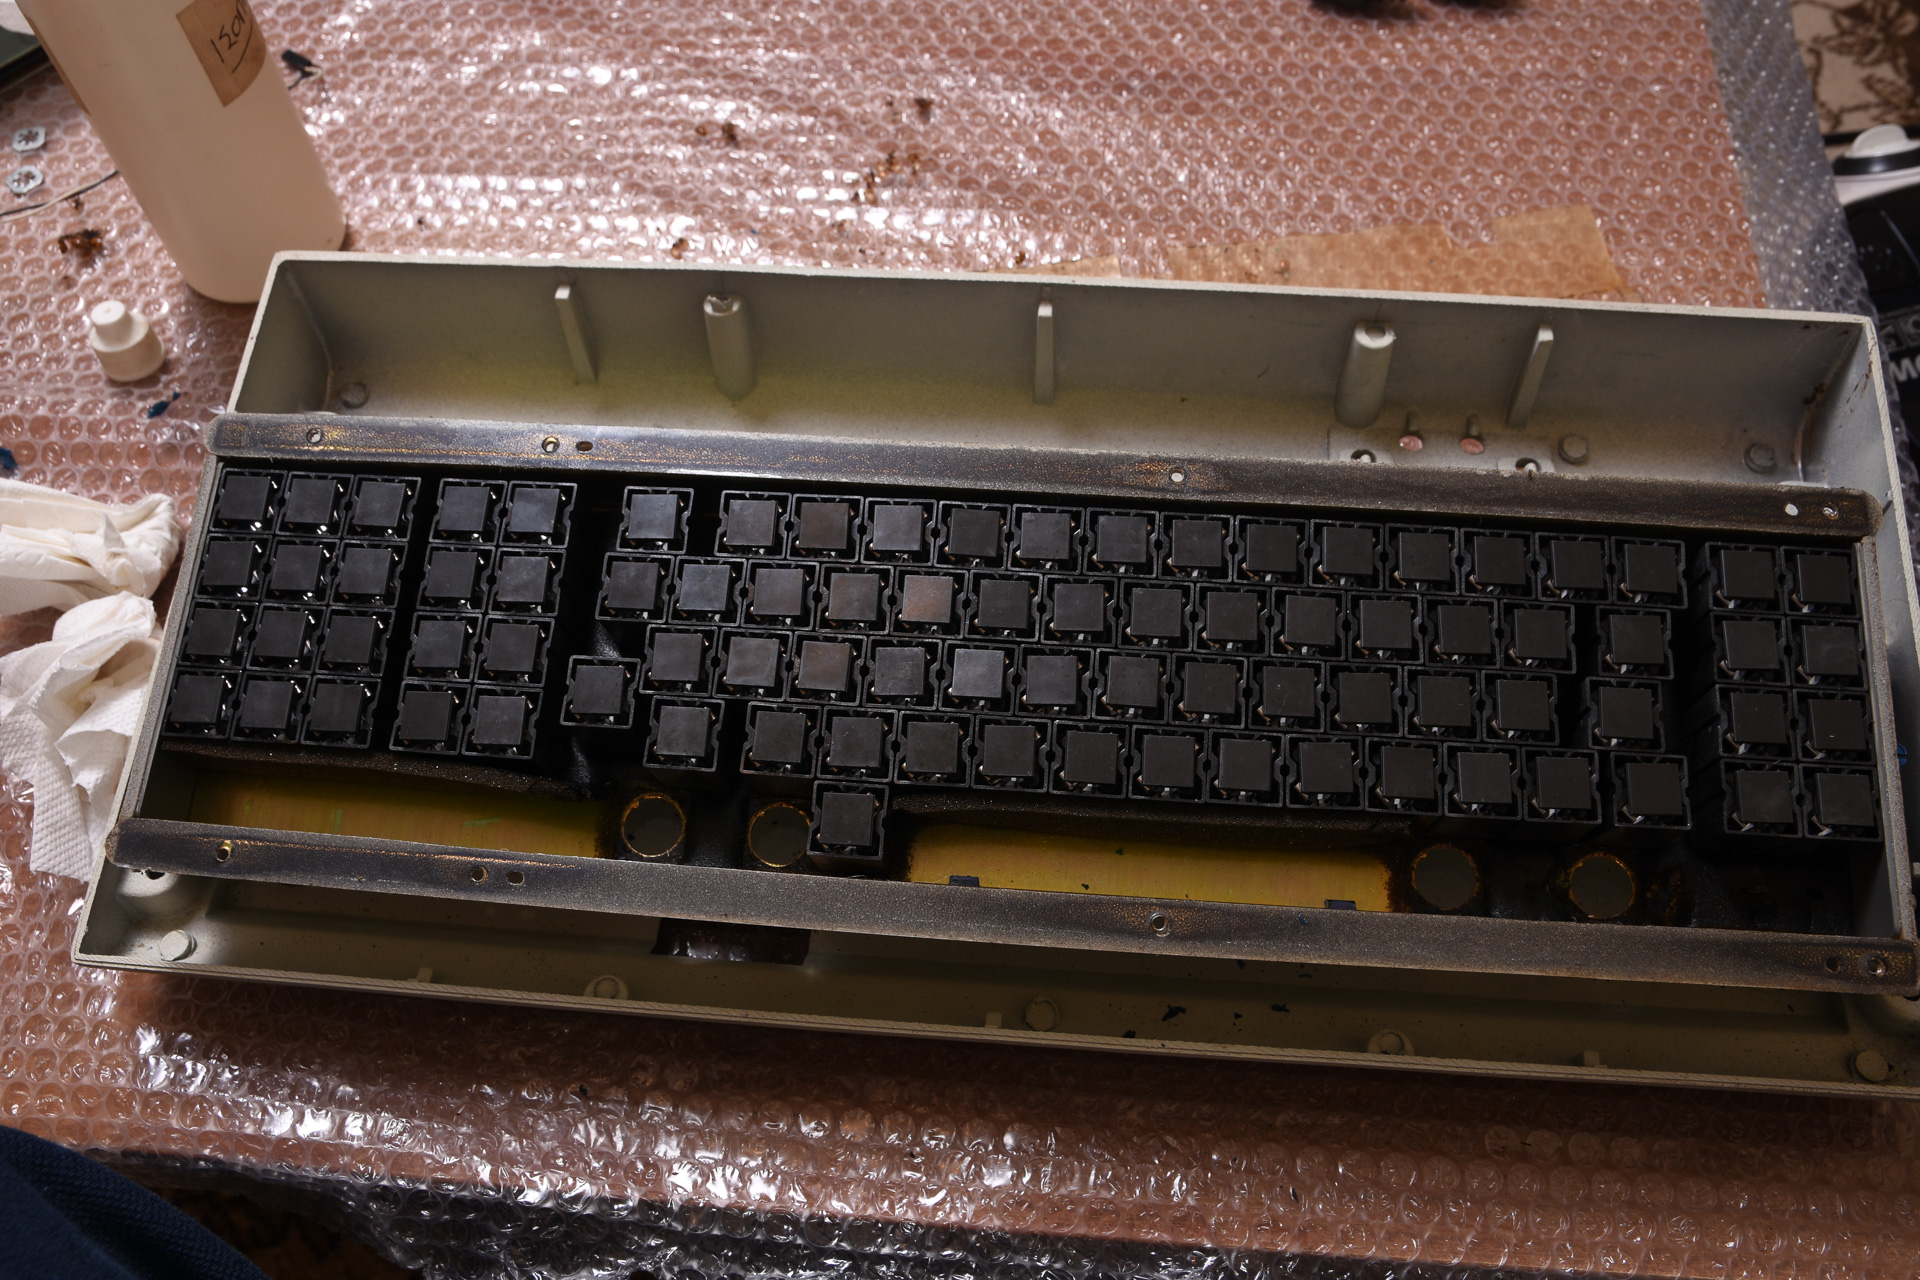
Switches exposed
D72_2127.jpg
D72_2127.jpg (867.36 KiB) Viewed 9363 times
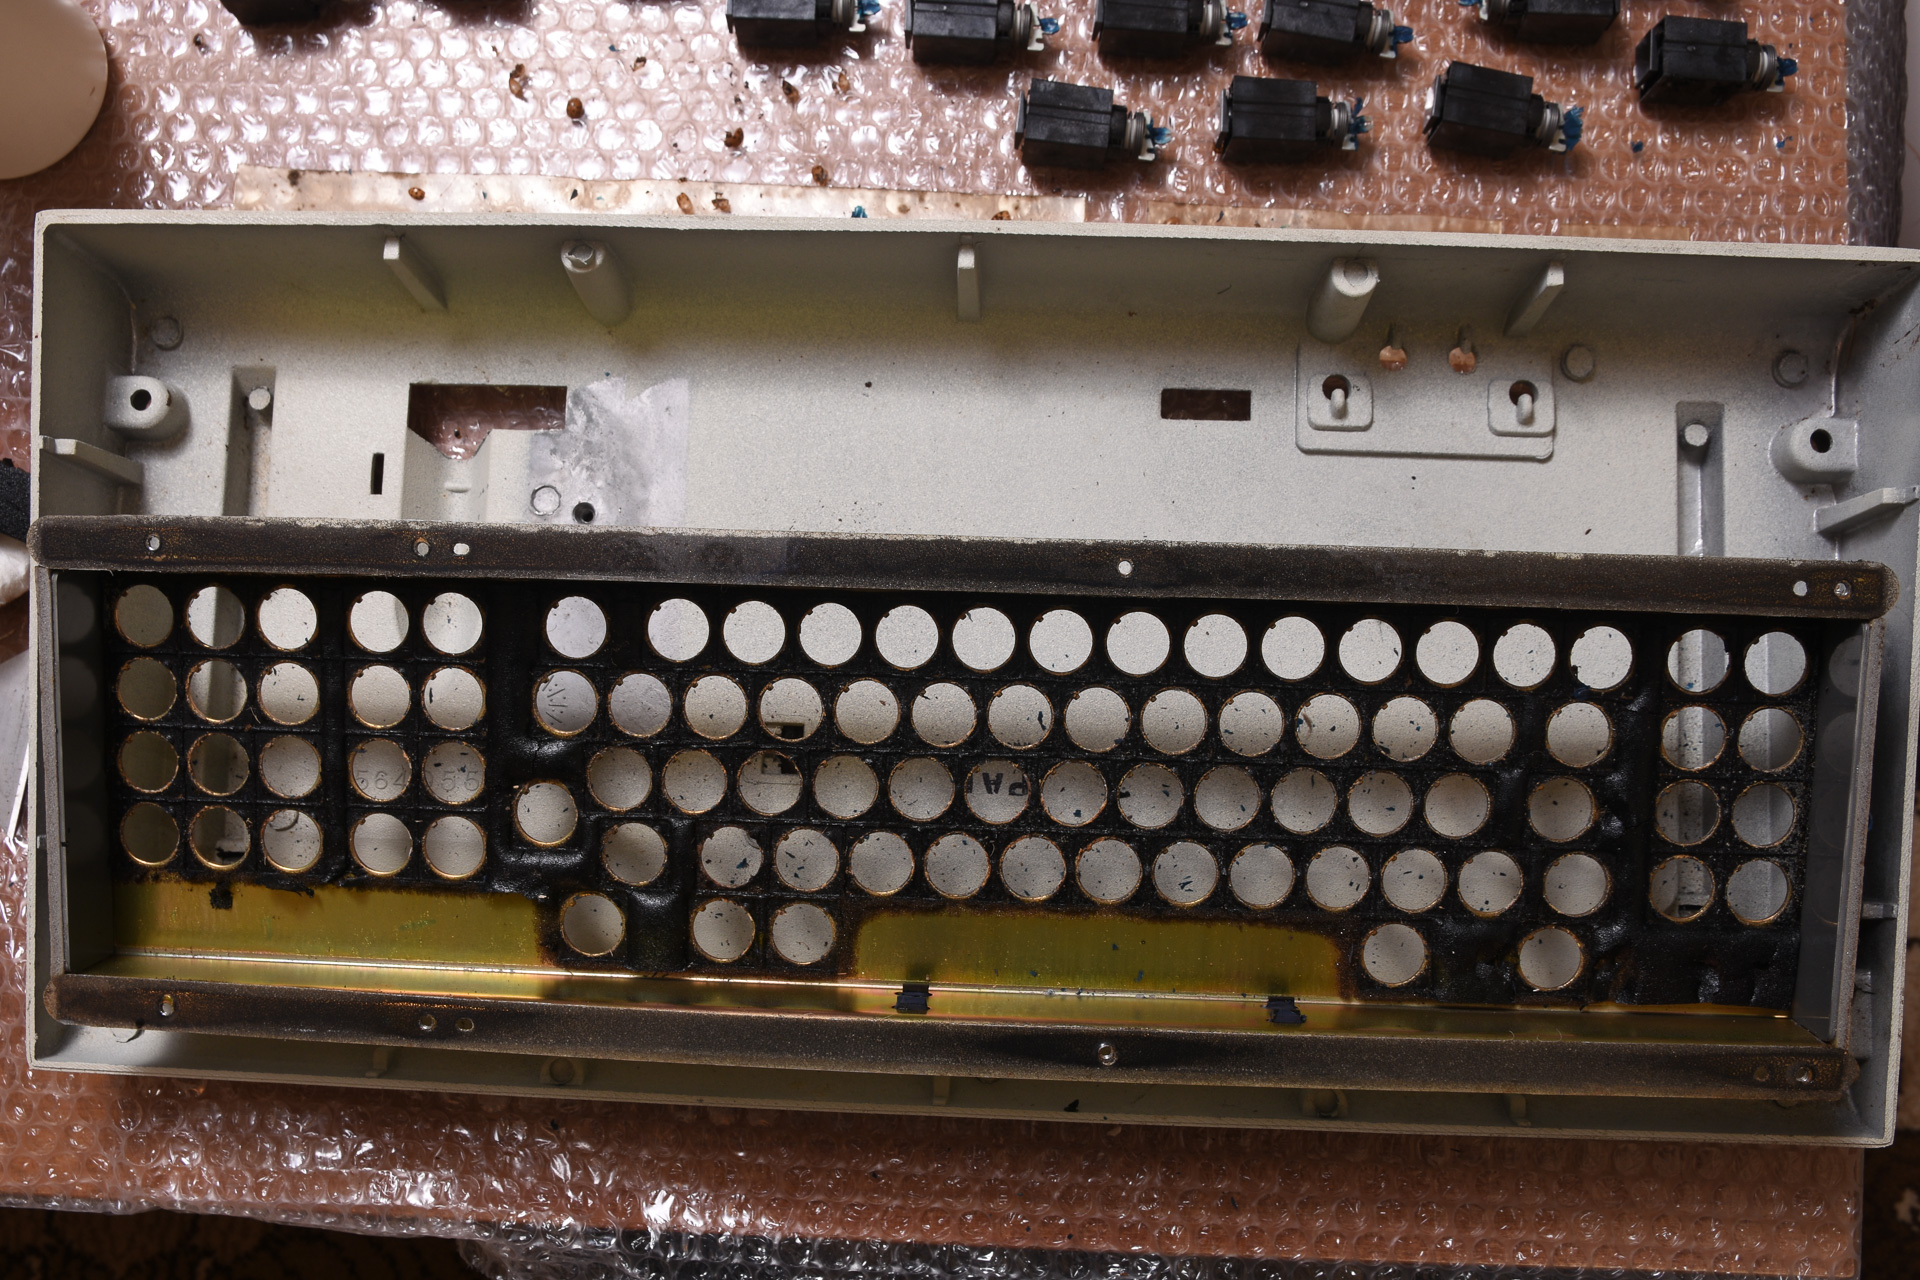
Nasty foam, as is normal for IBM...
D72_2130.jpg
D72_2130.jpg (942.51 KiB) Viewed 9363 times
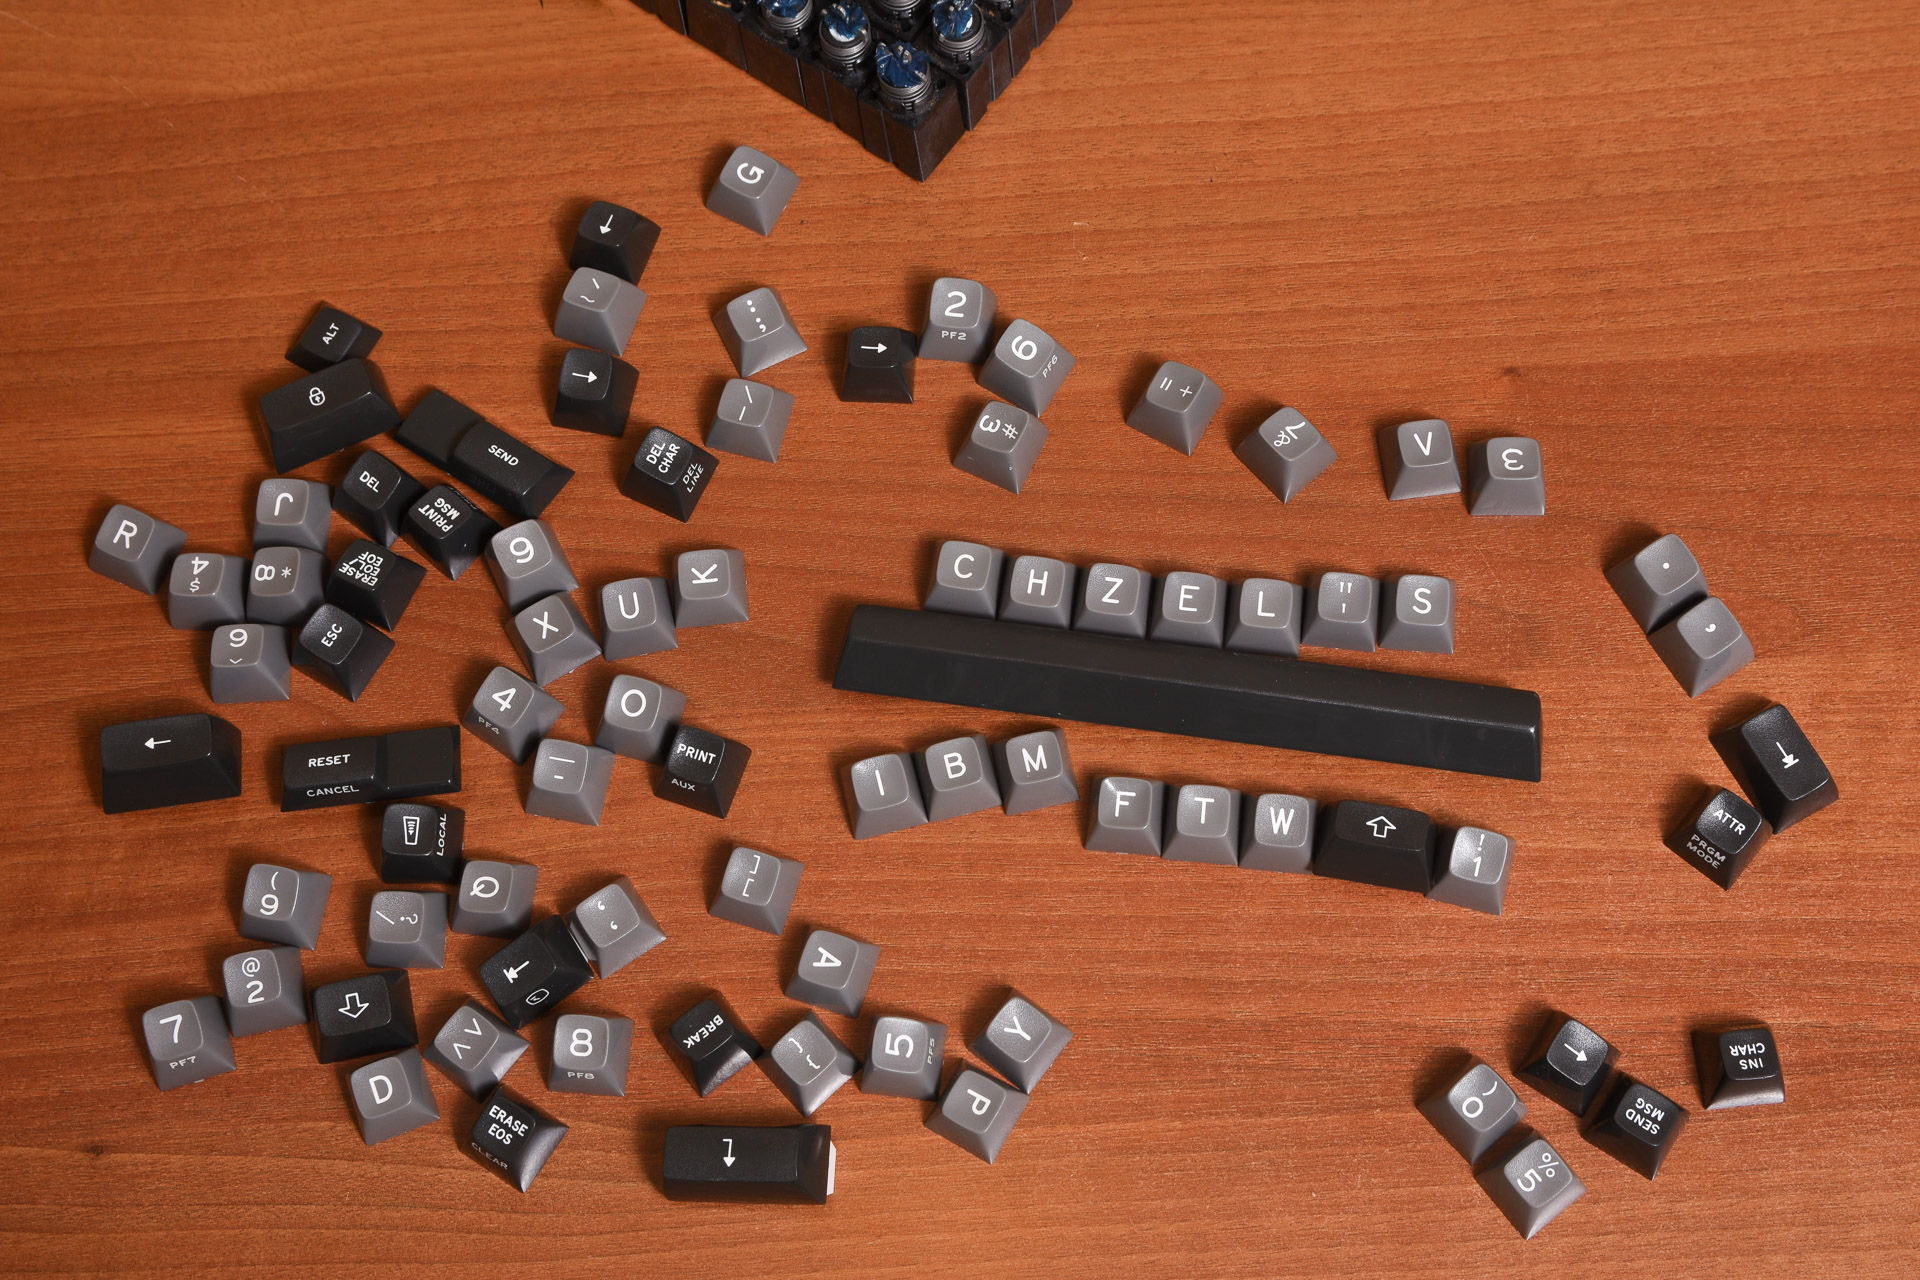
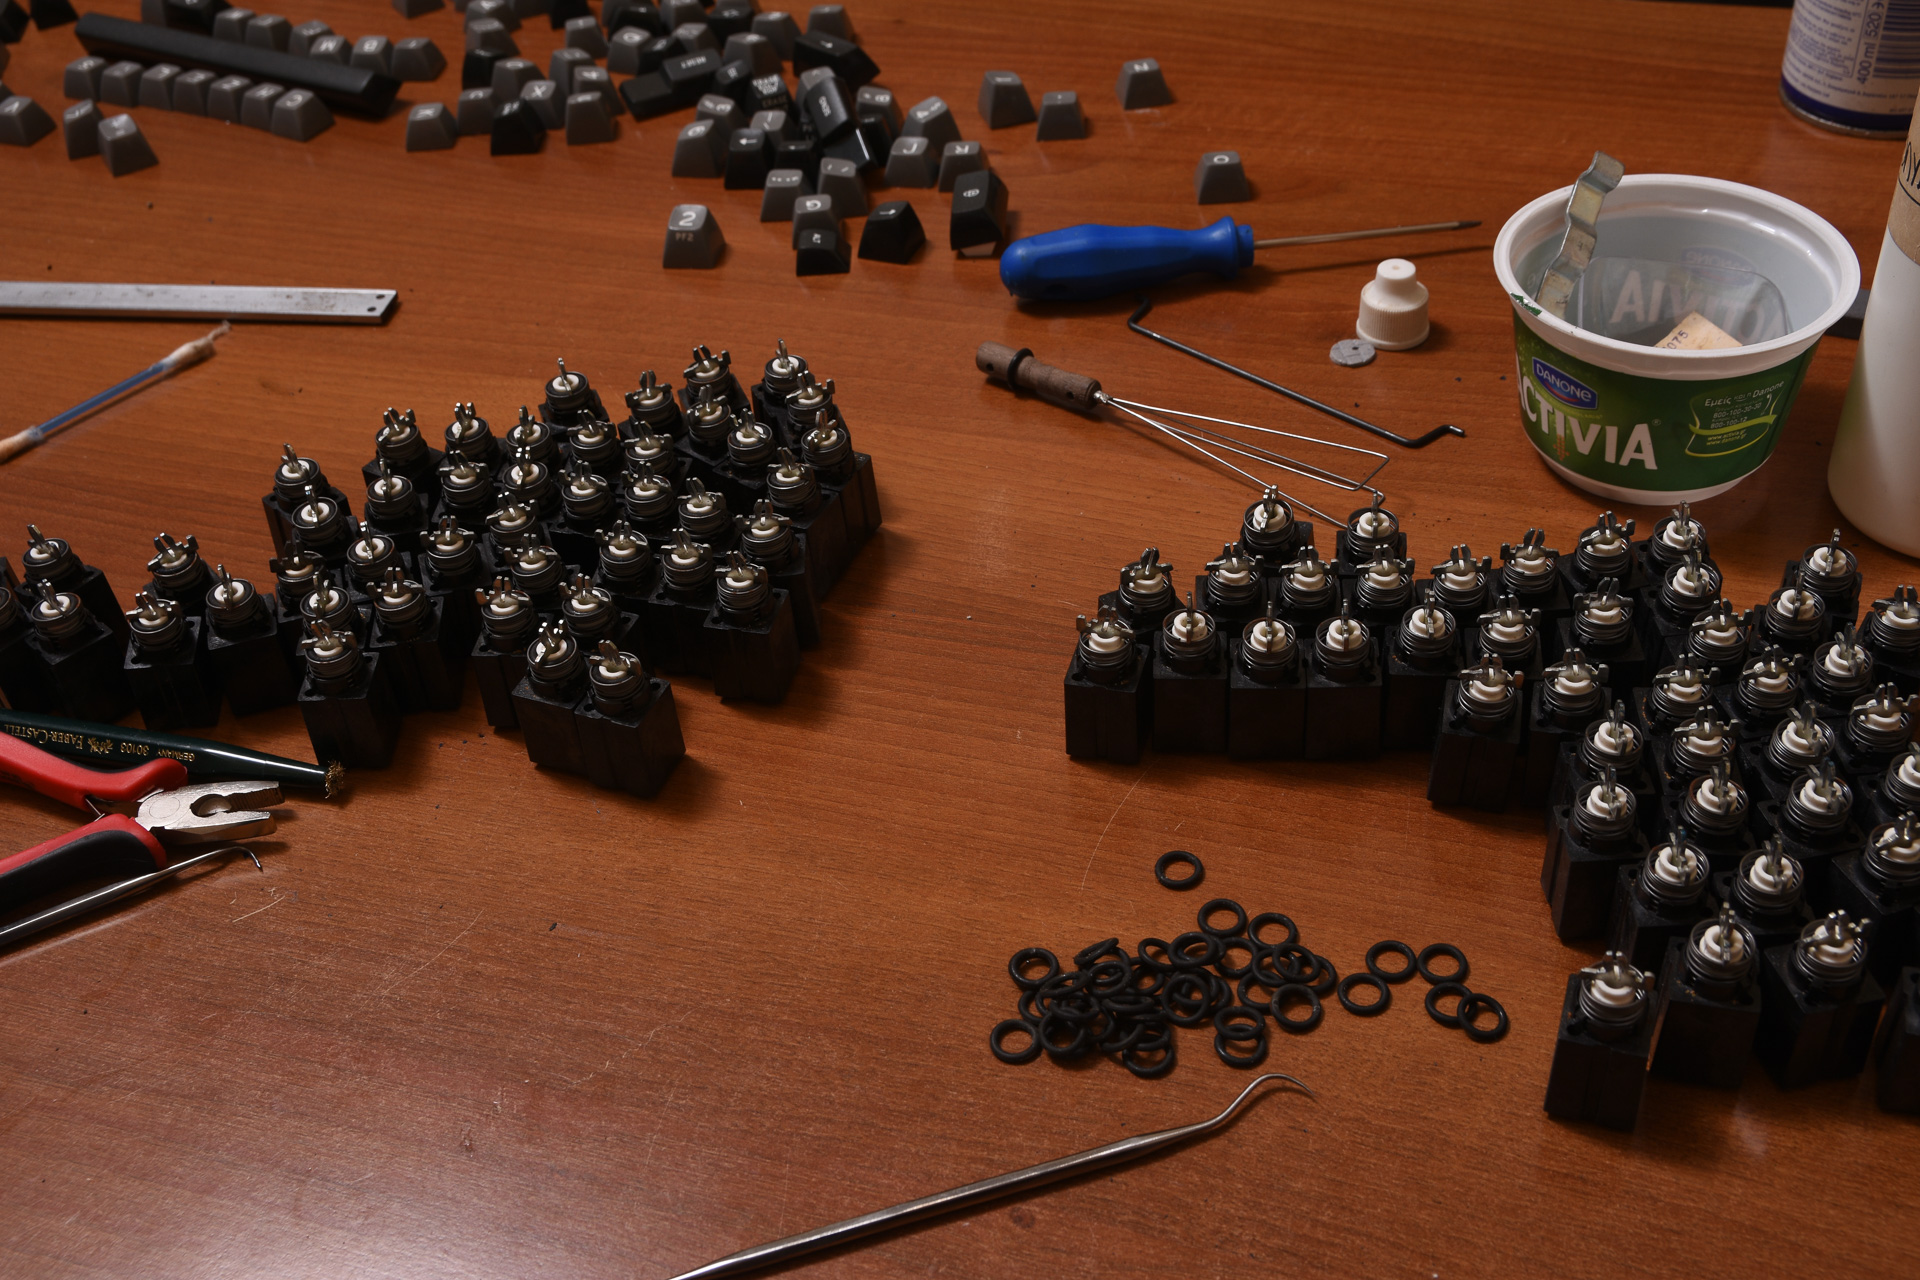
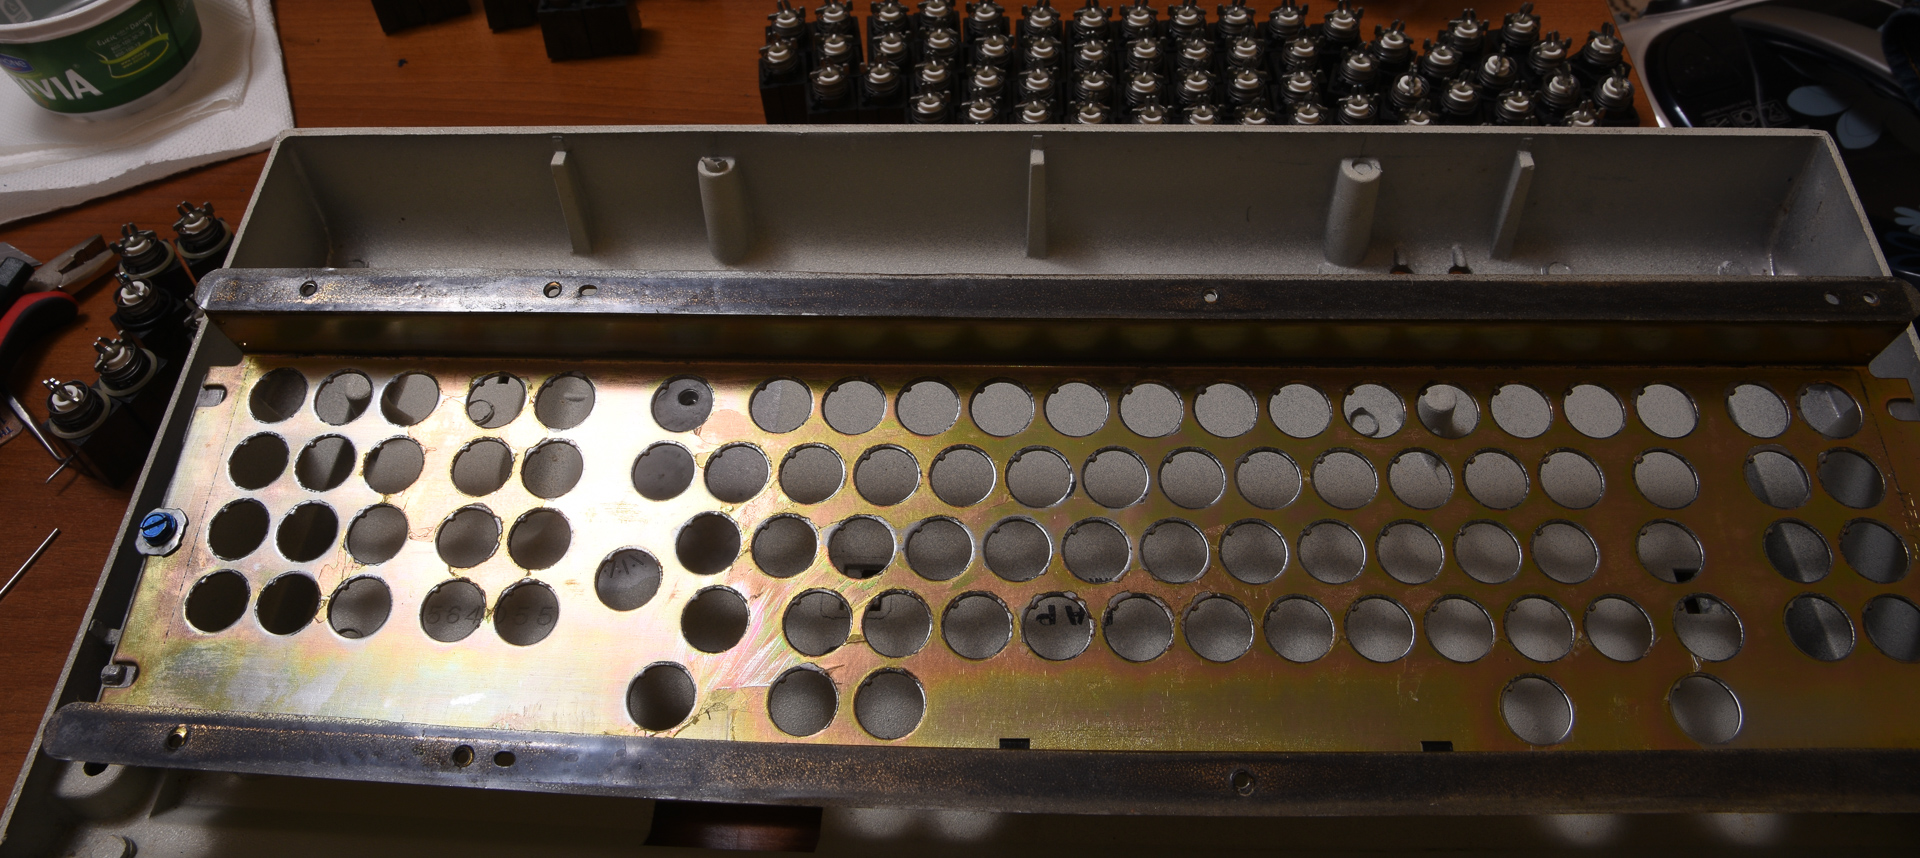
All switches removed and lined up!
D72_2132.jpg
D72_2132.jpg (905.1 KiB) Viewed 9363 times
At this point everything got a bit messy, so I have no pics of the actual cleaning, but the case and the switch "cage" were washed and scrubed with a brush and hand soap.
I didn't go crazy on the case, as there is quite a bit of deep-embeded dirt, and it was already flaking in some spots.

Meanwhile the caps got a good soak and cleaning with a toothbrush.
D72_2131.jpg
D72_2131.jpg (765.72 KiB) Viewed 9363 times
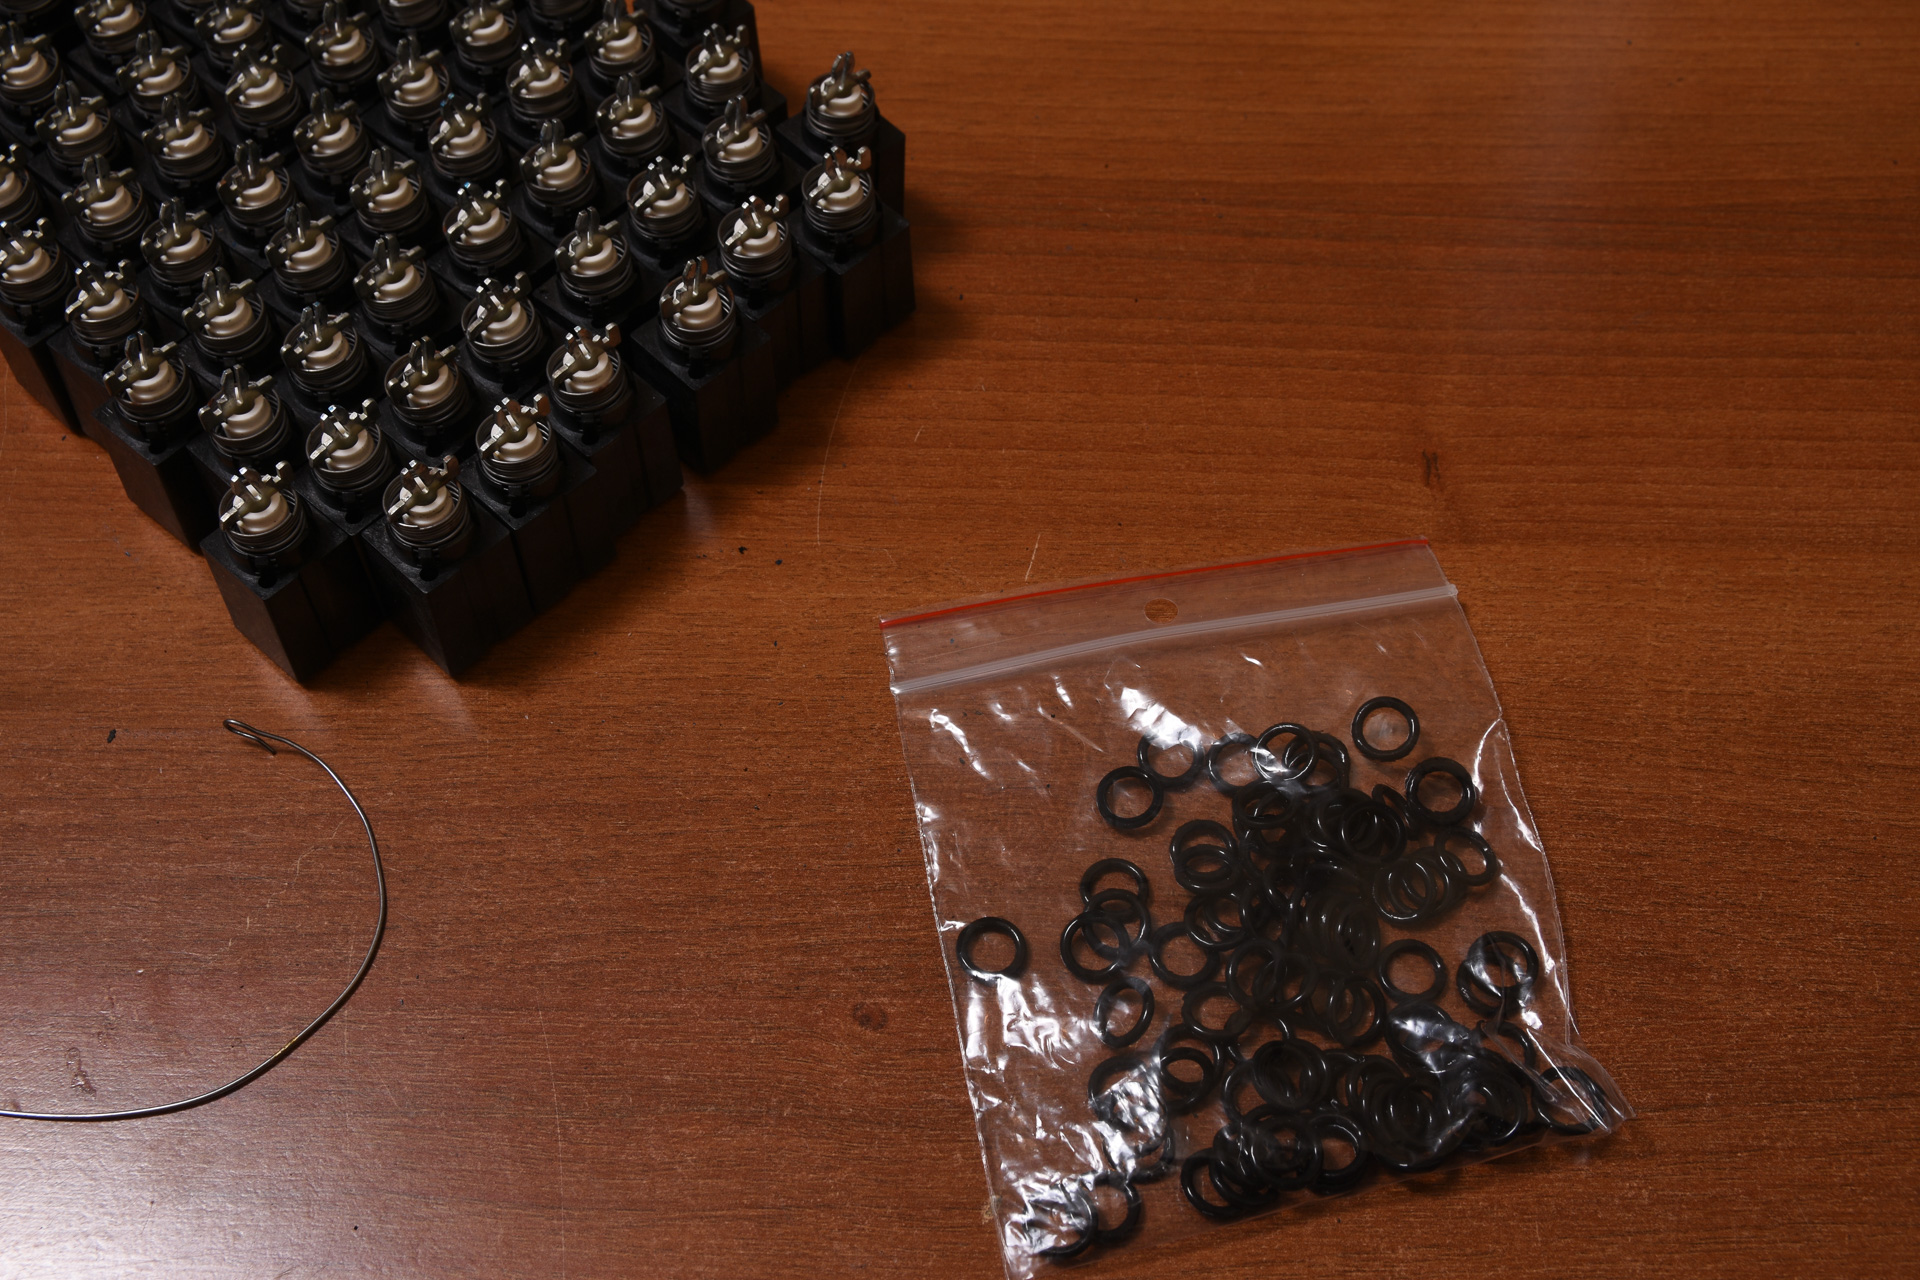
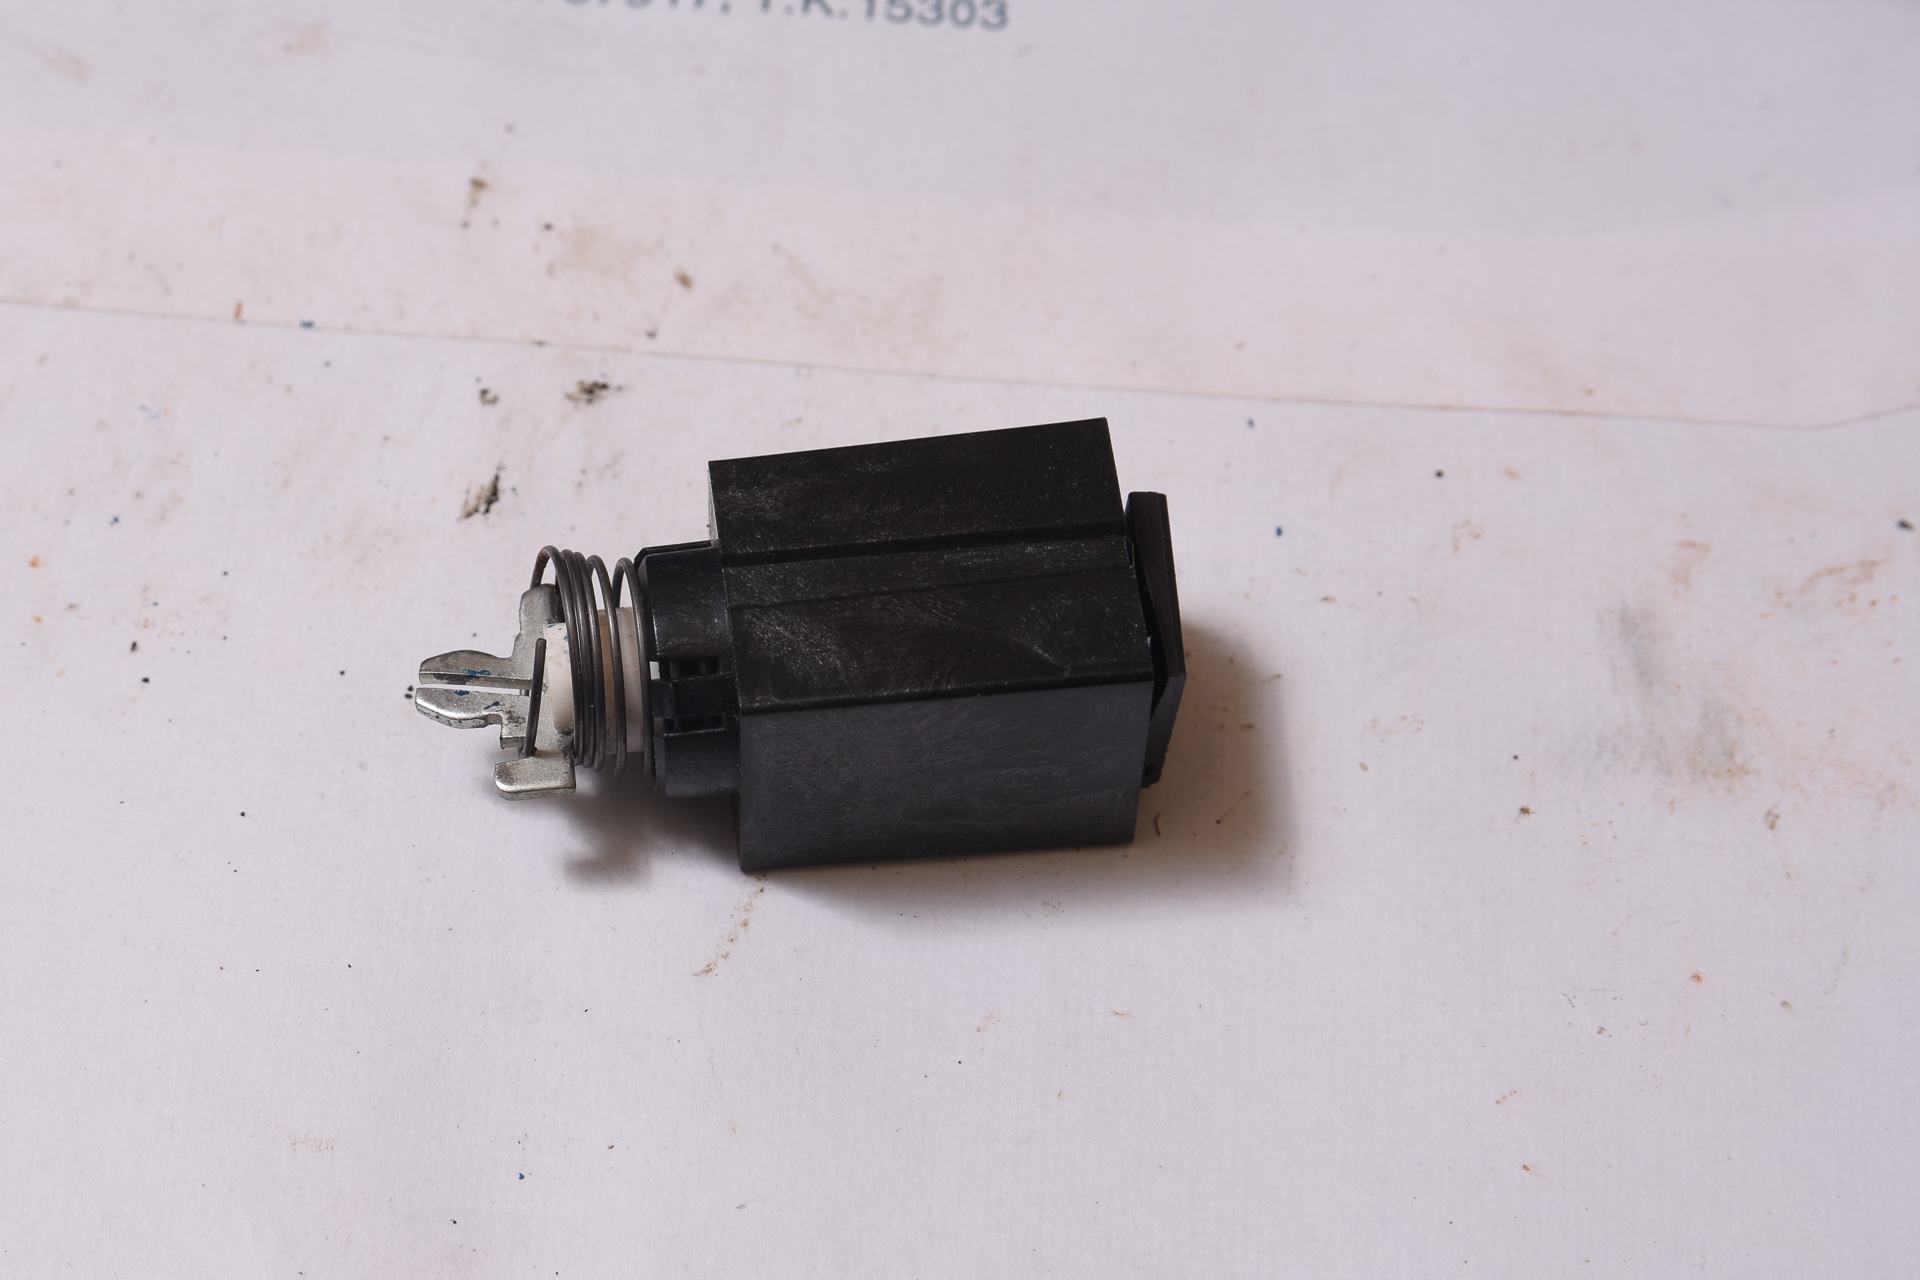
I removed the orings from the switches to clean and lubricate them.
D72_2138.jpg
D72_2138.jpg (809.2 KiB) Viewed 9363 times
Washed and soaked in just a bit of silicone oil.
D72_2140.jpg
D72_2140.jpg (878.83 KiB) Viewed 9363 times
I cleaned the stems from the contamination shield remains with and eraser and a brass brush.
D72_2136.jpg
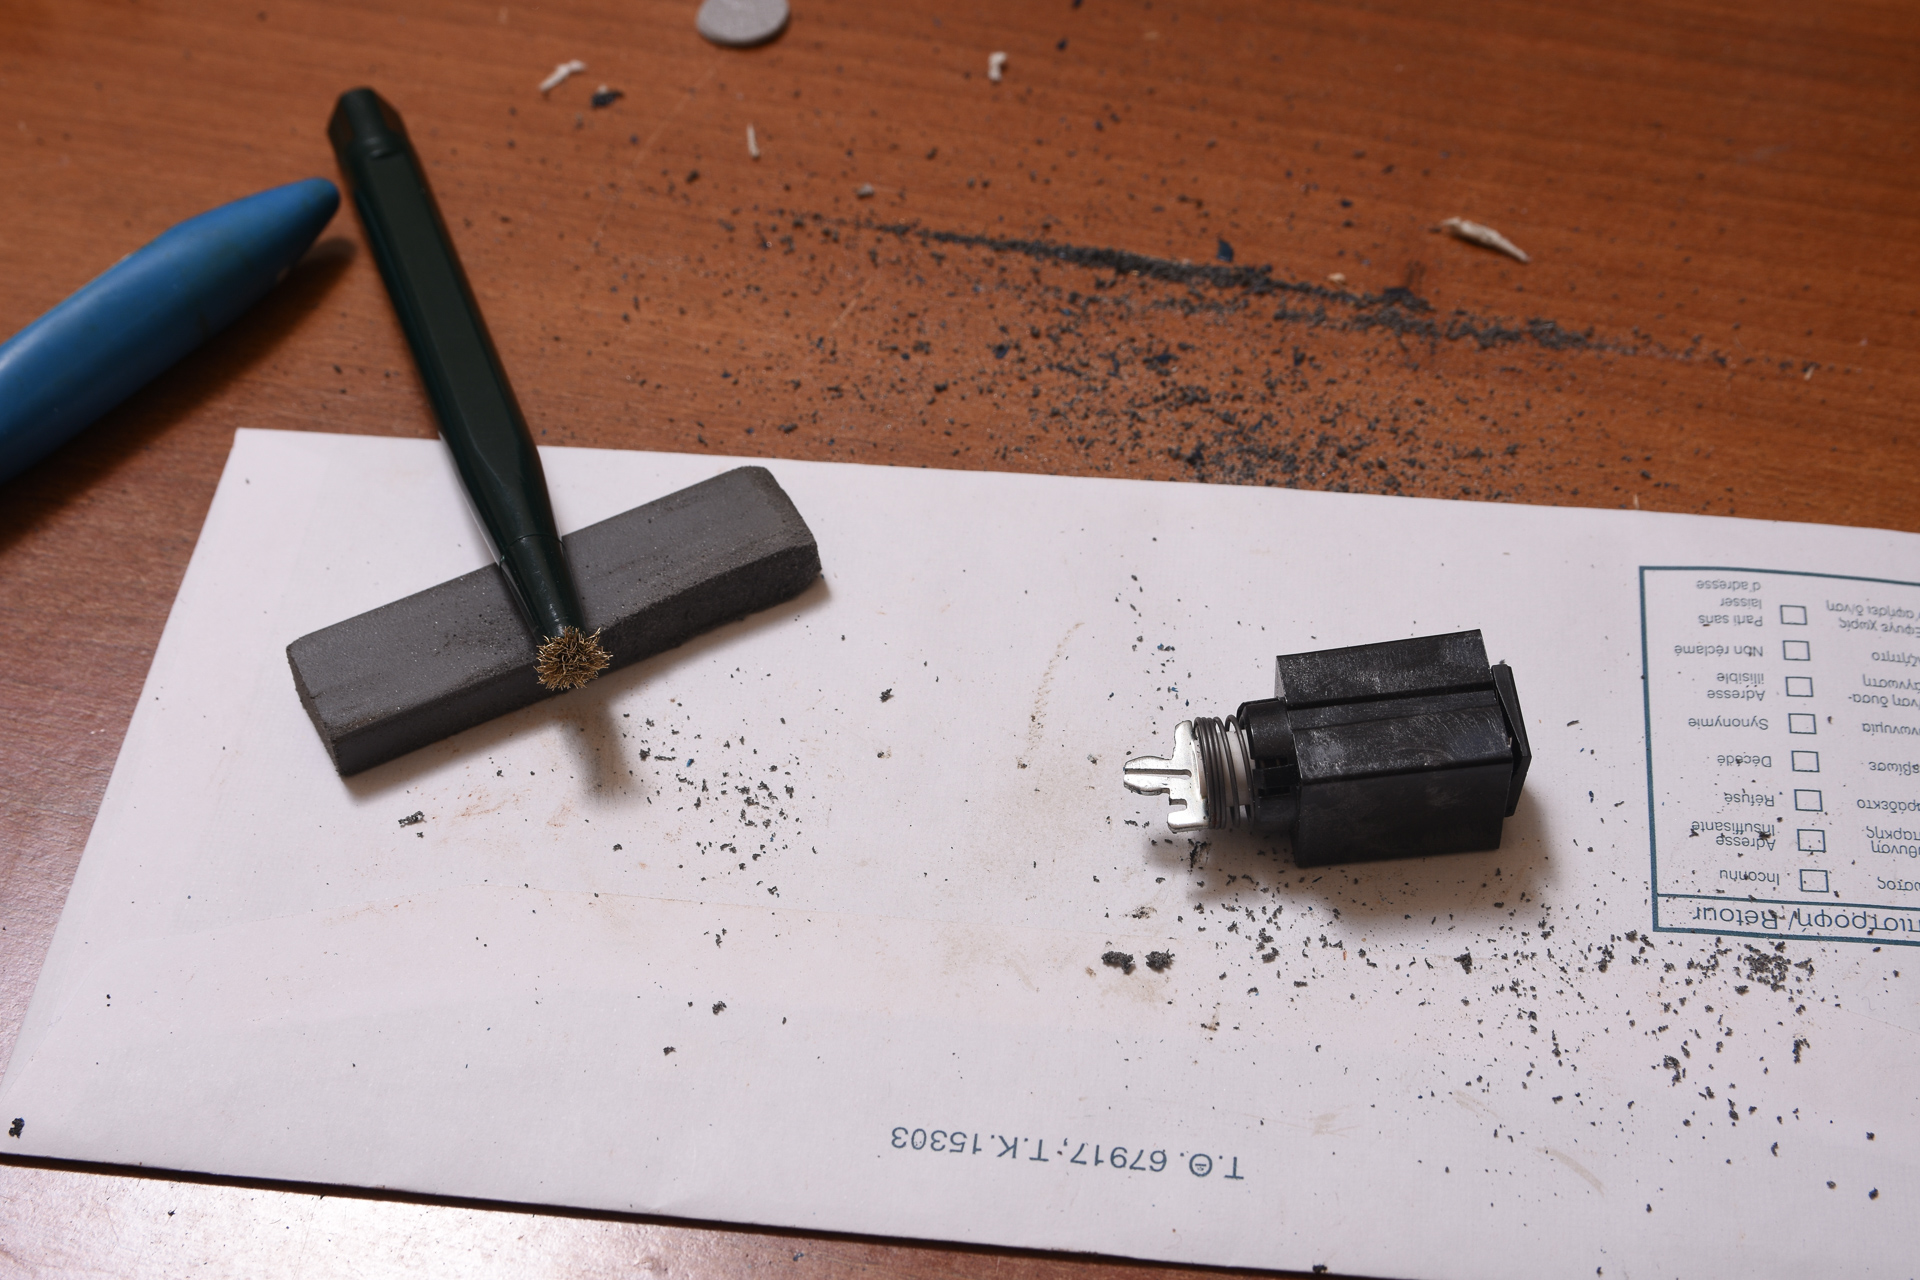
D72_2136.jpg (940.17 KiB) Viewed 9363 times
A few springs were a bit rusty, so in the rust converter they go.
D72_2142.jpg
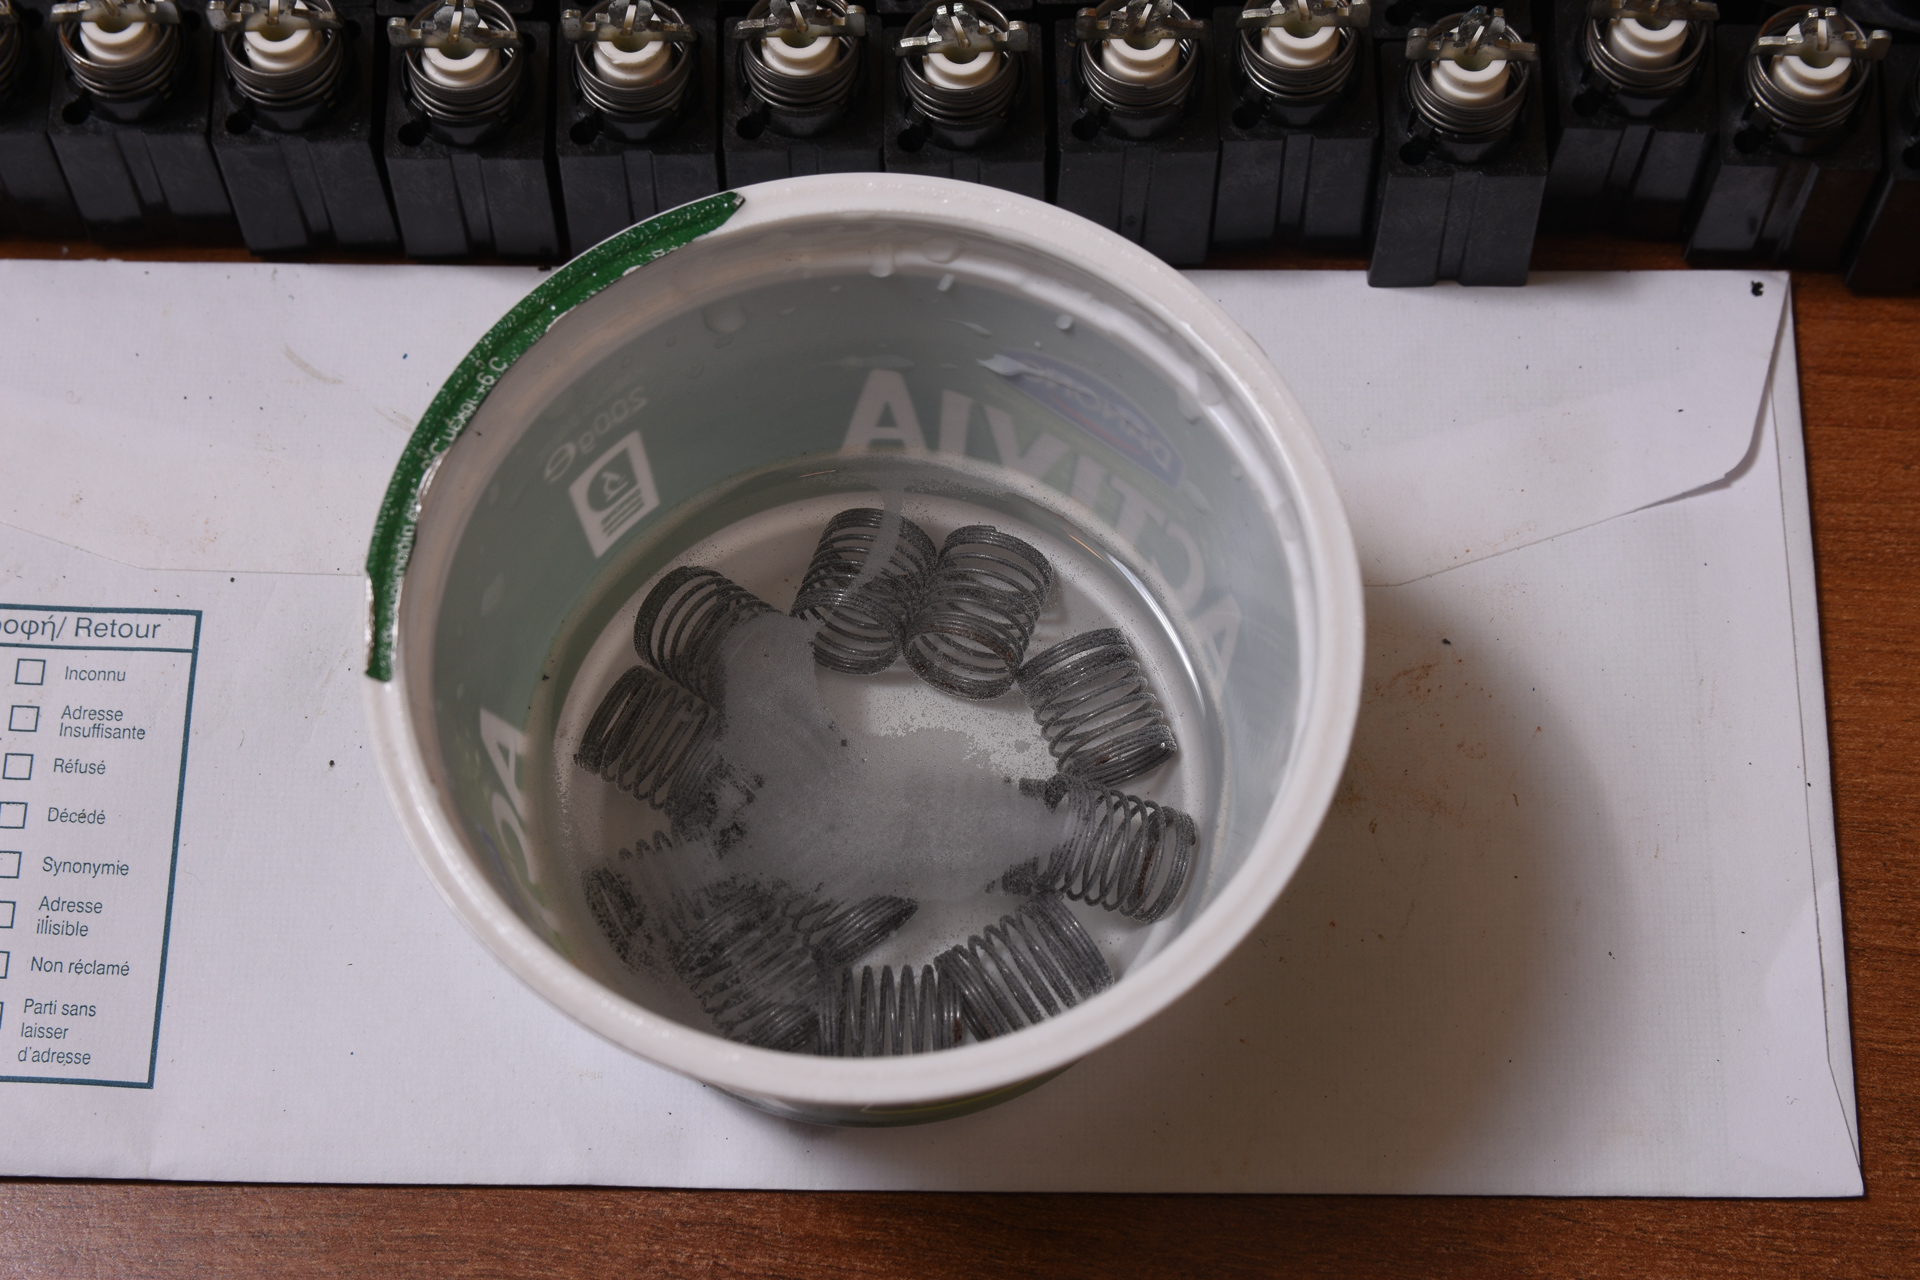
D72_2142.jpg (919.56 KiB) Viewed 9363 times
You can easily remove them by "screwing" them off.
D72_2141.jpg
D72_2141.jpg (646.88 KiB) Viewed 9363 times
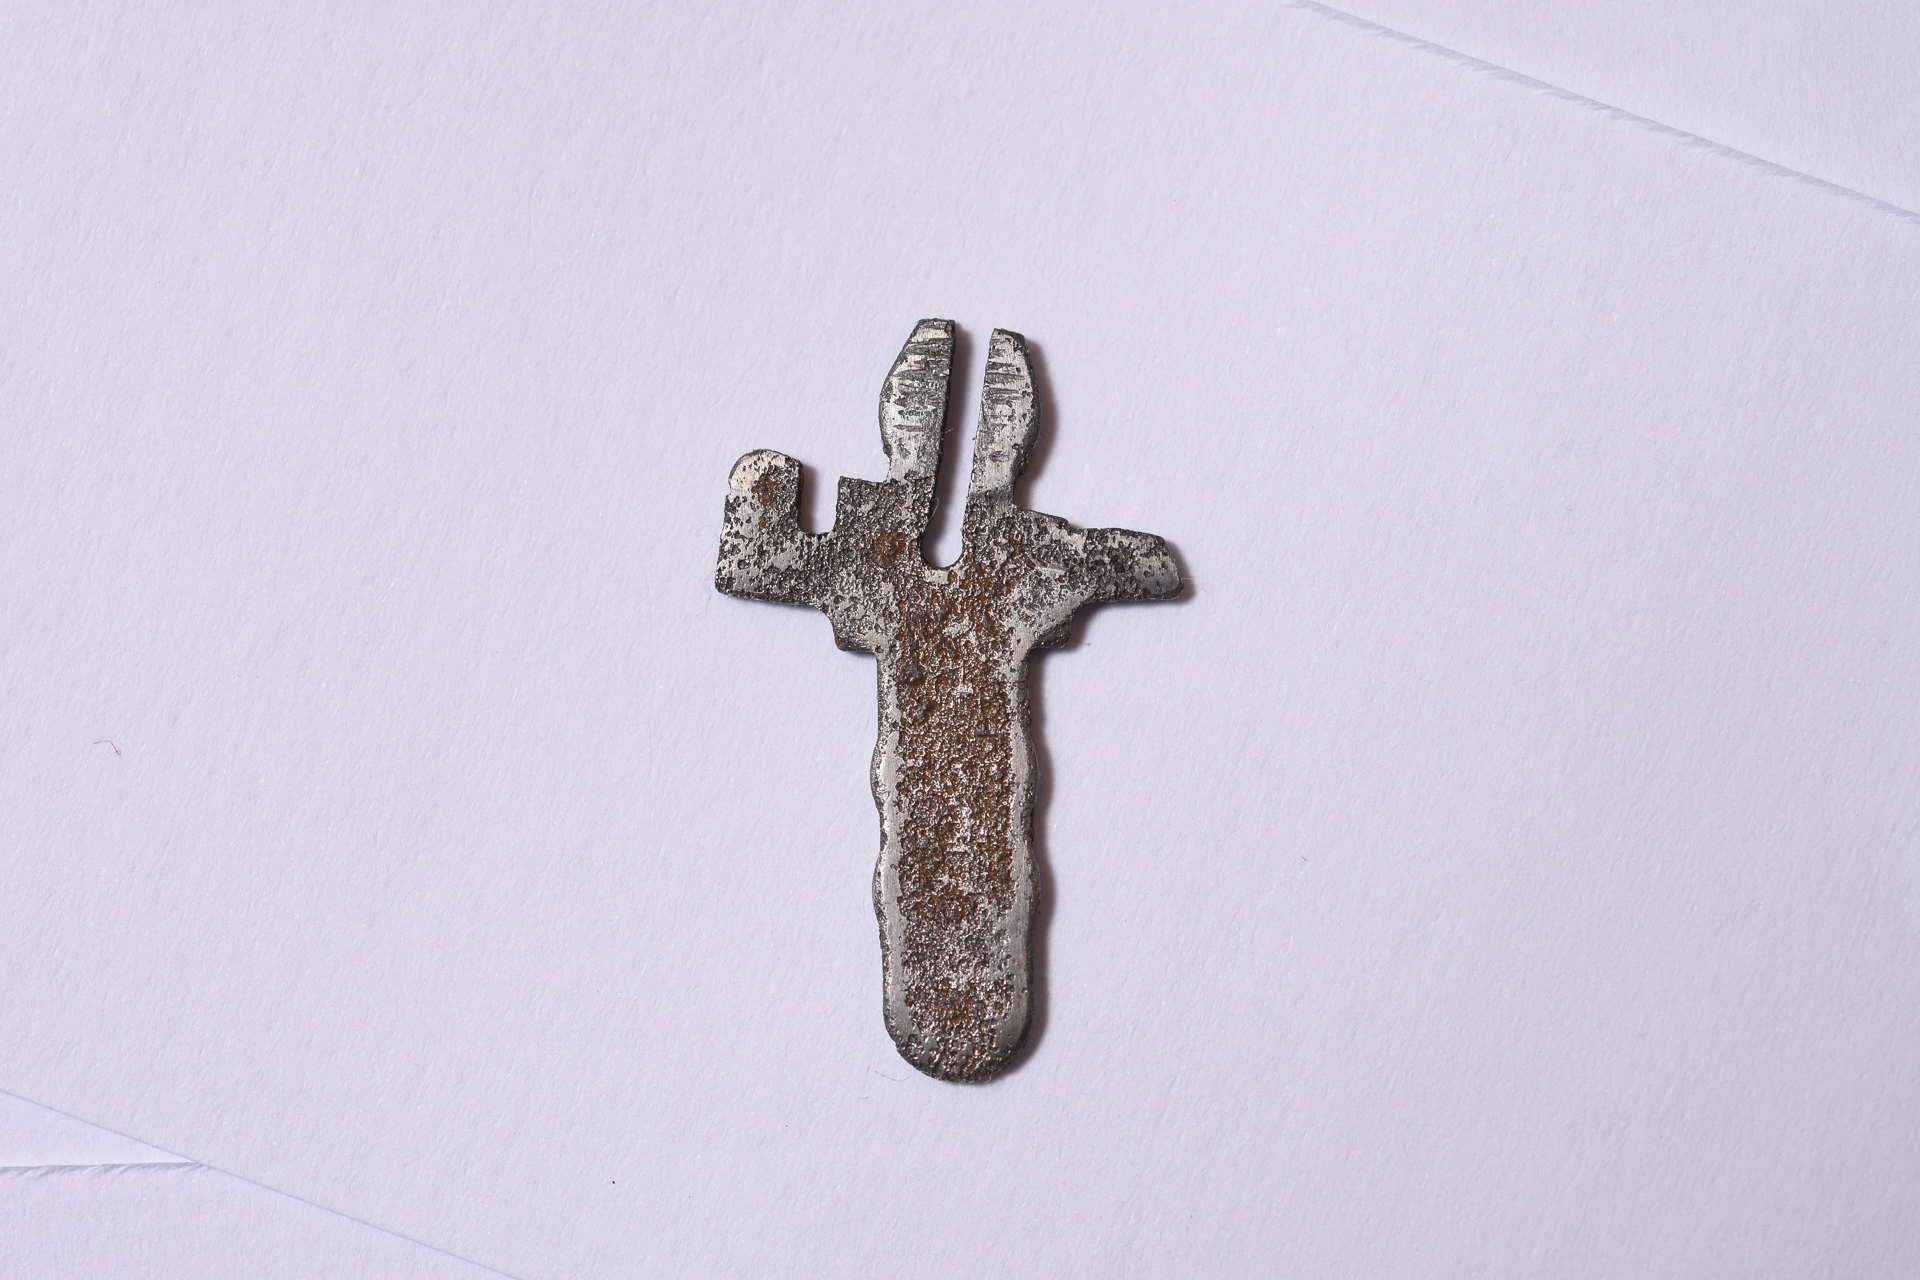
The rusty stem also got treated and it was quite pitted.
It was a bitch to remove, I tried WD40, silicone oil, pulling, cursing, everything. In the end a tiny bit of heating with a lighter made it release.
After this shot it got another tour in the cup of rust converter.
D72_2144.jpg
D72_2144.jpg (887.61 KiB) Viewed 9363 times
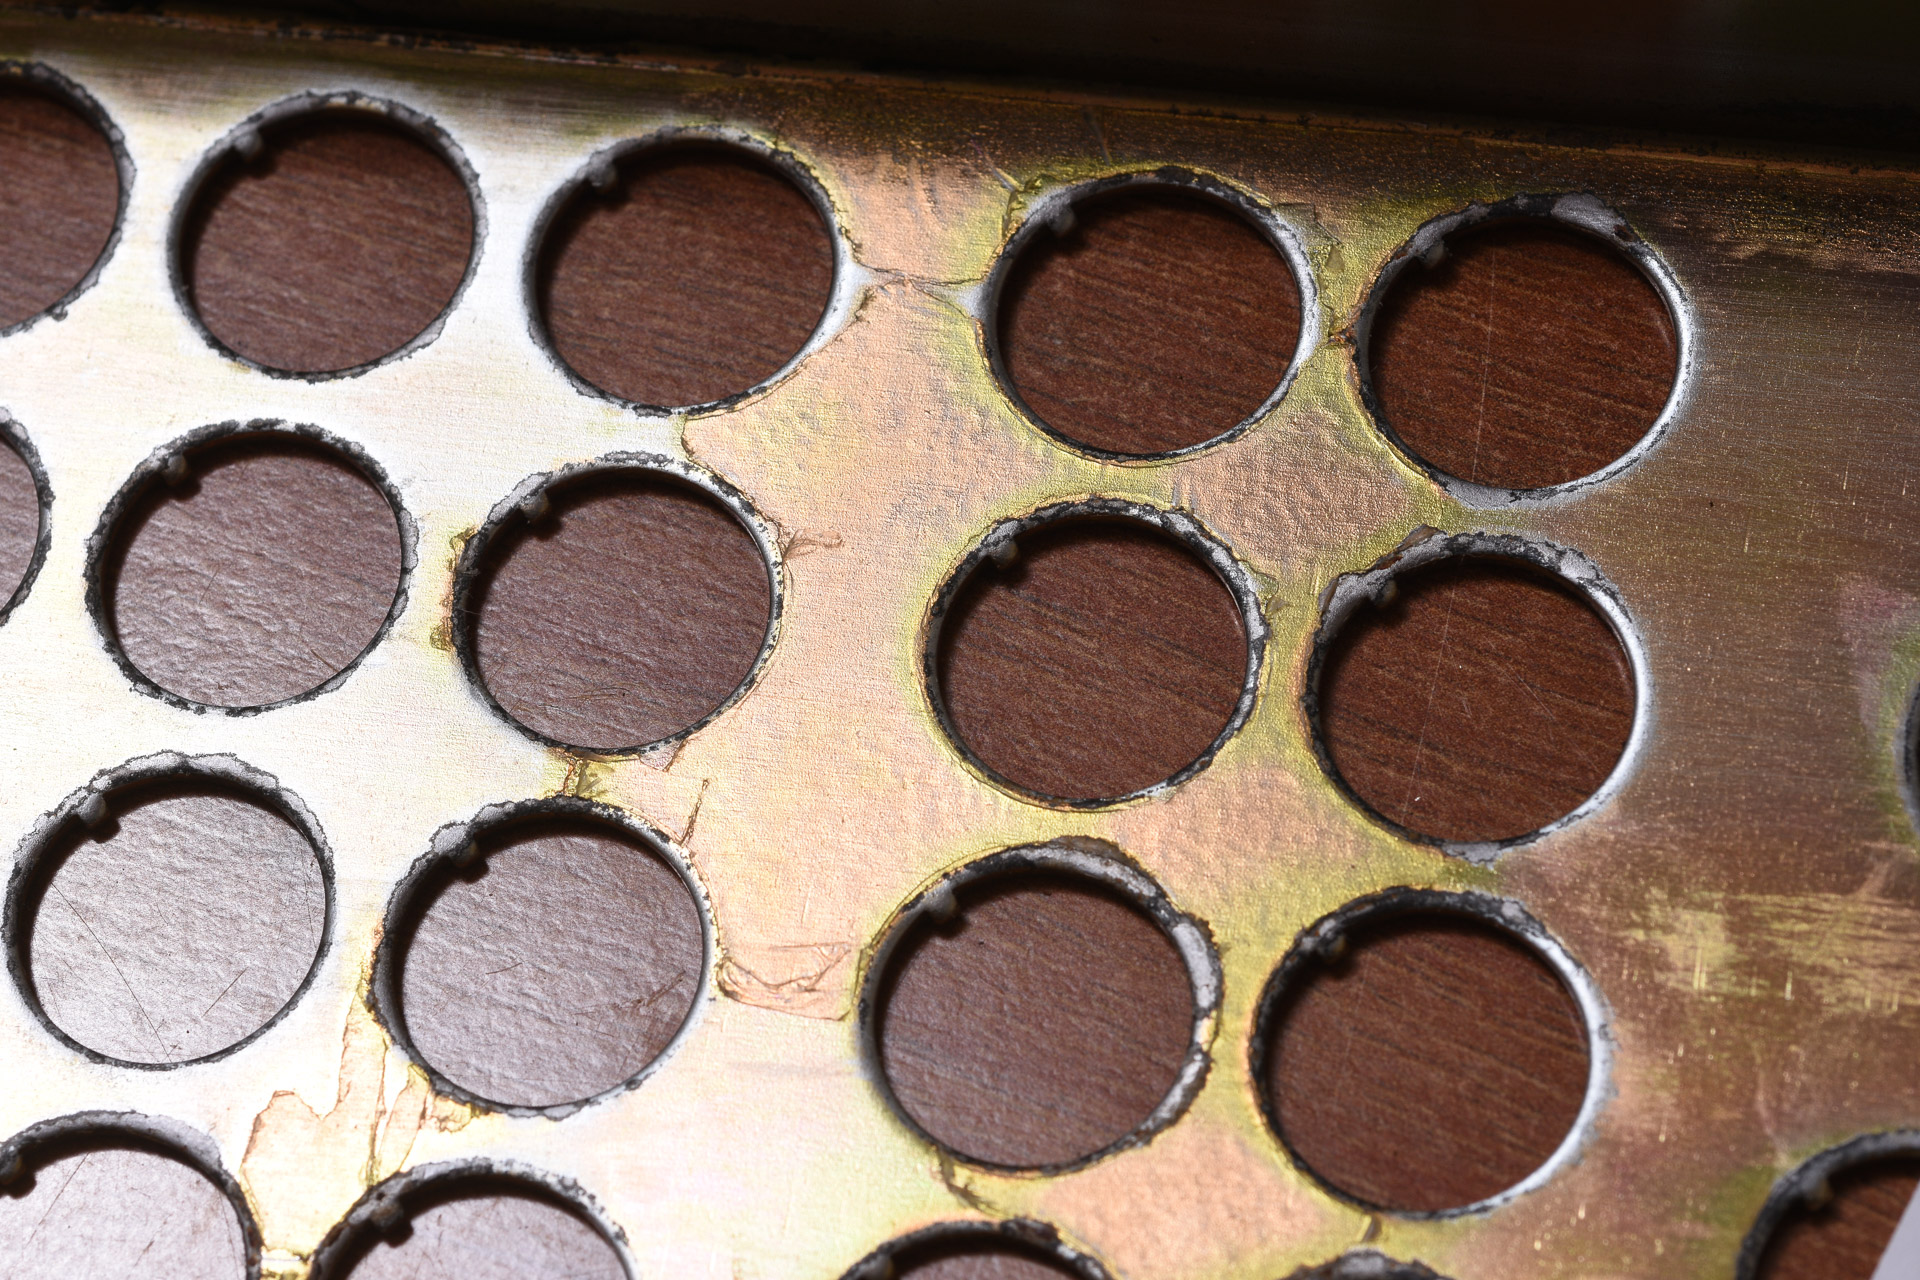
IBM's selection of foam was quite stupid. Even stupider than rivets on the M.
These are the glue backing remains of the foam layer.
D72_2146.jpg
D72_2146.jpg (817.25 KiB) Viewed 9363 times
Plate remounted upsider down for switch placement.
D72_2147.jpg
D72_2147.jpg (831.97 KiB) Viewed 9363 times
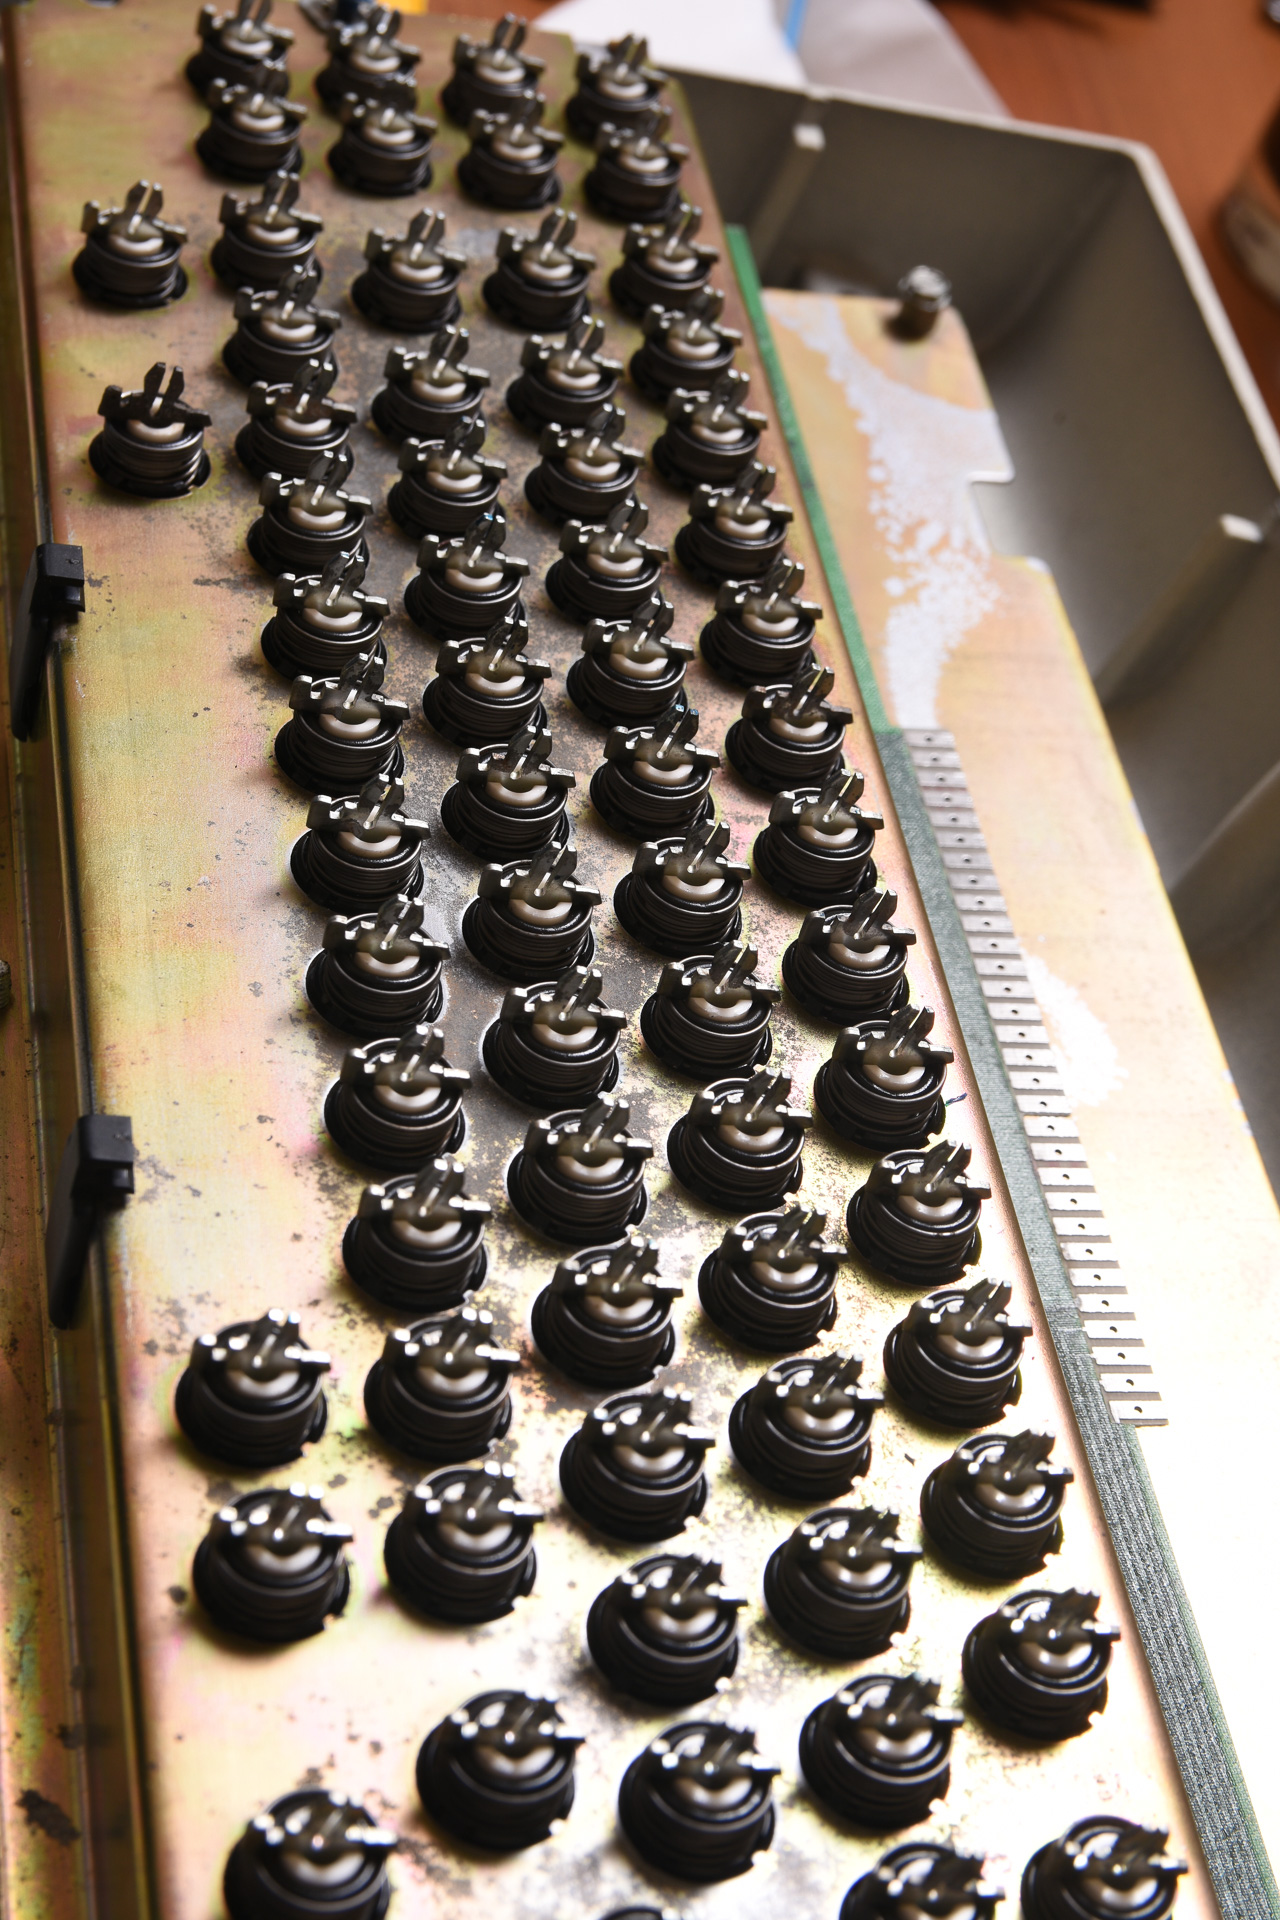
Instead of making new foam, I tried another solution. I used #15 o-rings on each switch.
I had plenty (widely used in paintball) and it was easy enough so I gave it a try. The black one is Buna-N 70A Durometer (used 84) and the clear is urethane (90A IIRC, used 4)
D72_2150.jpg
D72_2150.jpg (855.1 KiB) Viewed 9363 times
Switches ready for action!
D72_2151.jpg
D72_2151.jpg (785.68 KiB) Viewed 9363 times
Last edited by chzel on 24 Jan 2016, 15:59, edited 1 time in total.

User avatar
chzel

24 Jan 2016, 15:31

All caps mounted, and a bit of spacebar detail. A bunch of codes, and apparently it's made of PEI
D72_2153.jpg
D72_2153.jpg (910.01 KiB) Viewed 9360 times
D72_2155.jpg
D72_2155.jpg (615.46 KiB) Viewed 9360 times
Controller installed and cable secured.
D72_2156.jpg
D72_2156.jpg (875.04 KiB) Viewed 9360 times
Caps are great, even the printed front legends, altough some are better than others.
D72_2157.jpg
D72_2157.jpg (712.8 KiB) Viewed 9360 times
D72_2159.jpg
D72_2159.jpg (820.93 KiB) Viewed 9360 times
D72_2161.jpg
D72_2161.jpg (640.8 KiB) Viewed 9360 times
Overall a rather handsome keyboard, and so tall that it actually makes me want a shorter desk...
D72_2164.jpg
D72_2164.jpg (753.98 KiB) Viewed 9360 times
Back is bland, just a block of metal...
D72_2171.jpg
D72_2171.jpg (692.3 KiB) Viewed 9360 times
Bottom all cleaned up. All labels where removed and will be laminated as soon as I can get pouches.
D72_2173.jpg
D72_2173.jpg (639.85 KiB) Viewed 9360 times
The IBM badge
D72_2175.jpg
D72_2175.jpg (627.67 KiB) Viewed 9360 times
Artsy fartsy black and white!
D72_2168.jpg
D72_2168.jpg (924.33 KiB) Viewed 9360 times
The orings work nicely, except for the middle row of switches that's somewhat loose. Perhaps softer orings would work better.
No ill effects, but the switches turn a bit in the hole, and caps end up wonky..
I'll open it up again at some point and make new foam for it.
D72_2180.jpg
D72_2180.jpg (603.93 KiB) Viewed 9360 times
It feels great, there is a certain feel that's hard to describe, heavy but smooth and fluid. I think I barely bottom out, but it's a bit tiring.
I have to decide what to do with the case and switch plates. I'll check to see how much Cerakote costs, and if it's too much I'll go with powder coating.
I'd love to strip it and clearcoat it, but the hatch is a problem, as it is plastic, and I'd have to either paint it, or fabricate one out of aluminium.
I'm tempted to put Lock LEDs in the hatch, but xwhatsit doesn't support both LEDs and solenoid, and I'm definitely using the solenoid (driver is in the mail)!
Another thought is a switch to change the configuration from solenoid to LEDs, and with a simple change from the software have one or the other.

As a reference here is the 3101 manual from bitsavers
Last edited by chzel on 24 Jan 2016, 16:21, edited 1 time in total.

User avatar
snuci
Vintage computer guy

24 Jan 2016, 16:10

Hi chzel,

That keyboard looked like a write-off on eBay. You did a fantastic job! Nice find.

User avatar
chzel

24 Jan 2016, 16:16

Thanks snuci, it was a gamble, but turned out to be quite nice under all the dirt and crap.
If you hadn't doubted I wouldn't be typing on this beast right now...so...Thank you!

User avatar
idollar
i$

24 Jan 2016, 16:30

Nice work, very nice.

I would like to know how did you dismantled the switch.

User avatar
chzel

24 Jan 2016, 16:43

If it's not a particularly stubborn switch, you grab the stem with pliers, and pull STRAIGHT and steady. No rocking at all.
Just as the corners of the switch dig into your hand and it starts to hurt a bit, the stem starts moving. If it hurts a lot, stop pulling. That way it's easy not to go Hulk on the stem and break something. After you pull the stem out, the switch just pulls apart. To reassemble, put everything together, stand the switch on the table and grab the stem again with pliers and push it on the white slider until it seats correctly.
I didn't actually dismantle more than about 5 switches, no real need to. Also popping the fly-plates accidentally is quite hard if you mind your hands while handling the switch.

When I have it apart again for foam making, I'll make a guide, and maybe a video?

User avatar
Halvar

24 Jan 2016, 16:56

That's brilliant work, you really went the extra mile with those rusty switches. O-rings seem like a great idea.

User avatar
chzel

24 Jan 2016, 17:05

Thanks Halvar!
The orings work nicely, but ideally you either want softer orings (40-50A) or thicker ones along the centreline.

User avatar
idollar
i$

24 Jan 2016, 17:21

chzel wrote: If it's not a particularly stubborn switch, you grab the stem with pliers, and pull STRAIGHT and steady. No rocking at all.
Just as the corners of the switch dig into your hand and it starts to hurt a bit, the stem starts moving. If it hurts a lot, stop pulling. That way it's easy not to go Hulk on the stem and break something. After you pull the stem out, the switch just pulls apart. To reassemble, put everything together, stand the switch on the table and grab the stem again with pliers and push it on the white slider until it seats correctly.
I didn't actually dismantle more than about 5 switches, no real need to. Also popping the fly-plates accidentally is quite hard if you mind your hands while handling the switch.

When I have it apart again for foam making, I'll make a guide, and maybe a video?
Thanks a lot

Great job

User avatar
Crossfire

24 Jan 2016, 17:29

Amazing job, great pictures too! ;)

User avatar
photekq
Cherry Picker

24 Jan 2016, 19:10

Wow.. And I thought my beamspring was dirty!

Beautiful board though, and you've done a great job of cleaning it up.

User avatar
seebart
Offtopicthority Instigator

24 Jan 2016, 19:14

Nice chzel, now I can visually see how much work I have ahead of me. :? :o

User avatar
scottc

24 Jan 2016, 19:25

Holy shit, good job! The end-result is barely recognisable as the same keyboard in the first few pictures.

User avatar
chzel

24 Jan 2016, 19:28

Thanks guys!
At some point cleaning the switches was mind-numbing but it's worth it!
Seebart, I doubt your beamspring is as dirty, but it's likely more corroded. It's from the Dresden haul, correct?
And my restoration is not complete yet...Quite a long way to go!

User avatar
seebart
Offtopicthority Instigator

24 Jan 2016, 21:36

chzel wrote: Seebart, I doubt your beamspring is as dirty, but it's likely more corroded. It's from the Dresden haul, correct?
That is correct. I have not looked at it closely, I'm giving it a 50/50 chance so not to be disappointed later.

User avatar
vivalarevolución
formerly prdlm2009

27 Jan 2016, 01:37

Cleans up well, great job. There are few things more mind numbing than cleaning certain keyboards parts.

Also, Dresden haul? Sounds tasty...

User avatar
Redmaus
Gotta start somewhere

27 Jan 2016, 03:40

Fantastic restoration. I notice most beamsprings don't have an IBM logo.

Any custom paintjobs in mind? :P

Engicoder

28 Jan 2016, 22:22

Anyone else think beam spring switches look like spark plugs? First time I saw one that was my first thought.

User avatar
Madhias
BS TORPE

01 Feb 2016, 20:21

I really enjoyed reading and looking through this pictures! Well done, and the result was it definitely worth.

User avatar
Muirium
µ

01 Feb 2016, 20:34

Beautiful pics! This board's in great hands.

The corroded beamspring stems reminded me of the German one now in Seebart's possession. You've got this board typing reliably now? If so, that should be greatly reassuring to Seebart, because it's further than I ever got with his 3276. I could write just about long enough to get a post out of it on DT, but it was like a stallion that hadn't quite been broken, and would throw me to the dirt and charge off with furious ;;;;;;;;;;;;;;;;;;;;;;;;;;;;;;;;;;;;;;;

Aaargh!

Any engineers among us who reckon Xwhatsit's controller could be programmed with a specific signal threshold *per key* instead of just one value for the whole keyboard? Calibrating beamsprings is a wild art with just the one figure. Model Fs can handle autocalibration well for the long haul, but even my American 3276 drifts and throws me if it's been a while. Which it will be, again, by the time I get it home!

User avatar
chzel

01 Feb 2016, 20:42

Thank you Madhias and Mu! It's definitely worth it, and it's a work in progress! I need to figure out what to do with paint, make a foam sheet, add a contamination shield...
Also the solenoid driver is in the mail, and I have a couple of ideas for the hatch!

Mu, I've been using it every day since, totally reliably and even played a bit of World of Tanks with it!
It calibrated beautifully, and auto-calibrates nicely too. Threshold fluctuates between 120 and 124 when auto-calibrating, but works reliably up to 140.
To be honest, I don't see a reason for the calibration to drift too much, unless the pad card is too gunky...

User avatar
Muirium
µ

01 Feb 2016, 21:06

Give it time. I'm not sure what's up with my American layout 3276, but when I pulled it out for the first time since April, it went apeshit and I had a hard time getting it to calibrate again. I've heard others asking for the same thing: multiple thresholds so you can find a sweet spot for each switch instead of a compromise for the whole keyboard. I don't think it was even dust in this case (I store the board boxed, of course, because of those shiny white ABS caps) but beamsprings are notoriously sensitive. As you've seen while cleaning them up, the mechanism barely lifts the fly plate (or whatever its name is) from the PCB, as compared to Model F which flips the thing around with a lot more energy, and signal!

User avatar
chzel

01 Feb 2016, 21:15

I hope it doesn't drift too far...The right side is more "sensitive", starts to register at about 113. But the useful range for the board as is now is 117-145 with only one key acting up to 155.

User avatar
Muirium
µ

01 Feb 2016, 21:19

I'd ask Xwhatsit and Mr_A500 about what it's like in a daily driver over the long haul. But neither of them's around at the moment. And A500 would find some way to make a battle out of the question, as he usually does!

A level per key would make the task of zapping ghosts and reviving dead keys so much easier. Yet I suspect there's not the memory available in Xwhatsit's controller to store so many numbers. Damn ATmega! I know he was pleased he could squeeze macro support into it.

User avatar
chzel

01 Feb 2016, 21:26

I don't know if it matters any, but the calibration stays the same whether the top is on or not.
I actually like the bare metal industrial/steampunk look of the board without the cover!

User avatar
Muirium
µ

01 Feb 2016, 21:31

They're so boss without the case, and without the contamination shield. Especially the wedge shaped DisplayWriter style ones like yours. The 3276 and 3278 aren't quite as needlessly tall at the back!

Could absolutely see a naked beamspring being the perfect prop in a steampunk alternate future movie. The case is what really dates it back to our humdrum reality's past.

User avatar
Nivlom_Drol-

07 Dec 2018, 02:22

This really is amazing. Worth a bump.

There is a insect inside that keycap!!! WTF :mrgreen: :mrgreen: :mrgreen:

Post Reply

Return to “Workshop”