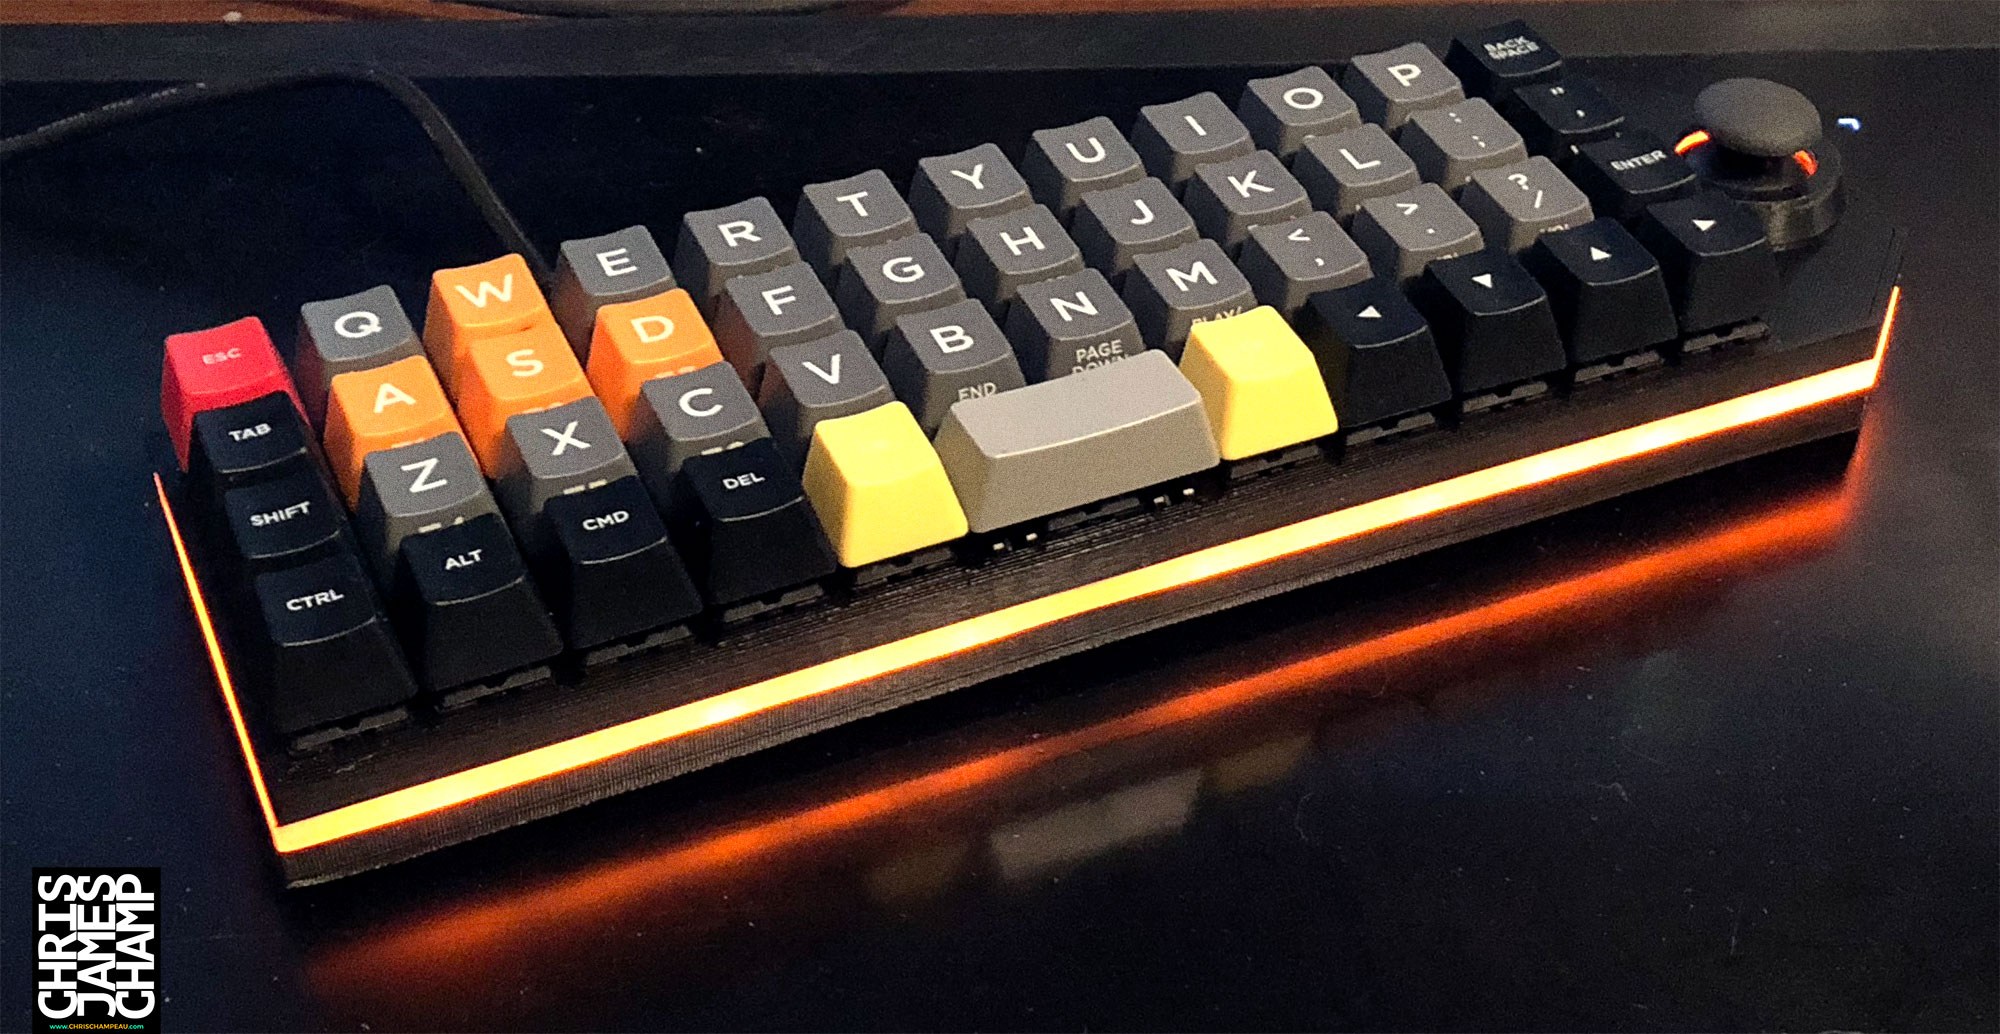
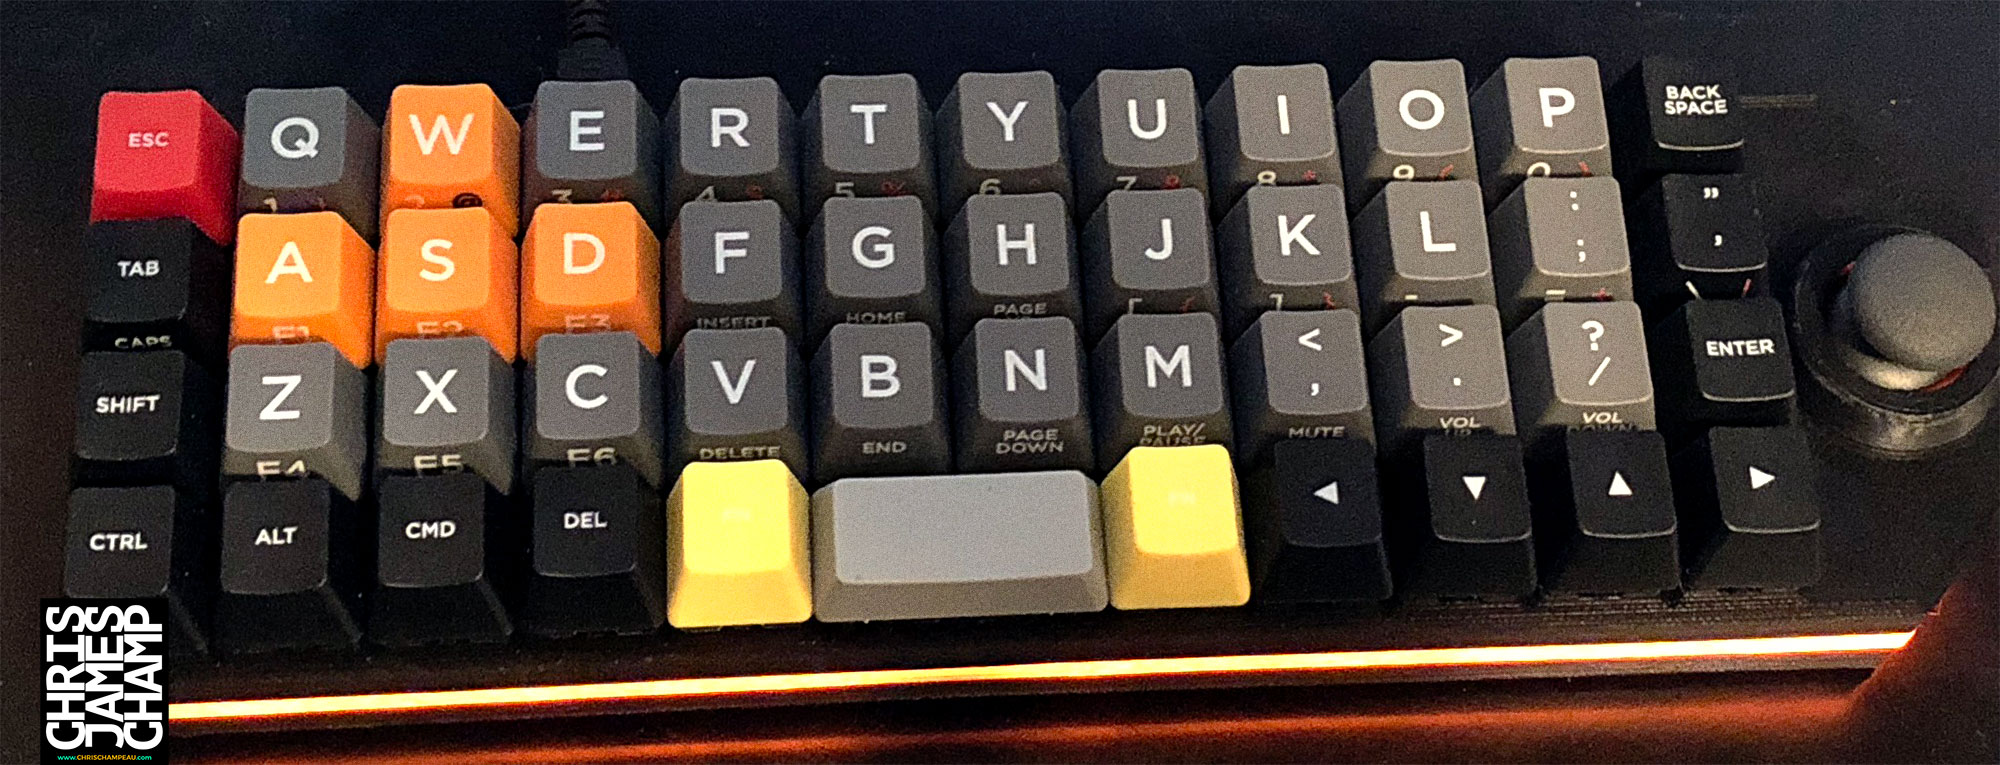
I started by designing my keycaps, I was fairly positive I would not be able to remember the symbols attached to the numerical keys unless they were written on the caps somewhere so I would need legends printed for those. I designed this as my first prototype for the key legends and keycap colors.
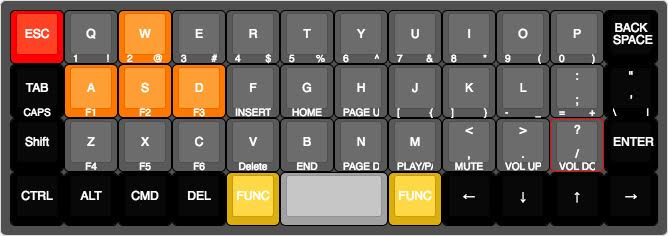
I was hoping to get these made in a lower profile keycap such as DSA but could not justify the $750 price point on keycaps and they could not do front facing legends. So I contacted Max keyboards and decided to have them made in the OEM Row 3 Profile. In hindsight having the rows have different profiles may have been cool but I wanted them all to match at the time and ordered up some custom keycaps before I could change my mind.
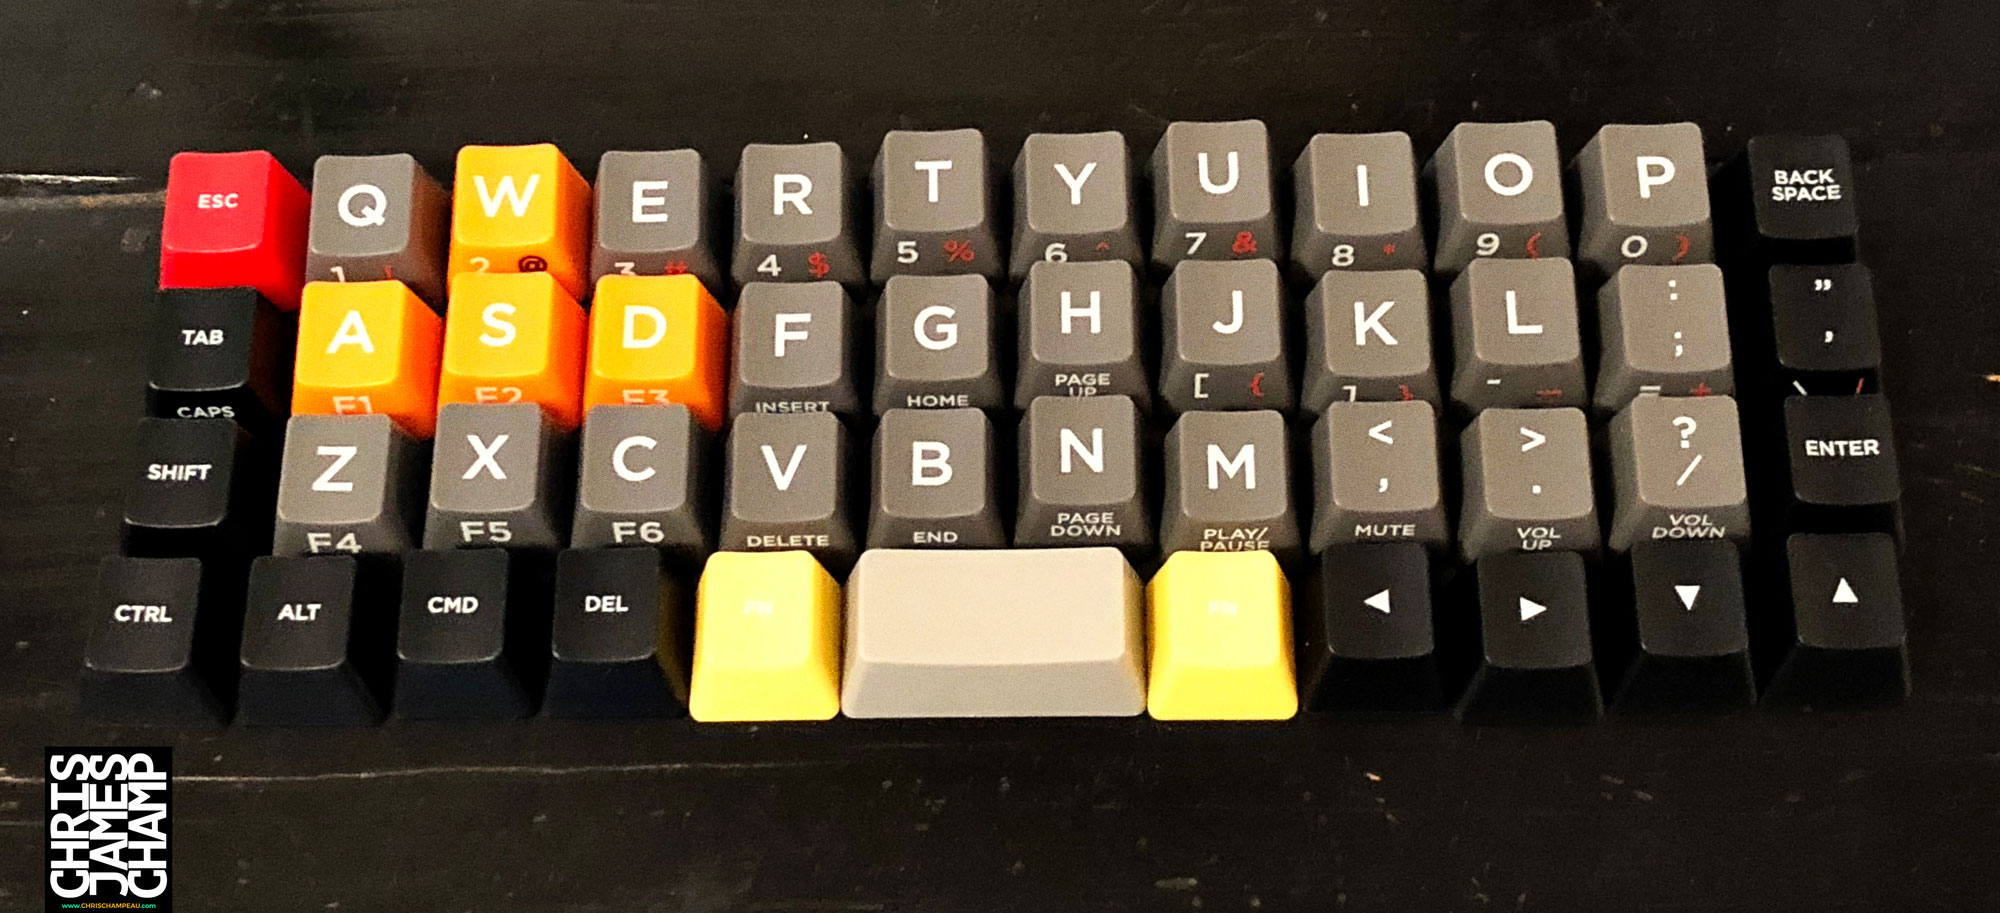
About two weeks later these showed up on my doorstep. I was super impressed with the overall quality and thickness of the keycaps.
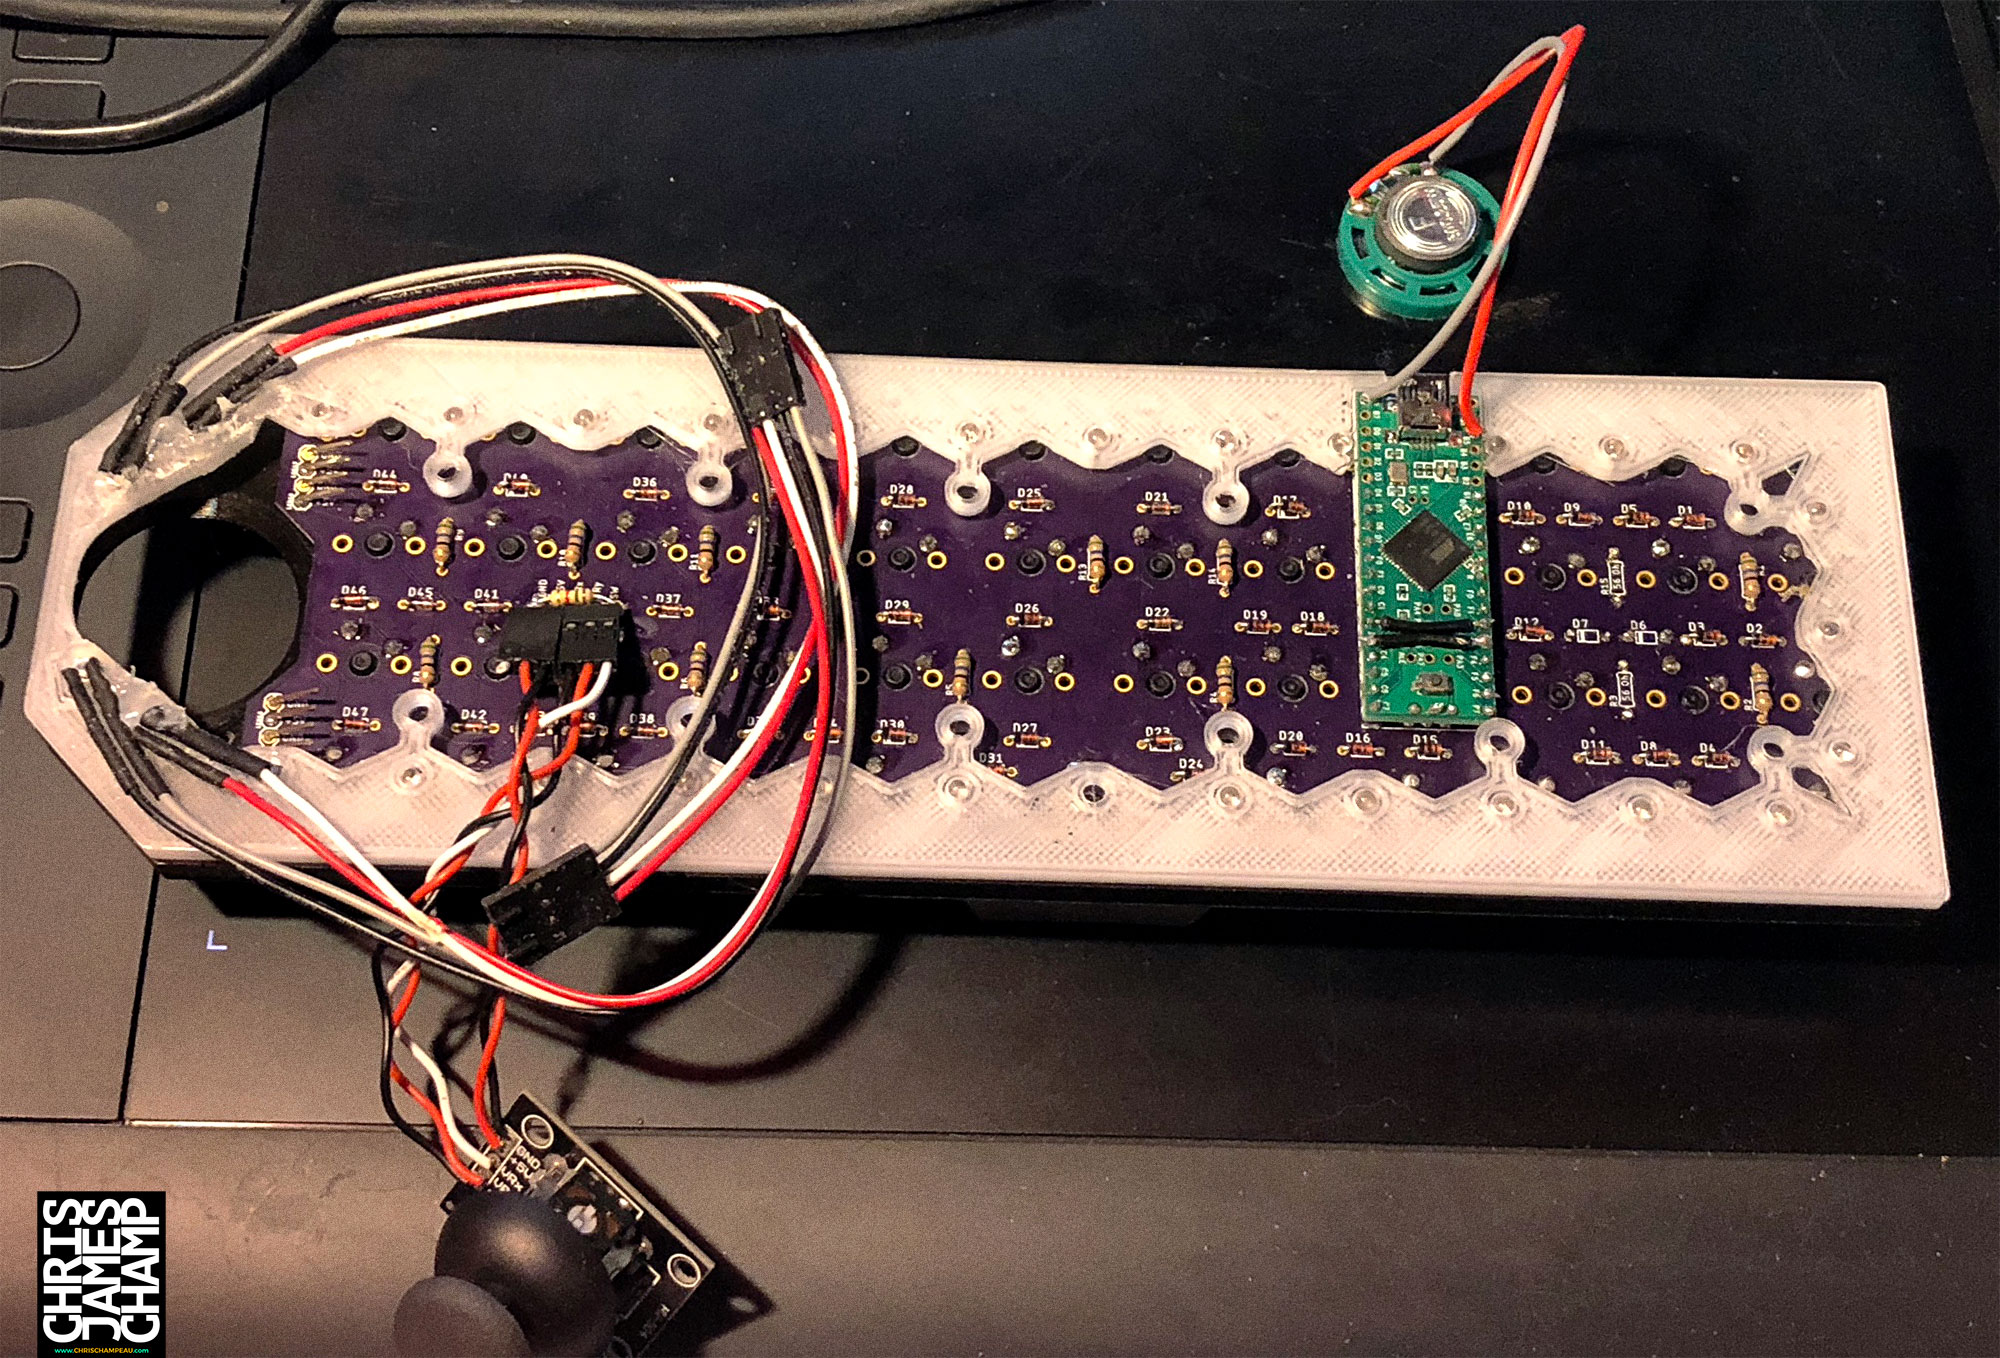
After doing a ton of research I learned about QMK. I had never used it and thought I would dive in. I started working on the mouse because I would need not only a keyboard for my project but also a mouse. I did a quick test using the pointer device and mouse keys built into QMK and was not terribly happy. Grant it I was using push button switches I had around but I could tell that this was not a working permanent mouse solution at least not for me. I had to get a little bit more creative. So I decided to take a PS2 styled joystick (not to be confused with PS/2) and started playing around in Arduino to get a working joystick prototype that would allow me to have variable speed and then at a push of a button go into a precision mode and go super slow. I designed it so that when moving the mouse around if shift is held, the speed is cut down significantly. It uses the built-in switch as a mouse click and when holding cntrl you get the left mouse click.
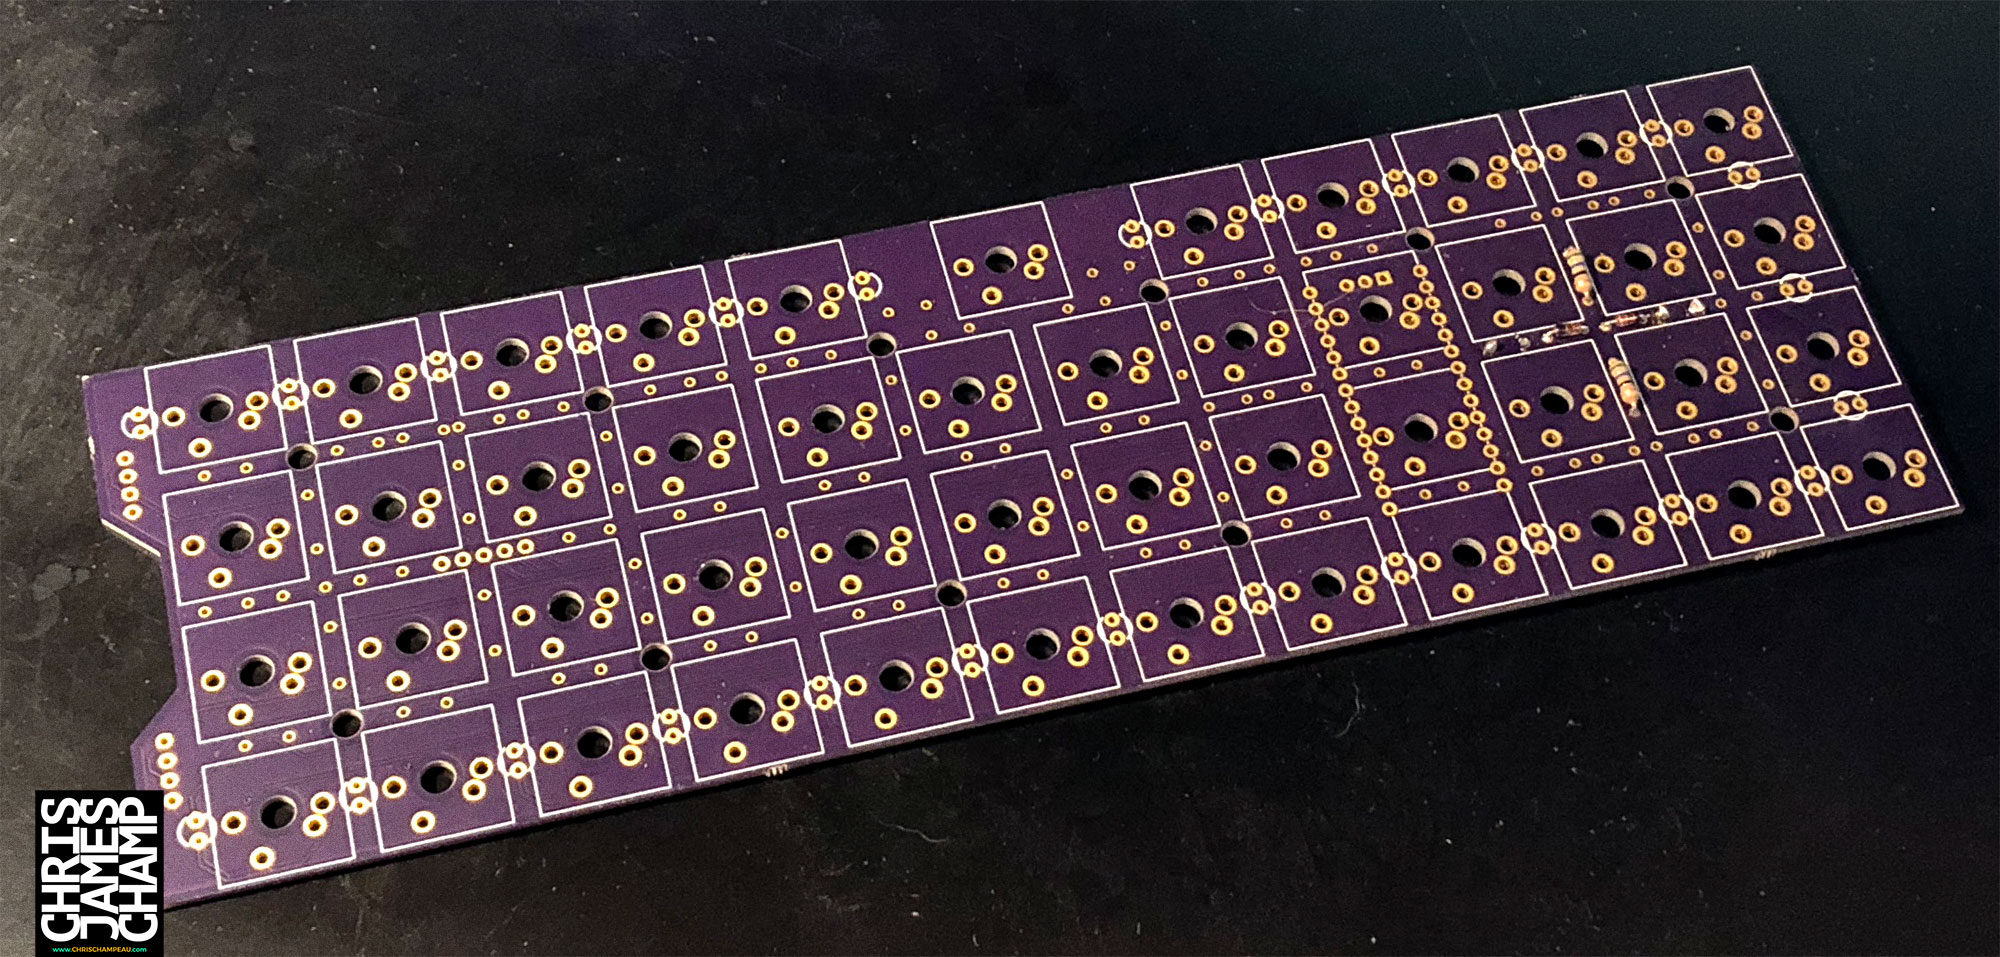
Once satisfied with this design I started working on a PCB design.

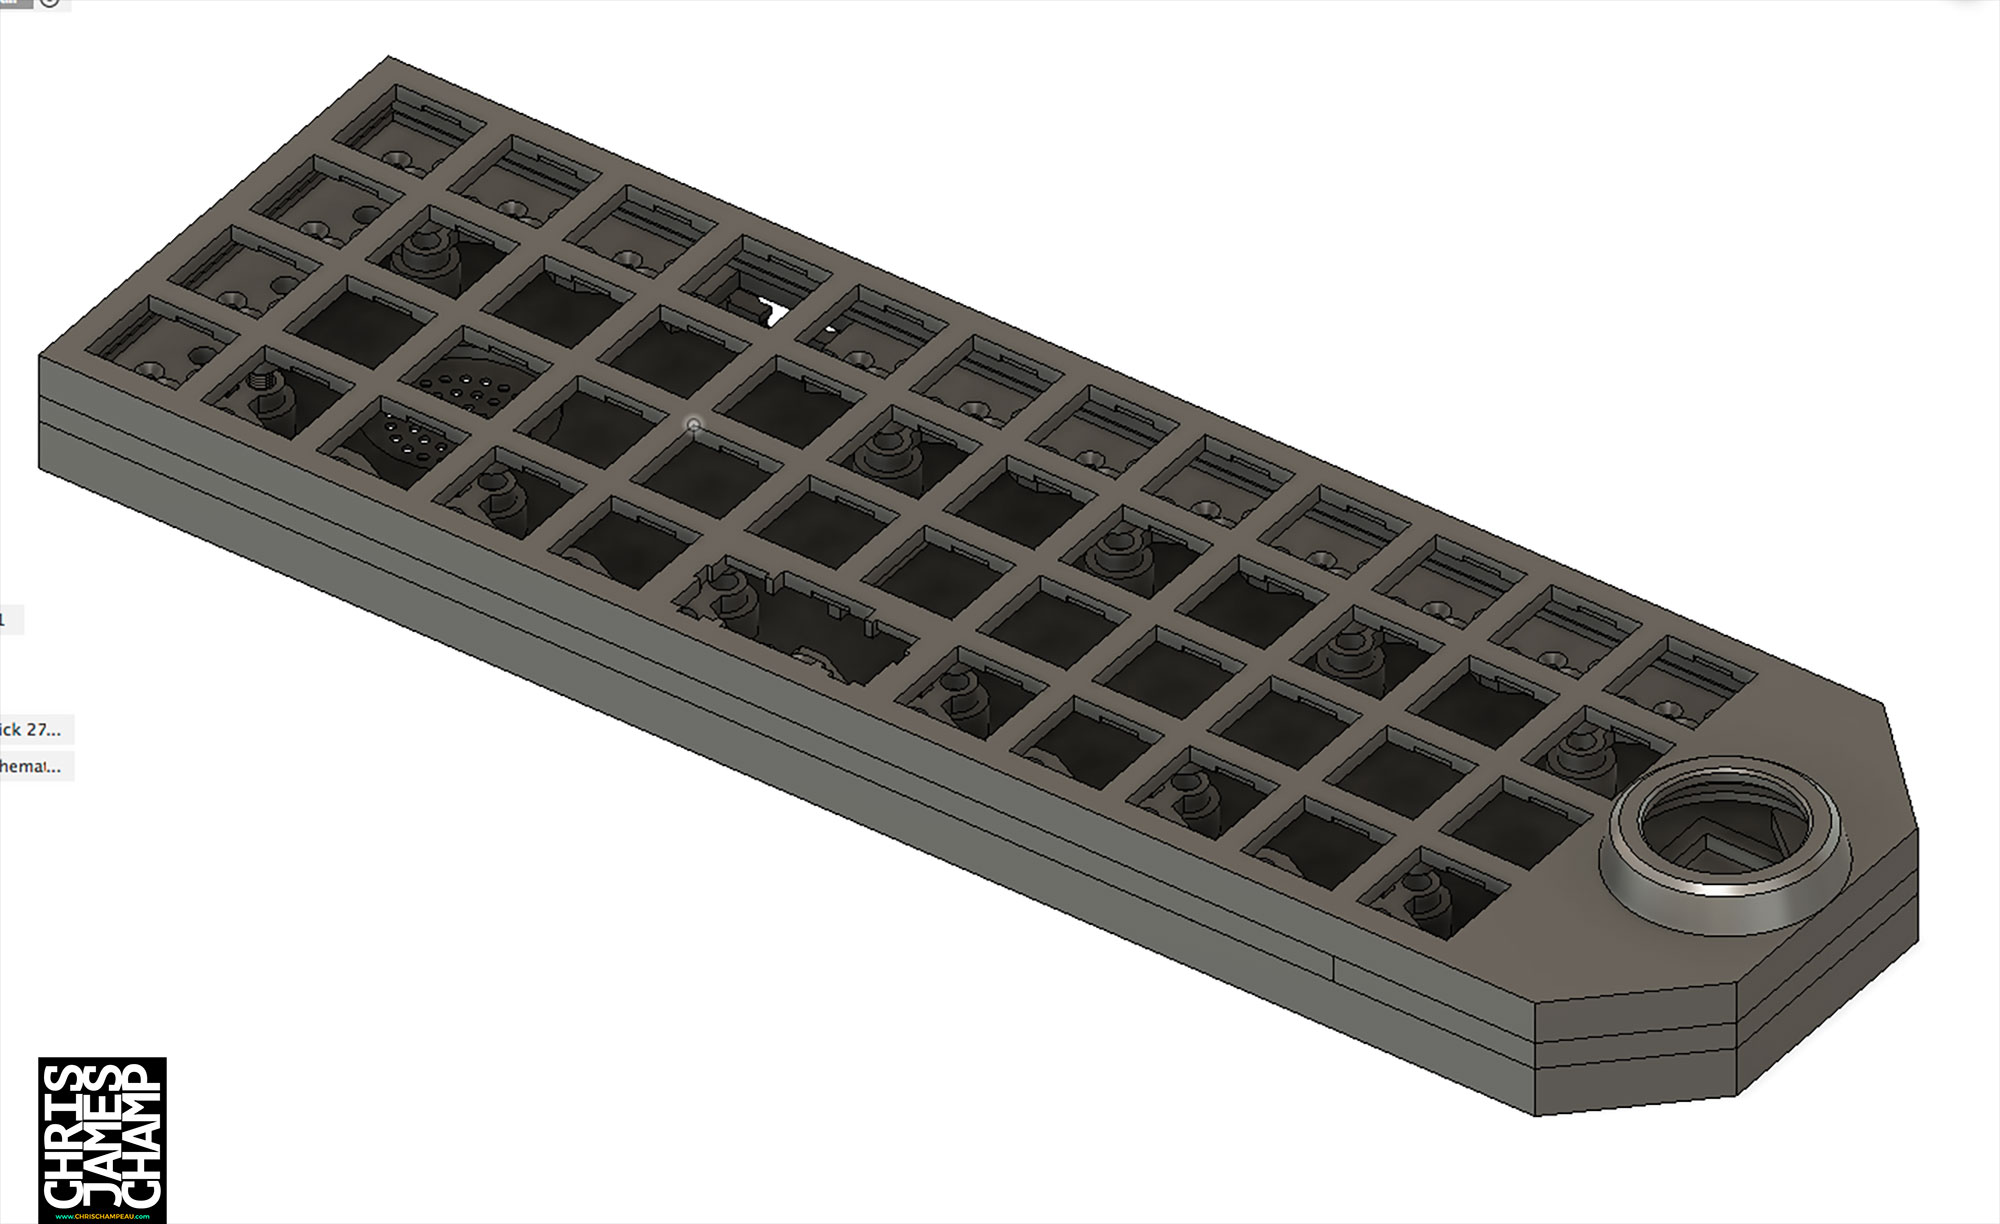
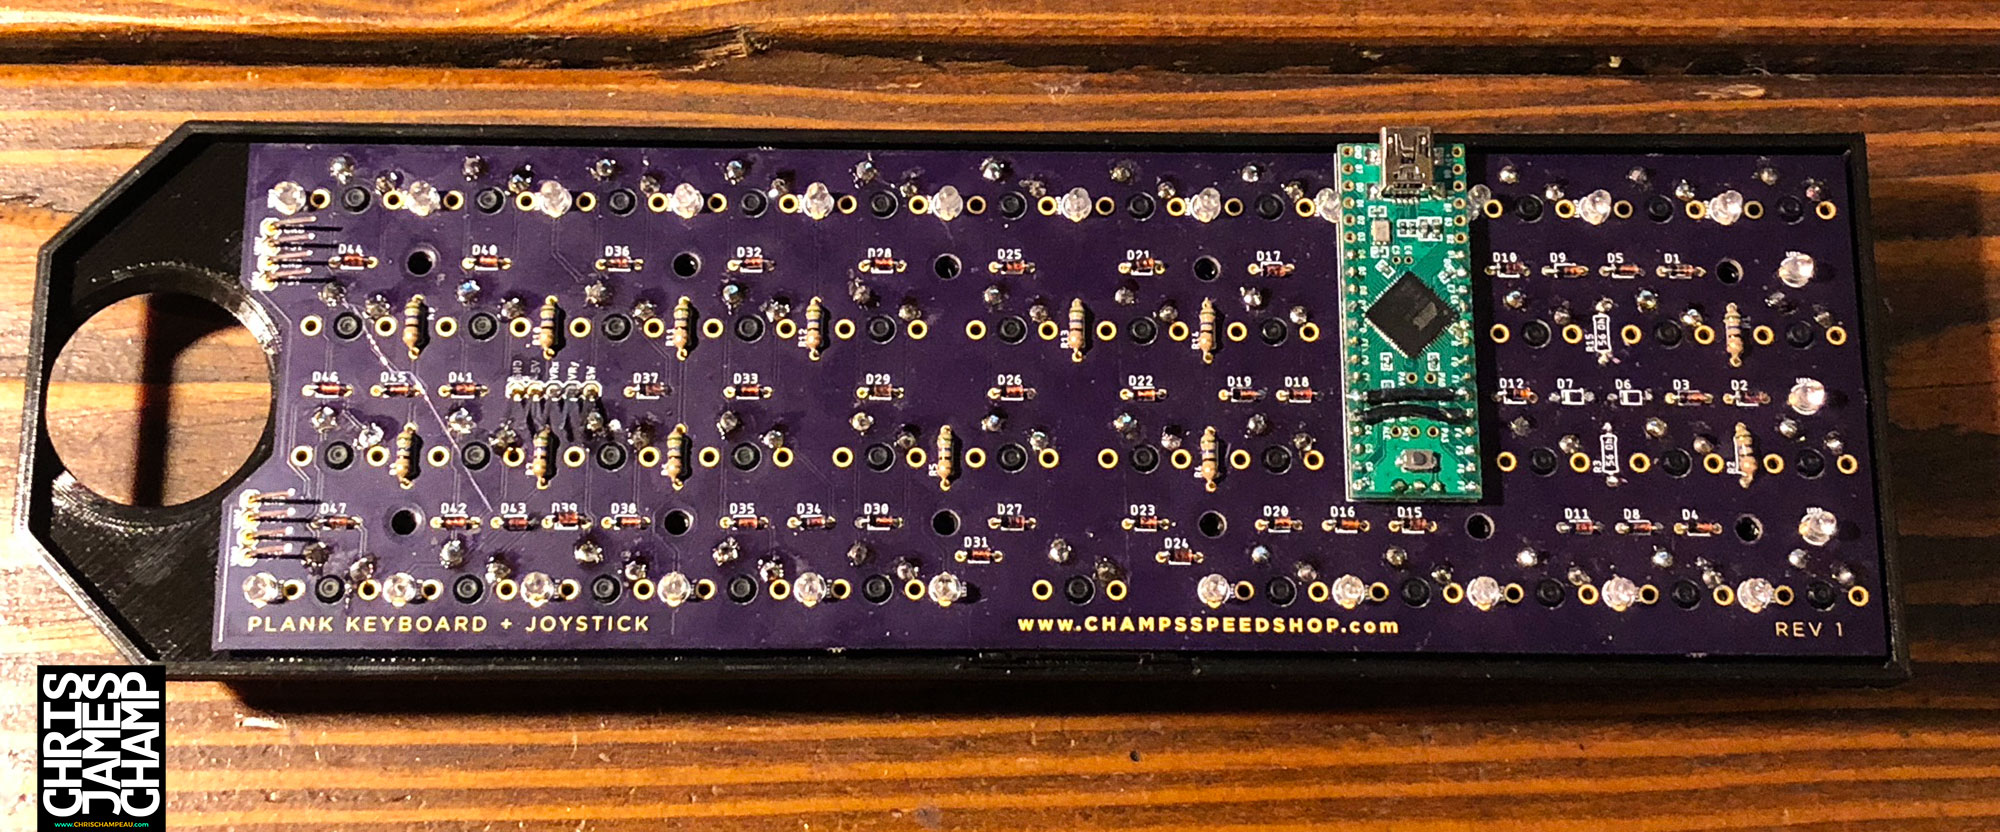
This is the first PCB design that I actually had made, previously I would start, realize I had no idea what I was doing, and scrape the whole idea. This time I was fairly positive this would actually work, and it did, mostly. I designed the PCB board with the Teensy 2.0++ upside down, because of this I ended up with the analog inputs for the joystick on the wrong side. And because I had never worked with QMK really before, I sort of left out the speaker which I had room for and later decided to add, and I did not hook up the LEDs to a controlling pin. But both of these issues were pretty minor in the end.
I ordered my boards from OshPark which I had used before, but if anybody is wondering, both ExpressPCB and JLCPCB are cheaper (found out about them afterward).

I then started designing the enclosure. I decided to use my 3d printer for this, an MK2s Prusa with some simple mods. I designed everything in Fusion360 and since the PCB was designed in Eagle I was able to import the PCB into Fusion and model around it.
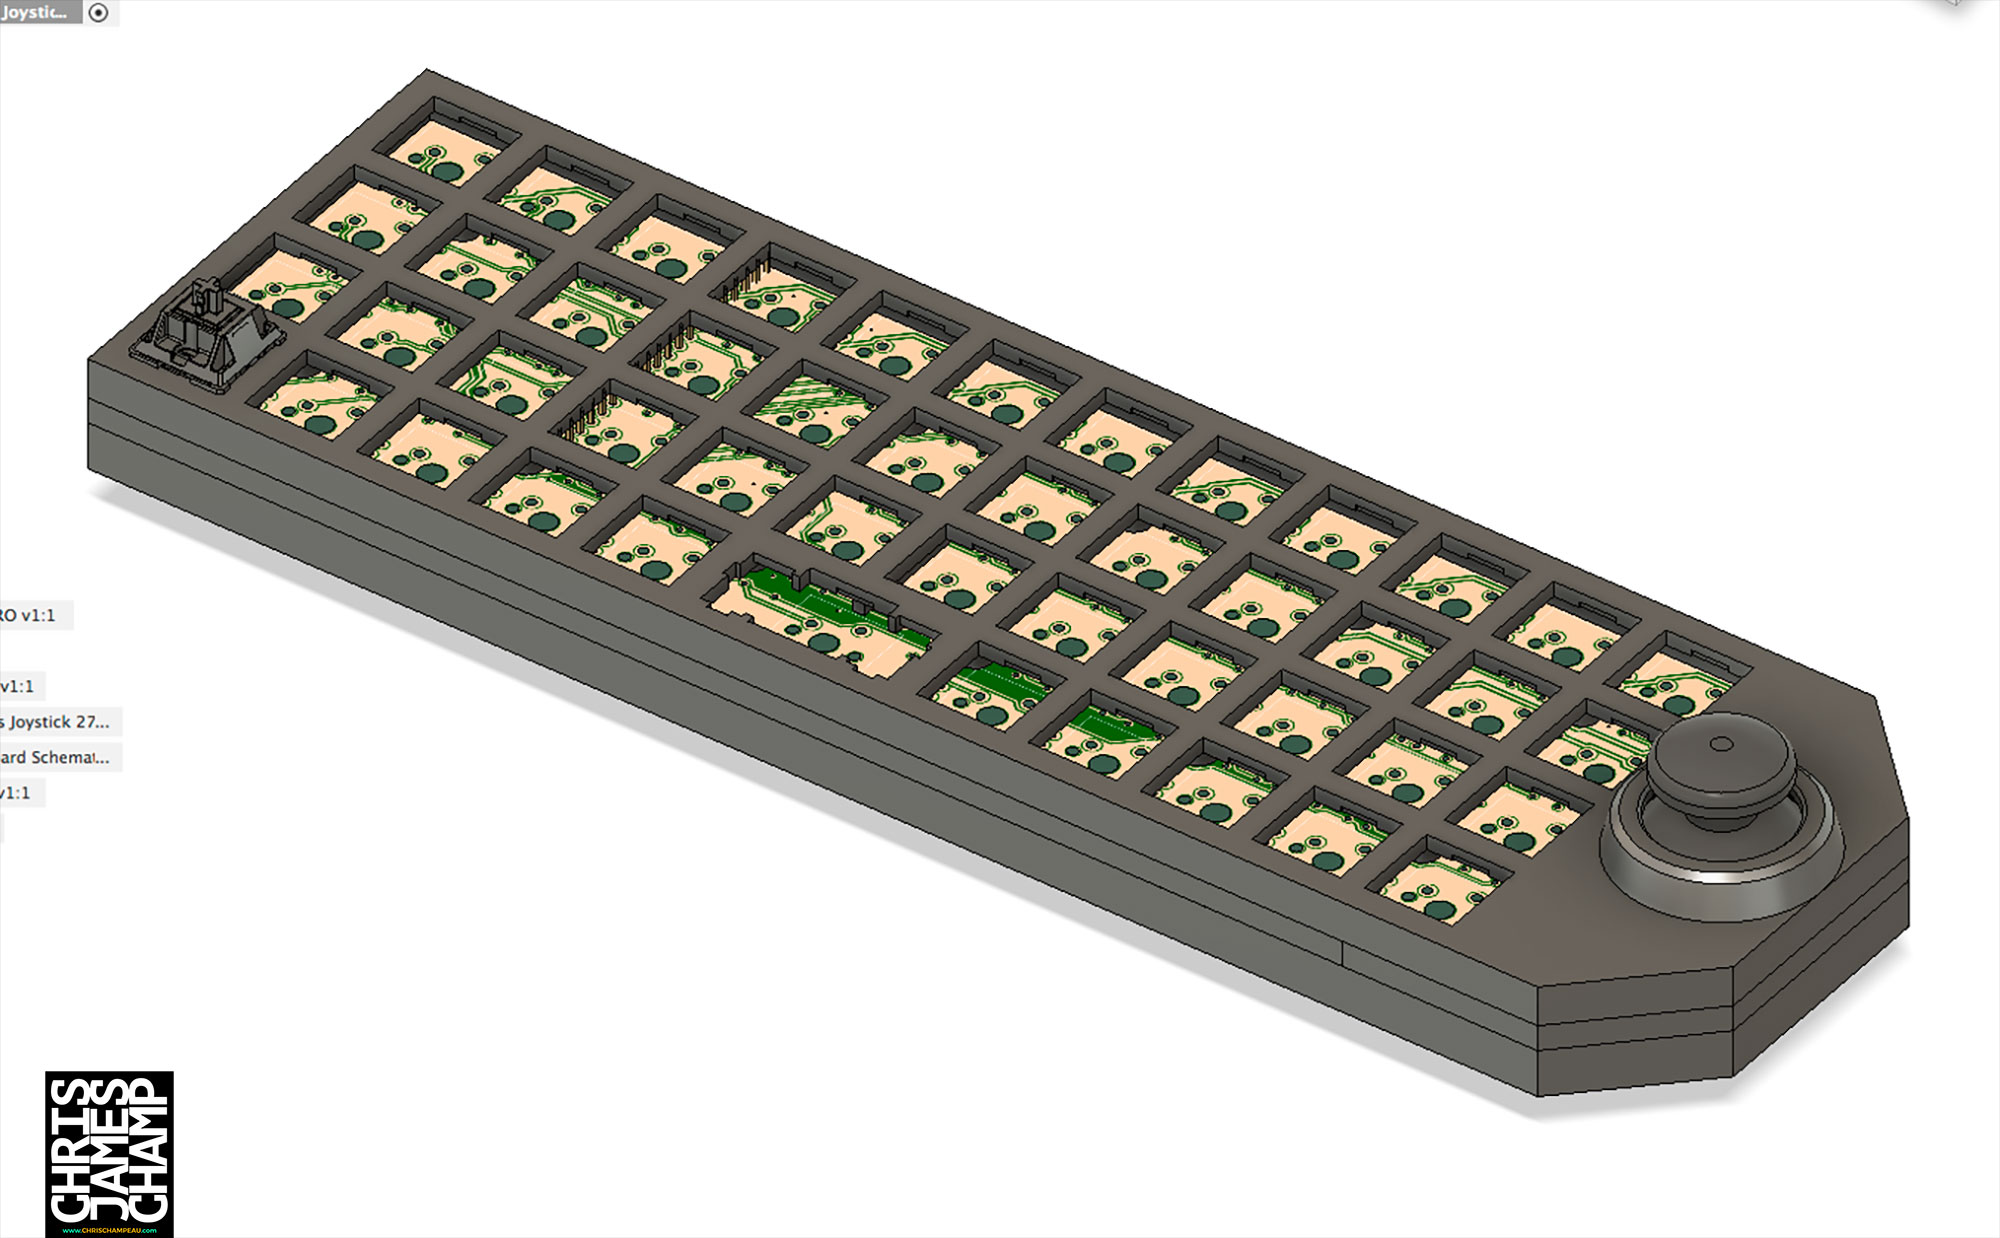
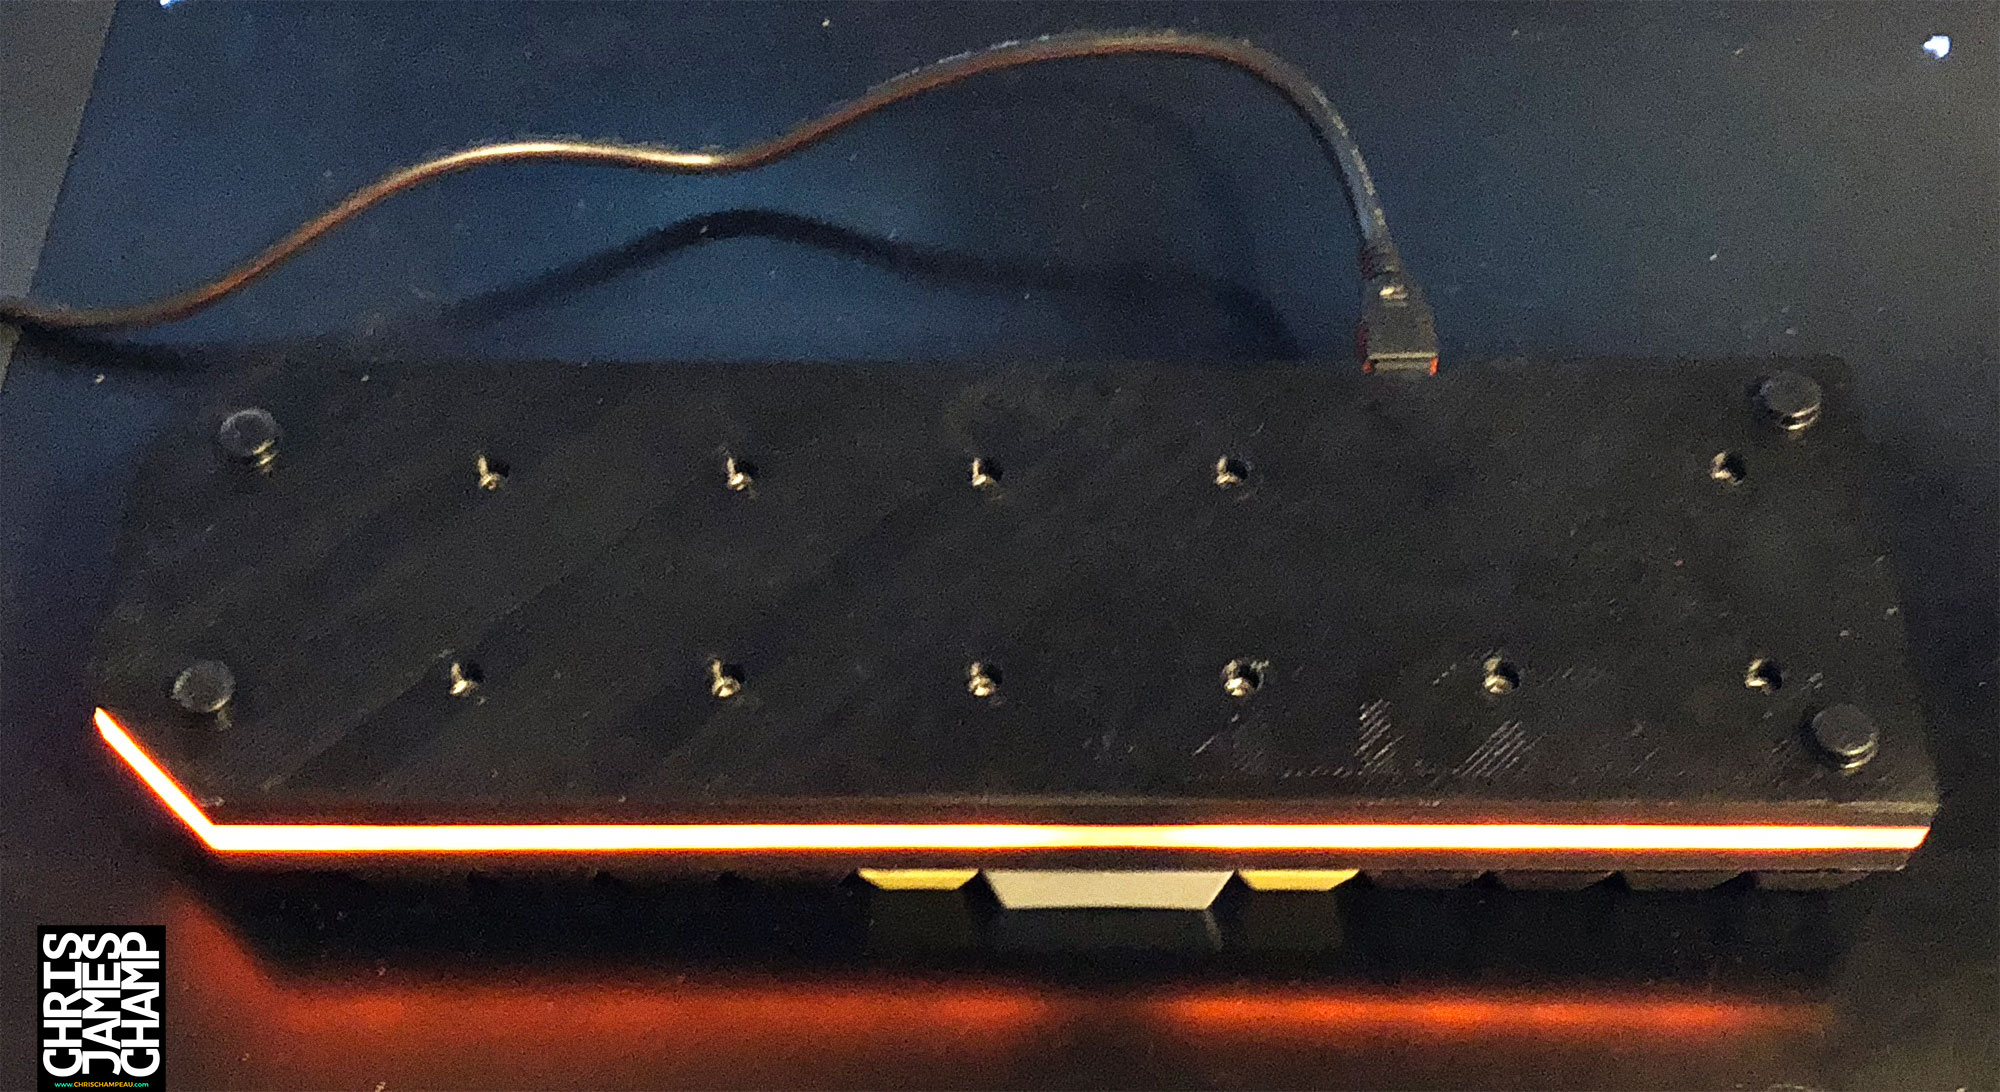
The case consists of 4 parts, the top, bottom, inside clear plate for LEDs, and the joystick bezel.
The keyboards only fit on the print surface at a 35-degree angle, and because of the variances in heat on the edge of the print surface and the fact I was printing in ABS, led to about 30 failed prints due to warping.
After many tries, I finally had all three pieces. I forgot to take a picture of them before assembly but I will tell you that the top, bottom, and bezel were printed out of Shaxon Black ABS filament and the center layer was printed in clear T-Glase because of it's optics properties. At this point, I had no idea if the T-Glase would even work at dispersing the light well enough or not. I had designed the shape of this piece to try and create the evenest appearance with reflections in specific locations but it was not until assembly that I was sure that it would work.
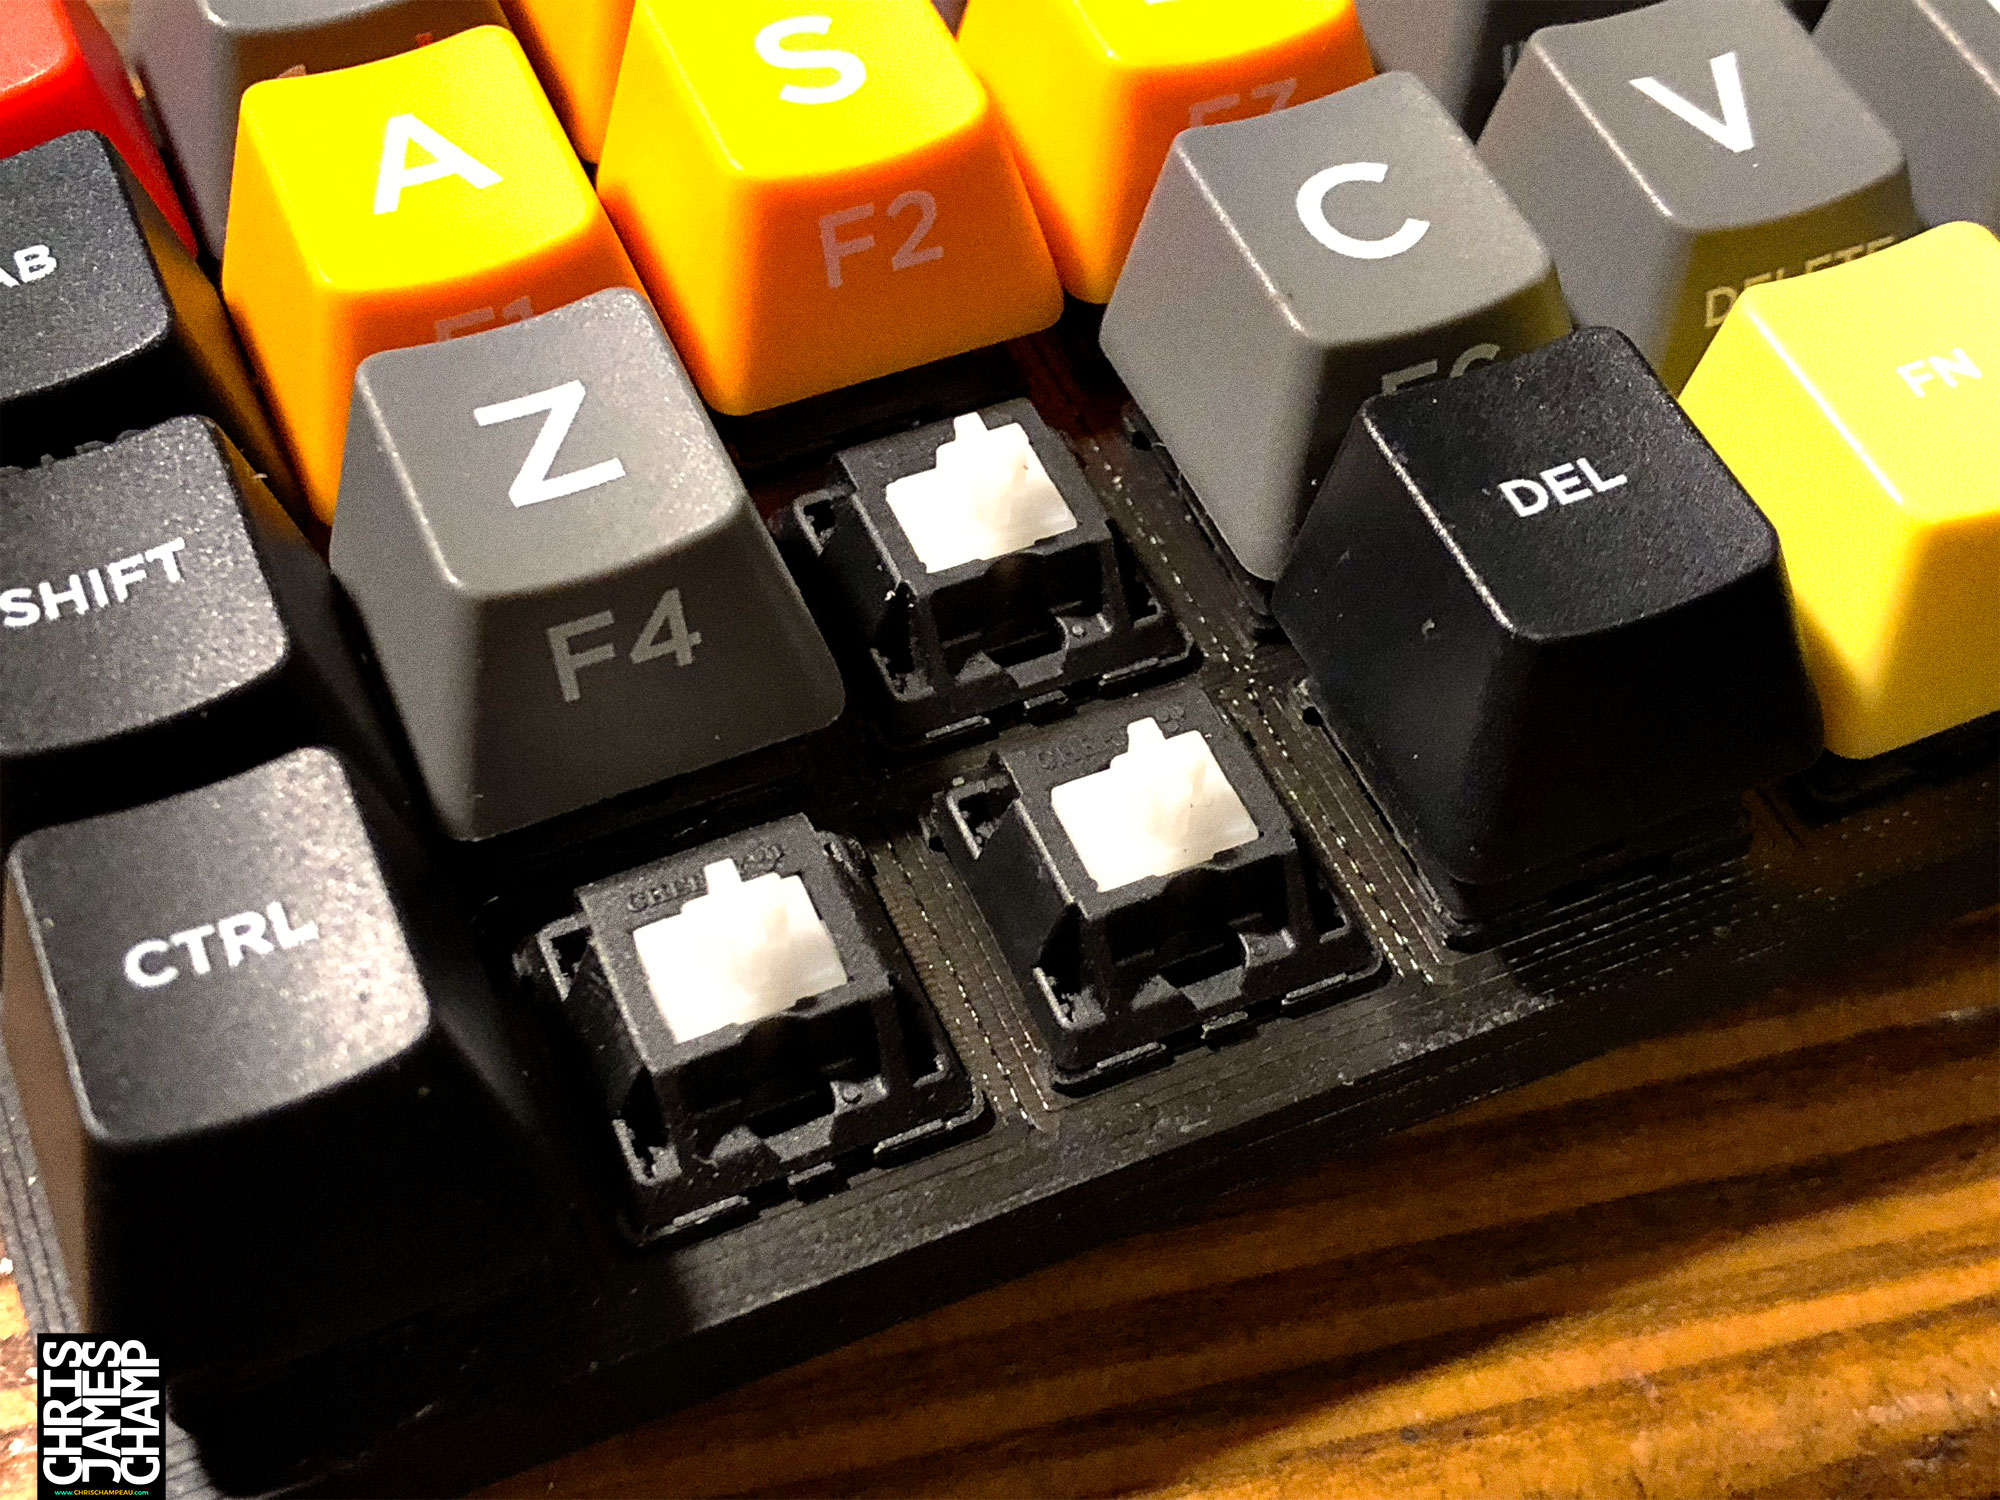
I went with Cherry MX clears because I really liked the tactile response but figured they clickiness of the blue and greens would drive me absolutely nuts over time. You can also see in this picture that for whatever reason, my google search for key spacing was clearly wrong. The keys almost touch each other, and the clearance is pretty much 0 but it does work.
And at that, we are pretty much done. The keyboard is held together with some 10mm screws running from top to bottom, which I had to be super careful not to go through the top plate with. But overall I am extremely happy with the results. Let me know what you think.