Page 1 of 1
Data General Dasher and Xwhatsit USB
Posted: 09 Oct 2018, 05:05
by OldIsNew
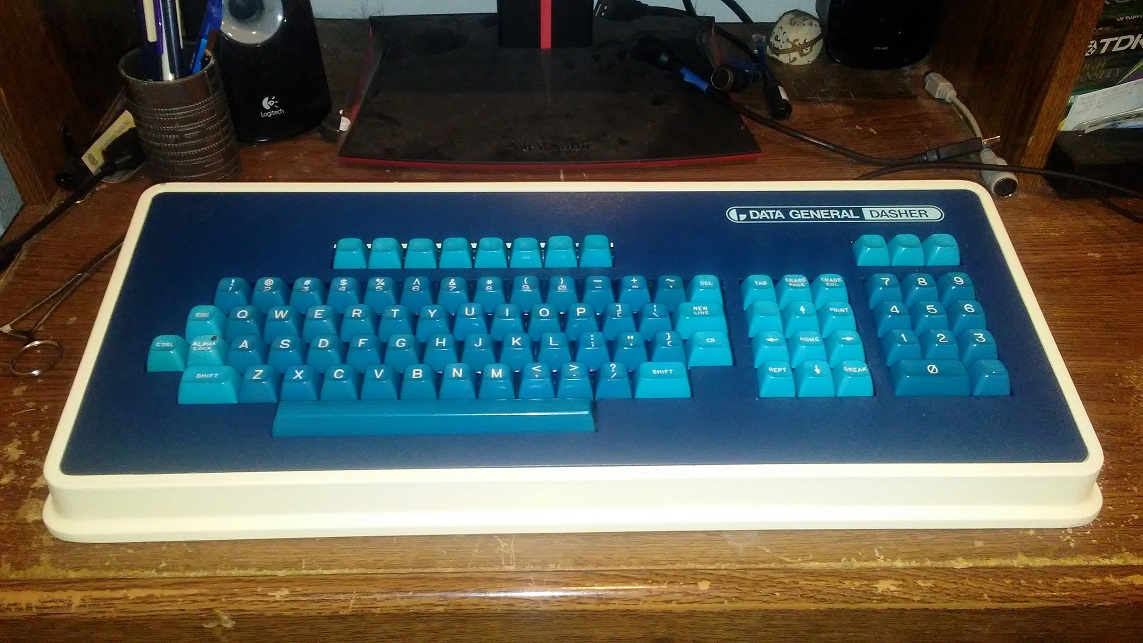
Well, why I do object to the prices these days, I've wanted one of these for a while and when I saw this board was a Dasher (and not a D1, D2, D3, etc.) I pulled the trigger.
- Dasher_Original_logo.jpg (171.19 KiB) Viewed 5616 times
The board was actually in pretty good shape:
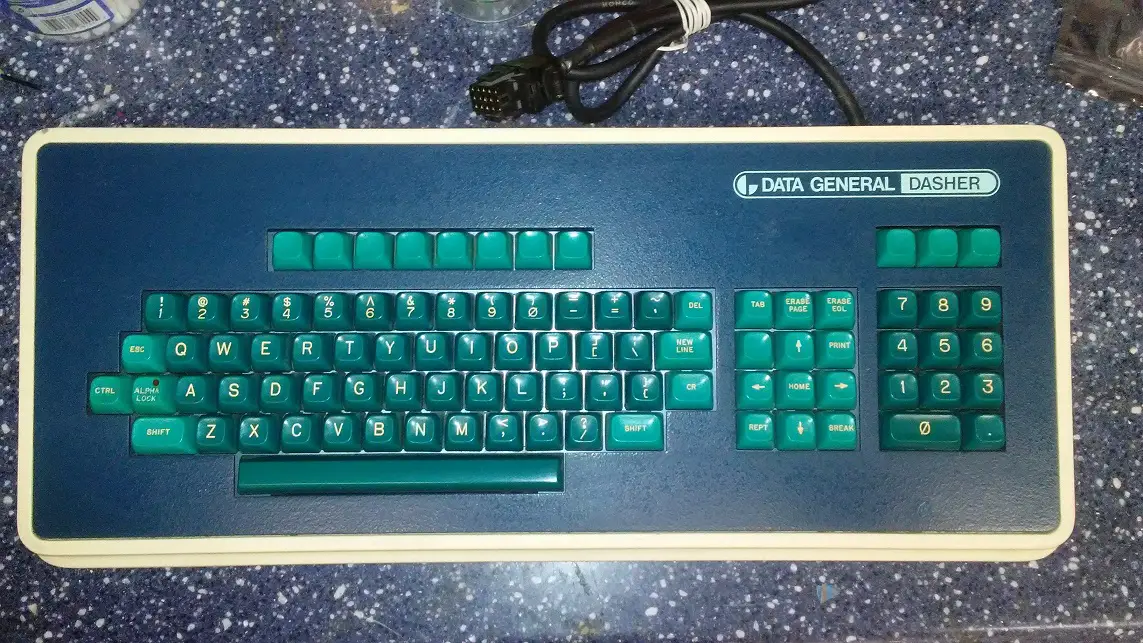
- Dasher_Original1_small.jpg (385.17 KiB) Viewed 5616 times
The keys were yellowed, but there were only minor scrapes on the case. It is of course KeyTronic F&F, but the tall stem "vintage" variety which I actually really like. The foam was a mess of course:
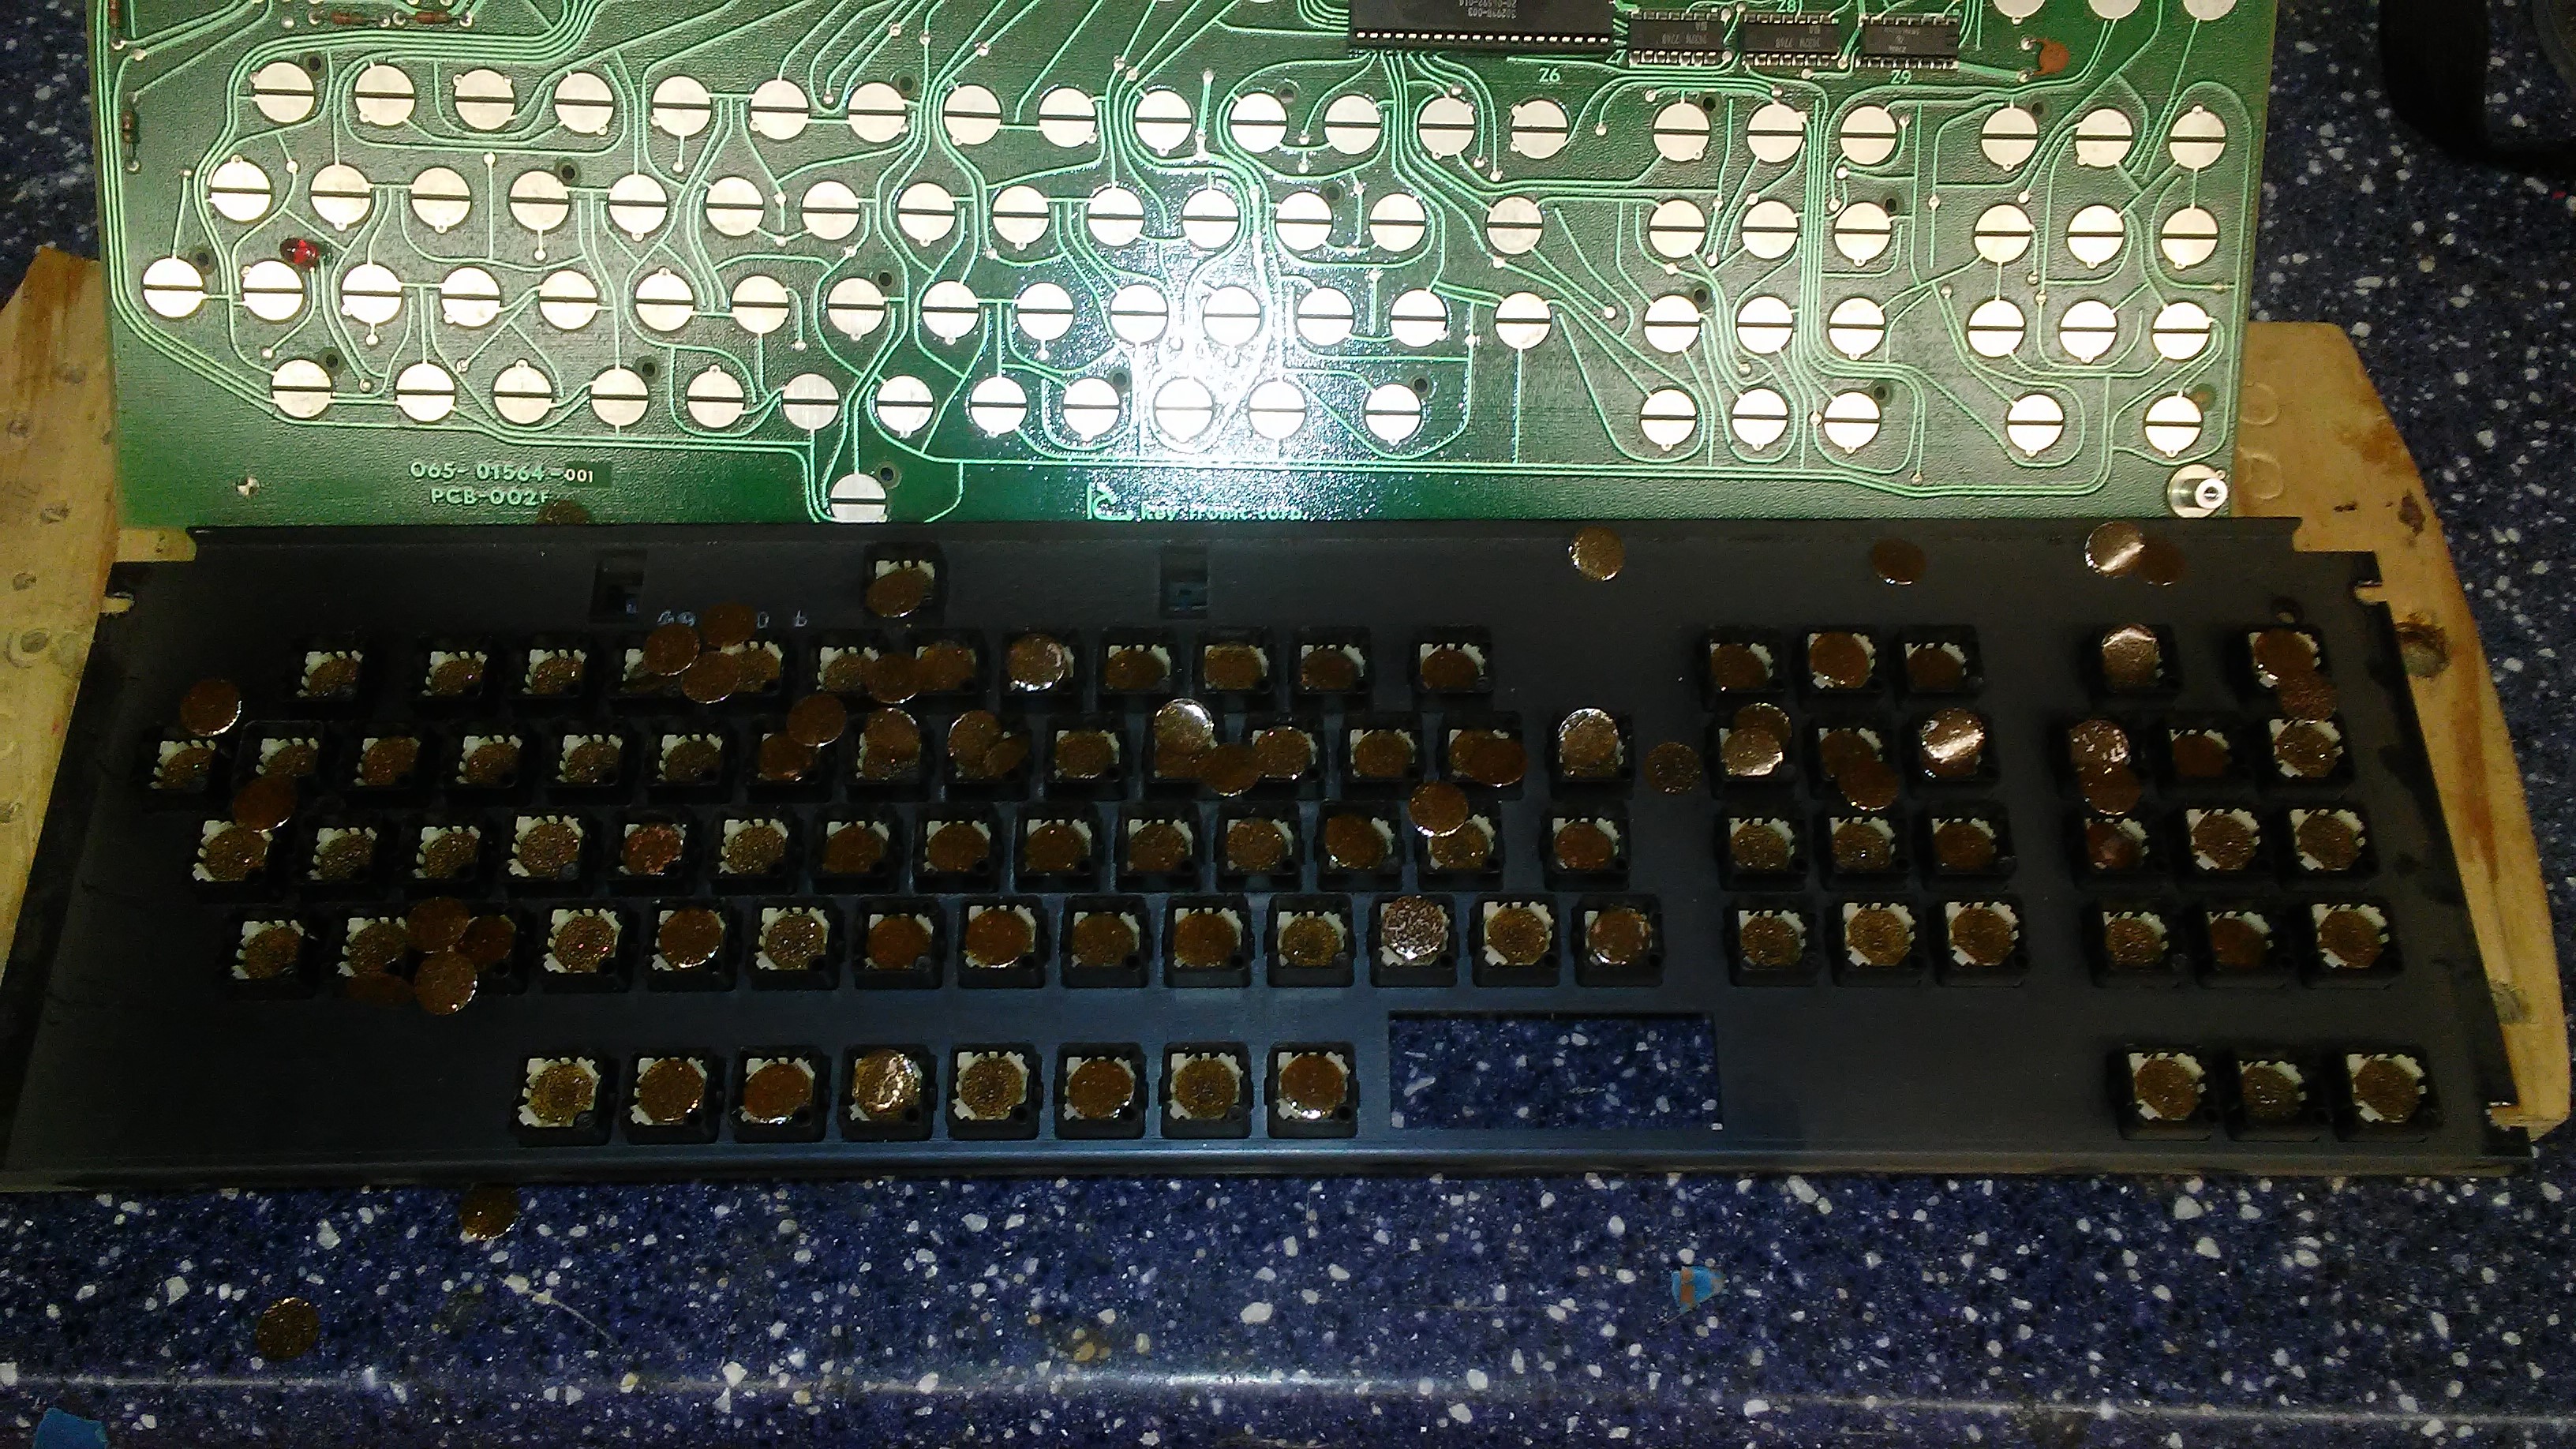
- Dasher_Bad_Foil.jpg (1.84 MiB) Viewed 5616 times
The PCB carries a date of 5/78, the case is just stamped "Jul 28."
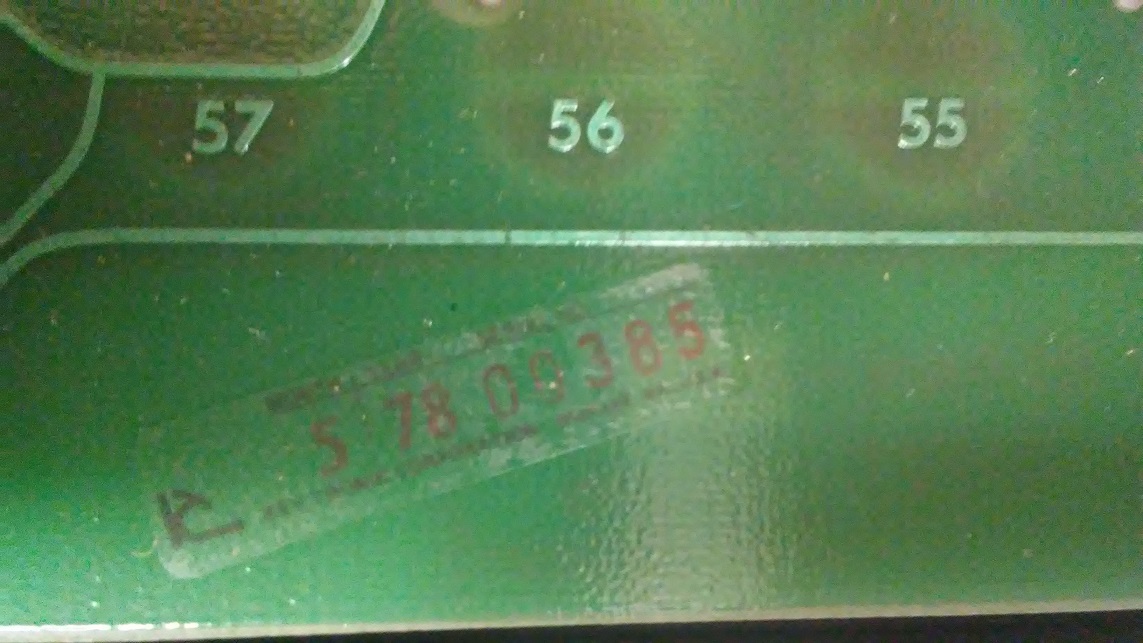
- Dasher_PCB_Date_small.jpg (230.79 KiB) Viewed 5601 times
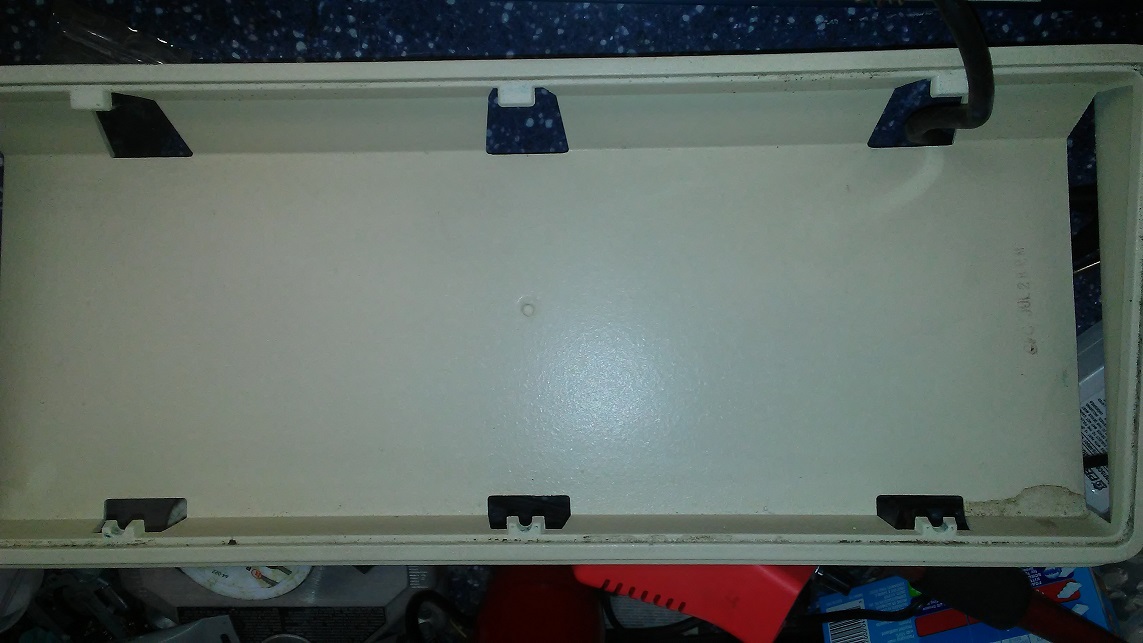
- Dasher_Inside_case_small.jpg (171.55 KiB) Viewed 5601 times
The front plate is metal and slides into the bottom portion of the case.
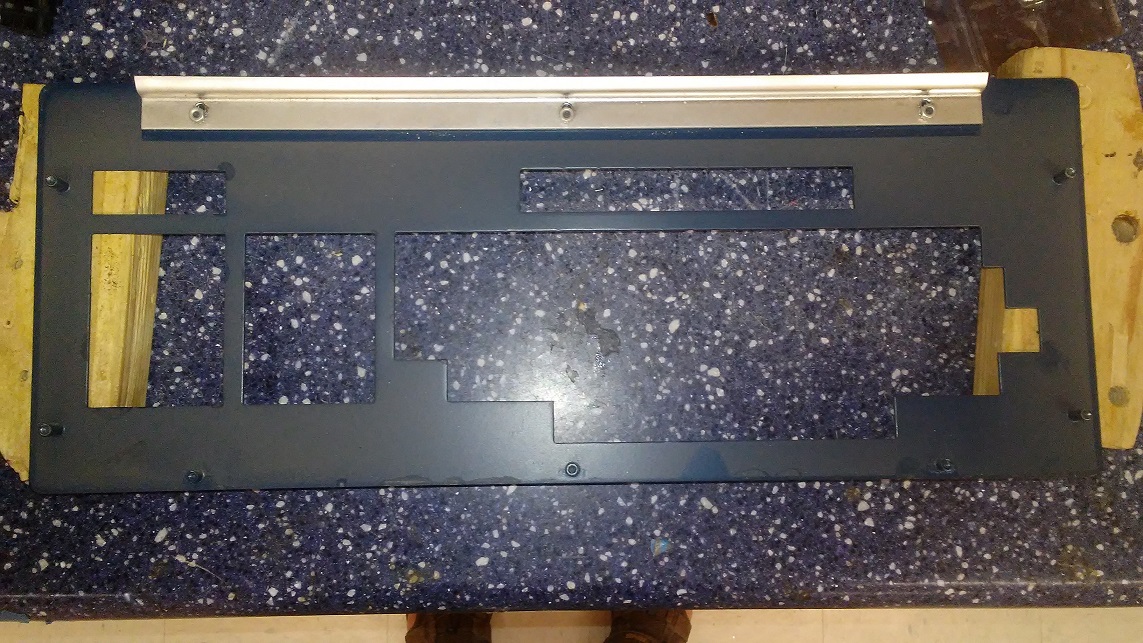
- Dasher_Inside_front_plate_small.jpg (359.67 KiB) Viewed 5616 times
I replaced the foam and foil:
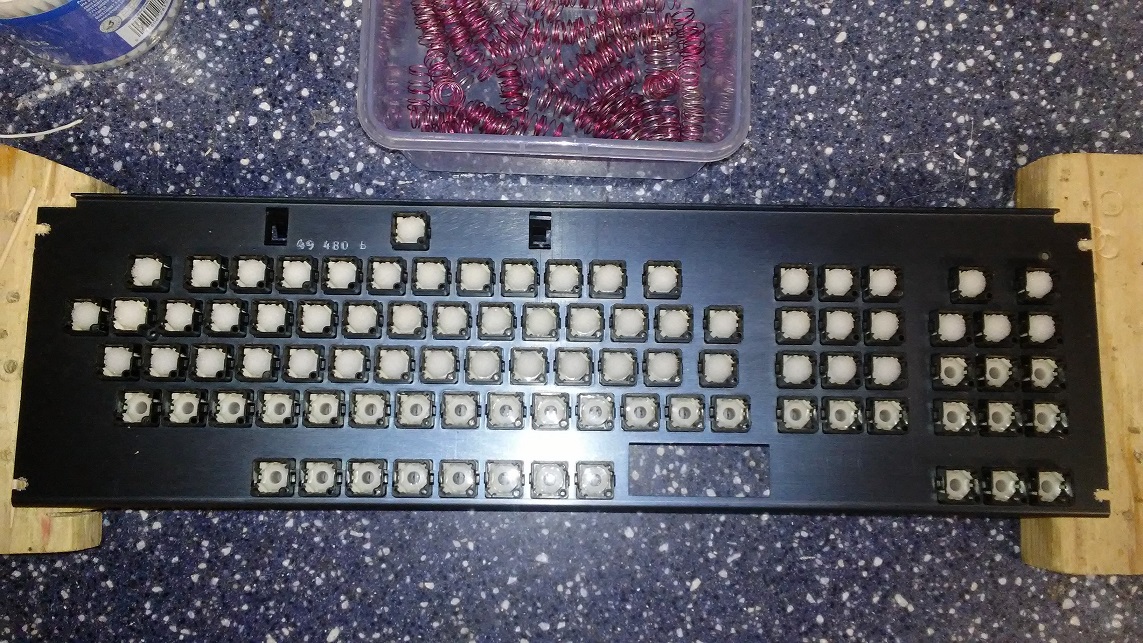
- Dasher_New_Foam_small.jpg (409.21 KiB) Viewed 5616 times
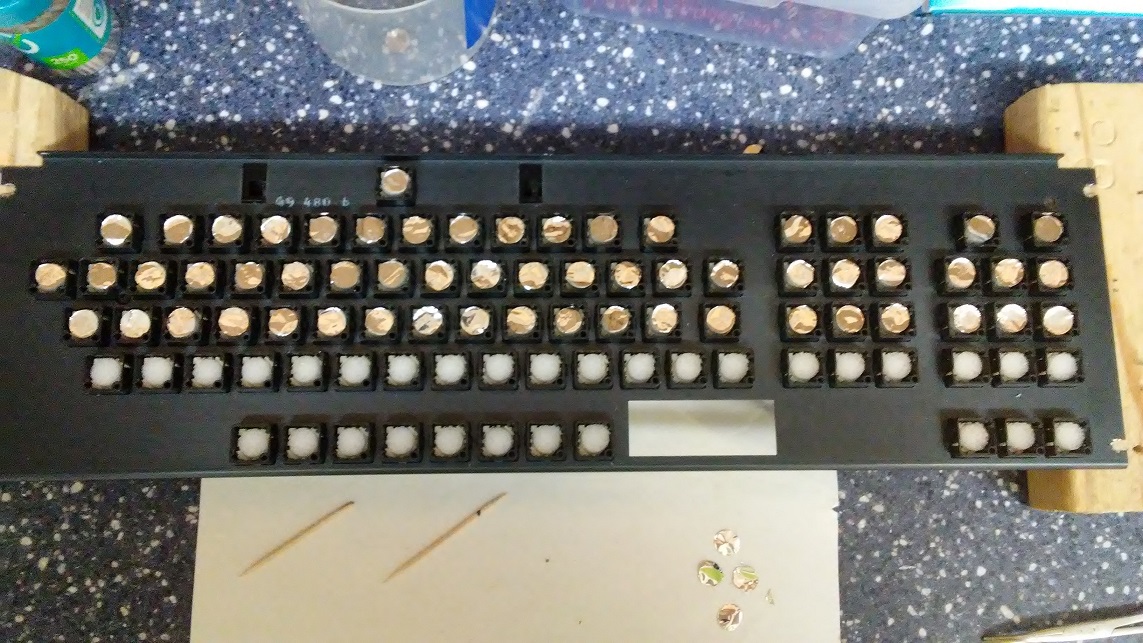
- Dasher_New_Foil_small.jpg (334.21 KiB) Viewed 5616 times
Then Retobrighted the keys:

- Dasher_After_Retrobright_small.jpg (401.84 KiB) Viewed 5616 times
Then wired up the Xwhatsit, including the caps lock LED:

- Dasher_Wired_small.jpg (391.46 KiB) Viewed 5616 times
Put things back together and typing on it now:
- Dasher_Finished_small.jpg (263.97 KiB) Viewed 5616 times
I really like these old KeyTronic boards - unfortunately my keyboard allowance is spent for a while.
Posted: 09 Oct 2018, 07:50
by Chyros
You make it sound so easy! xD
Very nice project though

. Apart from the layout differences, what's the difference between the D1 and the non-D1?
Posted: 09 Oct 2018, 14:59
by chip chop
Excellent job as always, thanks for sharing. Tim the Enchanter knocks it out of the park again!
Posted: 09 Oct 2018, 16:38
by Sangdrax
Nice work. Just a heads up that I wouldn't use electrical tape directly on the PCB though. I've gotten boards with old mods and repairs before and after ten or twenty years the adhesive will straight up pull the solder mask off.
The retrobright turned out amazing though. I always have crap luck with it on brightly colored keys and have to clean up and polish afterward. Isn't this your second Data Dasher? Though I think the other was a D2?
Posted: 10 Oct 2018, 01:23
by OldIsNew
Chyros wrote: ↑... Apart from the layout differences, what's the difference between the D1 and the non-D1?
It's a good question - I haven't actually seen a D1 or D2 in person, but from the keycaps - and your excellent review of the D1 - they both also seem to be "vintage" KeyTronic foam and foil. It's almost like they just weren't sure about those three keys above the numpad.
chip chop wrote: ↑... Tim the Enchanter knocks it out of the park again!
LOL, ty and as Tim would say: "It IS the rabbit!"
Sangdrax wrote: ↑Nice work. Just a heads up that I wouldn't use electrical tape directly on the PCB though. I've gotten boards with old mods and repairs before and after ten or twenty years the adhesive will straight up pull the solder mask off.
Good point for sure - I was just using it to keep things in place while working, but a good reason not to leave any behind!
Sangdrax wrote: ↑
The retrobright turned out amazing though. I always have crap luck with it on brightly colored keys and have to clean up and polish afterward. Isn't this your second Data Dasher? Though I think the other was a D2?
I do have a Dasher D200 - it's foam and foil but different brand from the vintage KeyTronic (not as good but at least not the horrible short stem KeyTronics). I've been pretty lucky with the retrobrighting, though I have had some "blooming" at times. I've found Mr. Clean Magic Erasers (melamine foam) followed by ArmorAll protectant wipes (for keys with a glossy finish) work pretty well.
Posted: 10 Oct 2018, 18:24
by green-squid
I like that original green color. I would have kept it that way myself. Great job. I wish I could figure out wiring like you did. My Zenith handwiring project is still at a halt, despite having finished wiring it up. It seems like I am too dumb to program it.
Posted: 10 Oct 2018, 20:34
by ZedTheMan
green-squid wrote: ↑I like that original green color. I would have kept it that way myself. Great job. I wish I could figure out wiring like you did. My Zenith handwiring project is still at a halt, despite having finished wiring it up. It seems like I am too dumb to program it.
If you send me a picture of your wiring configuration I might be able to set up a matrix for you depending on what microcontroller you are using.
Edit: though it seems perhaps your problem isn't with the matrix but with flashing the pro micro.
Posted: 12 Oct 2018, 23:39
by OldIsNew
green-squid wrote: ↑I like that original green color. I would have kept it that way myself. Great job. I wish I could figure out wiring like you did. My Zenith handwiring project is still at a halt, despite having finished wiring it up. It seems like I am too dumb to program it.
Ty! I just like to go back to the original as much as possible - the green tinge did have an appeal to it though!
More importantly - I must have missed your Zenith project! If you have the matrix wired (and even if not quite) there are definitely ways to have it up and typing! I have great respect for handwiring and your Zenith must be revived!
Can you post more about what you have done with your board (or point us to the correct thread). I program my own boards (except for capsense) and it works but is primitive - I'm sure there are real programmers (like ZedTheMan) that can help!
Don't let your board languish!
Posted: 13 Oct 2018, 05:38
by Sangdrax
Seconded. I'd just add the online QMK firmware compiler is really good for contact handwires and really simple too. No need to reinvent the wheel.
Posted: 13 Oct 2018, 10:13
by tedfs3
What software are you using in the video that seems to be showing keys pressed ?
Posted: 13 Oct 2018, 11:08
by Muirium
Looks like an onscreen keyboard to me. I always use the one built into the Mac, but I’m sure Windows and Linux have them too. They’re usually an accessibility feature, but work wonders for visually confirming keys when remapping vintage layouts! Much easier to test modifiers visually.

The Mac keeps its Keyboard Viewer tucked well out of sight. Enable it in System Preferences > Keyboard > Show Keyboard Viewer in Menubar.
Posted: 13 Oct 2018, 16:23
by OldIsNew
I
tedfs3 wrote: ↑What software are you using in the video that seems to be showing keys pressed ?
It's Aqua'S KeyTest. You can get it here:
https://geekhack.org/index.php?topic=34670.0
Posted: 13 Oct 2018, 16:46
by tedfs3
Thank you. I tried the on screen keyboard in Windows 10 but it only registers Shift and Caps Lock.