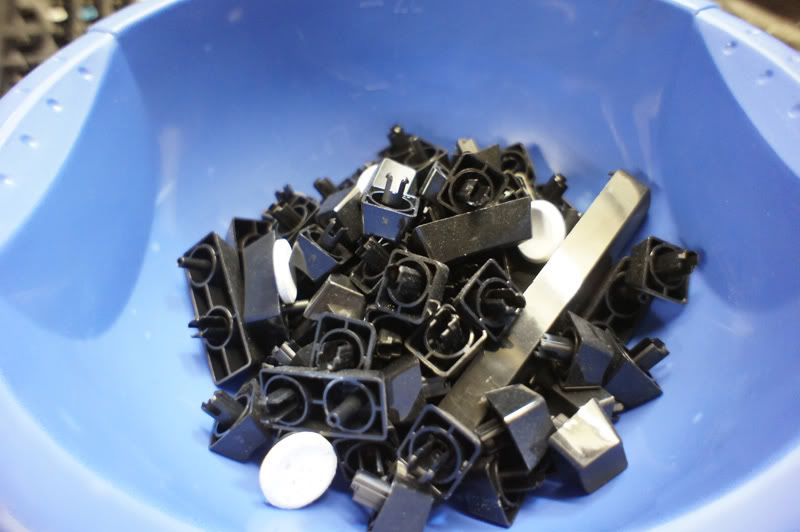
The first step in achieving that goal was to sand the whole case in order to make the plastic paint stick better to it. First I needed to clean my set of black, blank keycaps. To do this I used some 4 tabs of "Kukident Reinigungs-Tabs", added some water and let it soak over night.
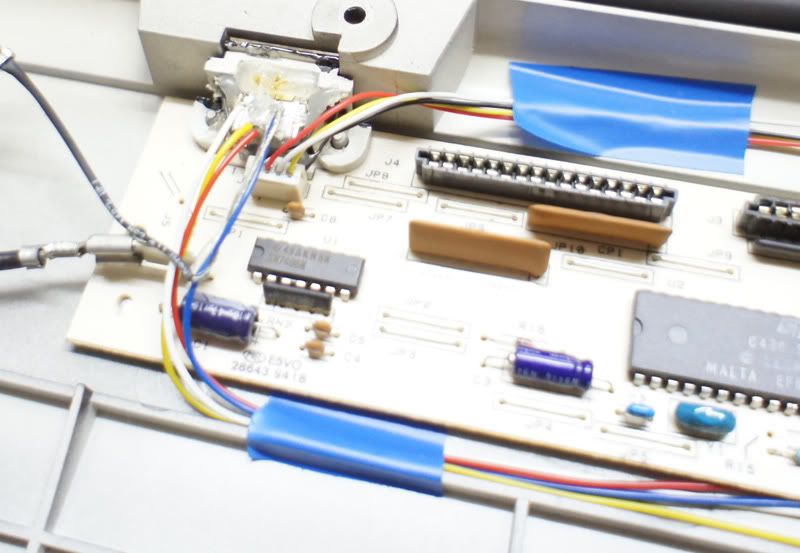
Next was disassembly. I already did a ps/2 to usb conversion mod using the ominous "blue cube". With loads of hot glue and some pretty bad soldering work I had a functioning USB port instead of the SDL port on the back of my model M.
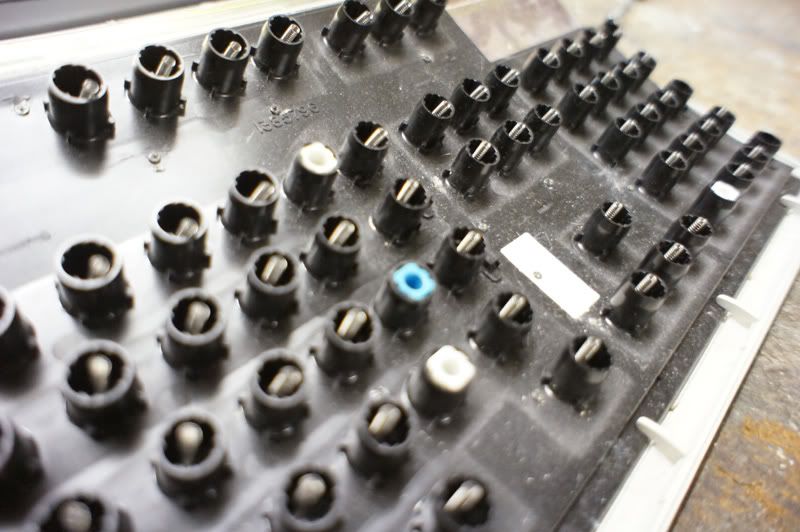
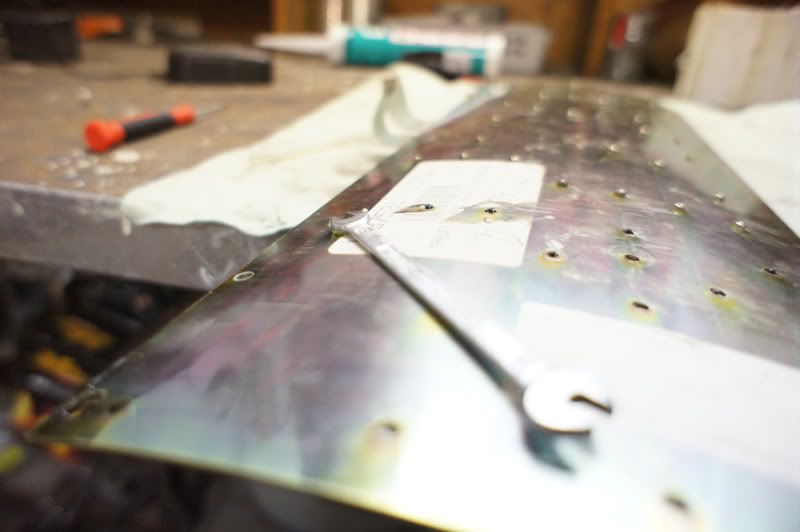
This keyboard has already been bolt modded by me using some very small nuts and bolts sold by a local model railway vendor (pretty expensive but quite well manufactured). As you can see in the photo it's all rather dirty but then again this keyboard has been in use for some time since the last cleaning.
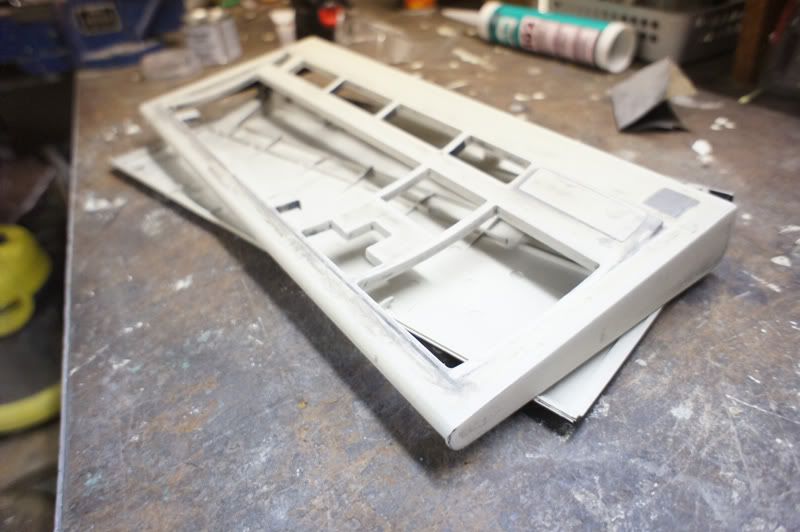
After fully sanding both parts of the case I applied some surfacer to fill in the groove surrounding the keys, the recess for the IBM logo and even the speaker grille on the underside of the keyboard. The surfacer serves to streamline the shape and therefore make it cleaner and less obtrusive. Filling the groove surrounding the keys turns the model M into less of a dirt magnet.
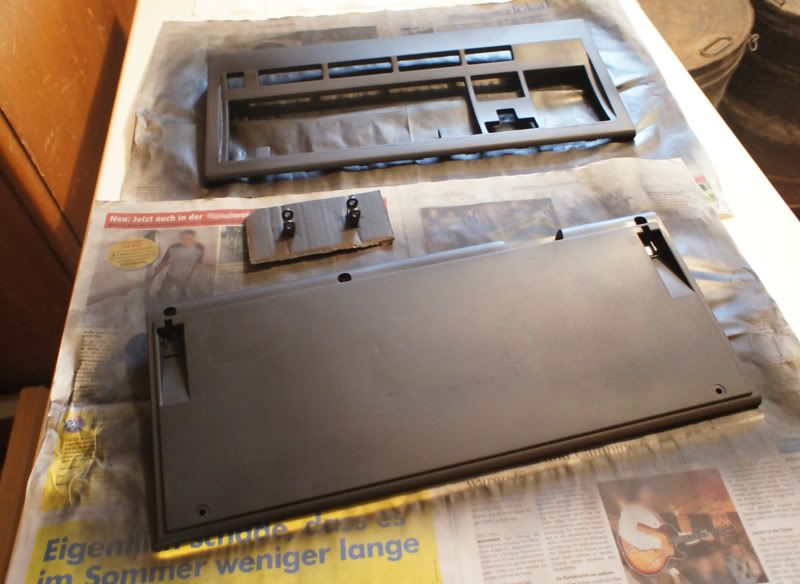
Painting both sides and both feet took quite some time and I used a whole can of black plastic spray paint meant for automobile use in the process. It's not as effective as real vinyl dye paint but it sticks quite well and has a nice matte look to it. I have been looking for a good spray paint for quite some time now but it seems as there are really not many good vinyl paint sprays around here so this "plastic paint" is the closest I could get.
Before reassembling the whole keyboard I needed to fix some of the acrylic hammers which jumped out of their fixation. Well that was the effect of fiddling with keys while only loosening some bolts and accidentally letting some of the hammers displace themselves.
The whole filling job did not turn out that great but thats mainly because I don't have that much practice in applying surfacer. As a result there are some spots with quite some bubbling that I could have avoided if I did pay more attention.
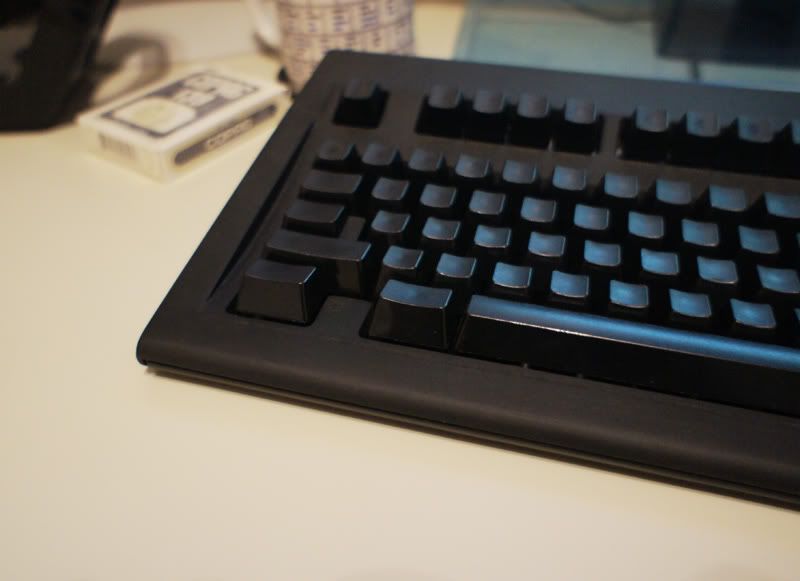
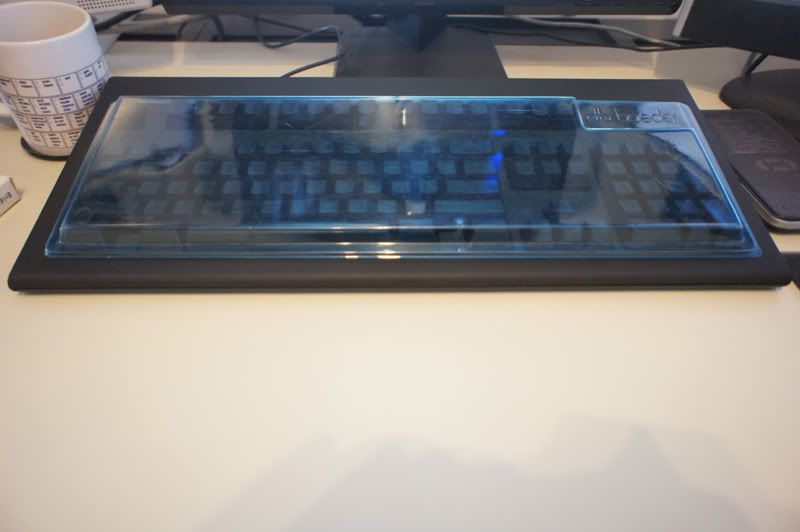
And here's the final product after reassembling everything and placing my nice vintage transparent blueish dust cover over the keyboard to prevent it from getting dirty while it's not being used (a pretty rare occasion).