The WhiteWidow

User avatar
YetAnotherDeveloper

18 Mar 2011, 20:20

Sanding Down the Case
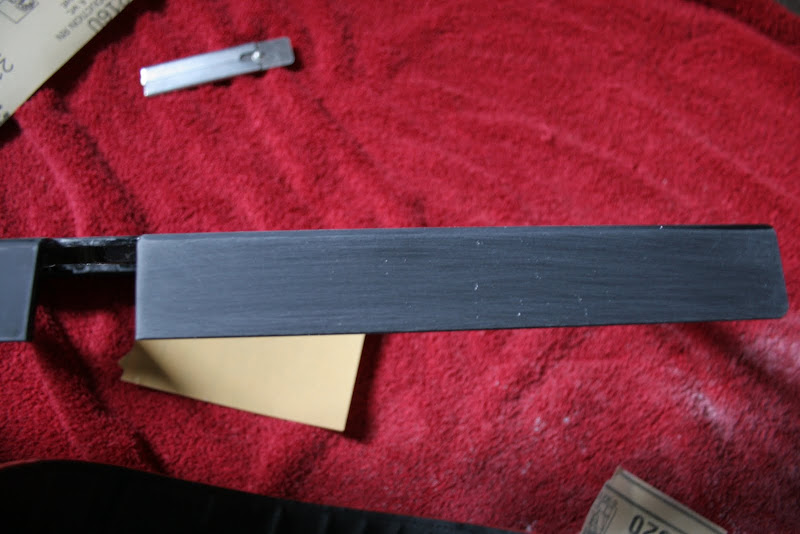
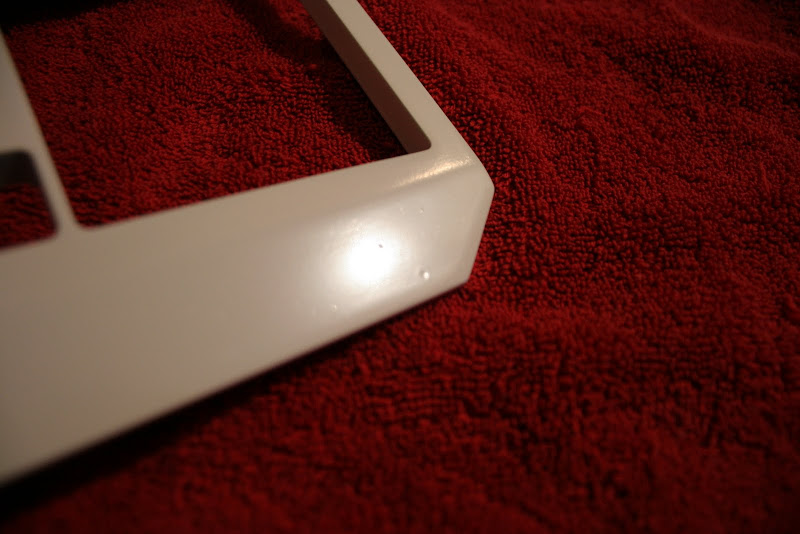
This has been only hit with 600 wet for a few seconds. This is still the coating on the case; which will hold onto the finger prints almost as bad as the stock coating.
Image

Time to remove the coating... the light color is the plastic under the coating.
Image

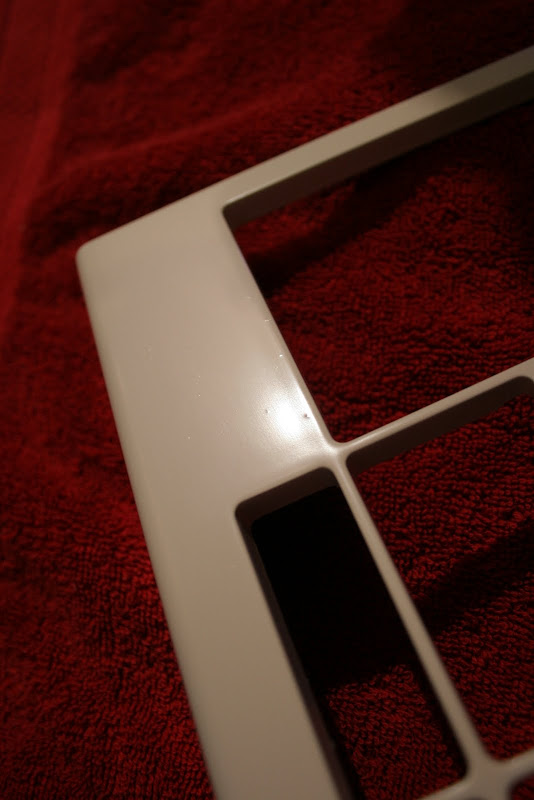
Coating all gone (with 600 grit). Note that at this point if you were to polish the plastic back smooth you would be left with a smoky clear plastic... this might be cool to play around with; there are also 100+ LED connections on the board if you wanted to play with some back lighting under the clear case/frame.
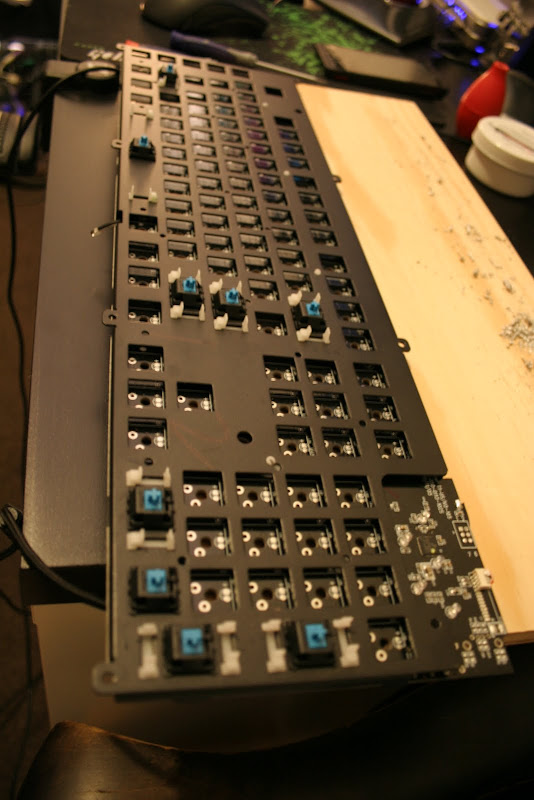
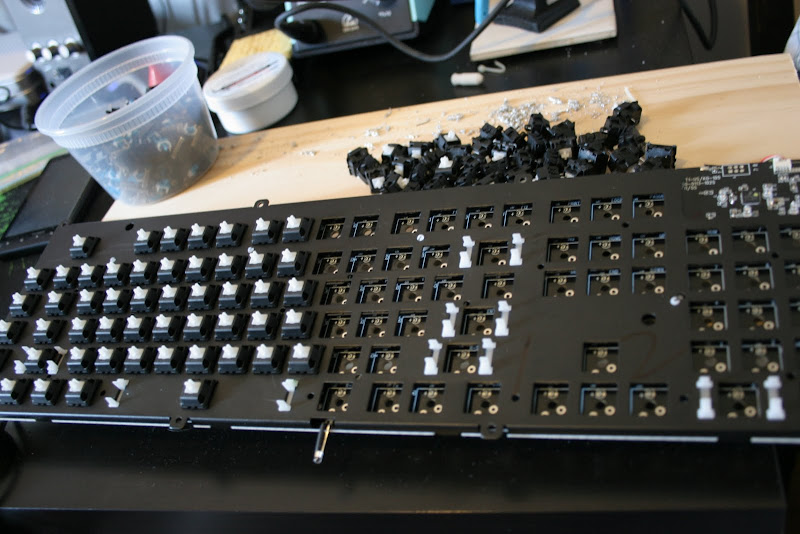
Image

Pulling Switches
I found that using the desoldering bulb is the easiest way to remove the solder from the switch. I did find that the solder used by the factory was most likely lead-free and therefore a little harder to heat up and remove. What i did was take a quick run at all of them, probably only fully clearing about 30% of them; then i when back over each one that was still soldered and applied some new solder to it (64/40) and then let it site for a quick count to 5. After this it was good enough to use the bulb again to remove the rest. After the 2nd pass with this i had about 90% of the switches clear and free of solder. The rest just required one more pass. If you have some of the other guides they talk about being able to wiggle the switch from the top and you should be able to see all pins move freely. If when you wiggle the switch the pins to not move then do NOT try to remove the switch, this can damage the board, switch or both. I was able to do mine without any damage. Once the solder is all removed then you will just need to "pop" out the switches, I used a screwdriver the same size as the peg in the switch; I would just line it up and with one or two quick knocks it would break free.
Image
Image
Image

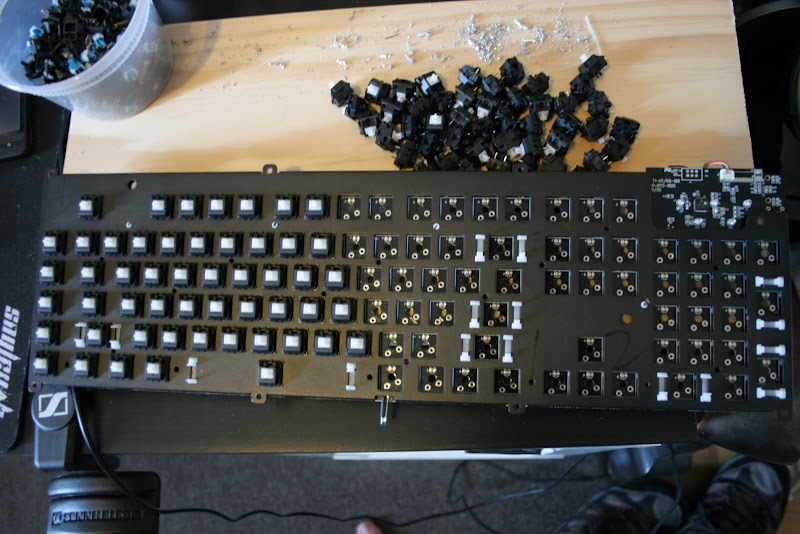
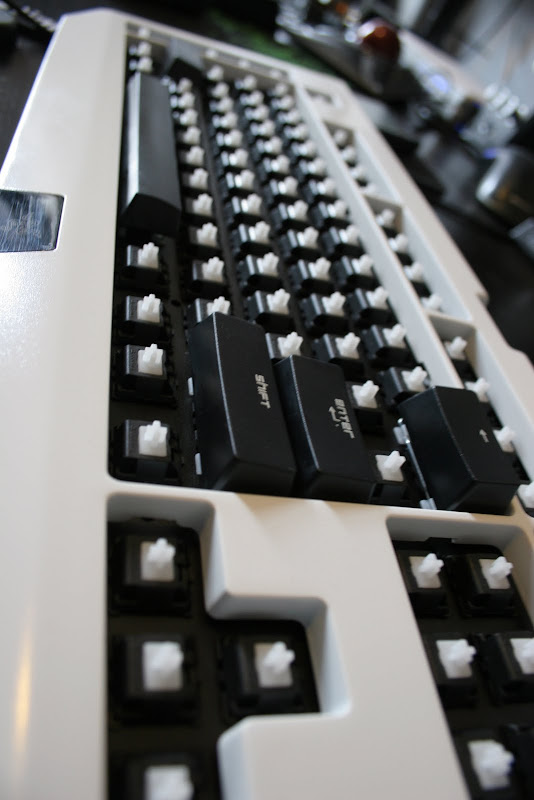
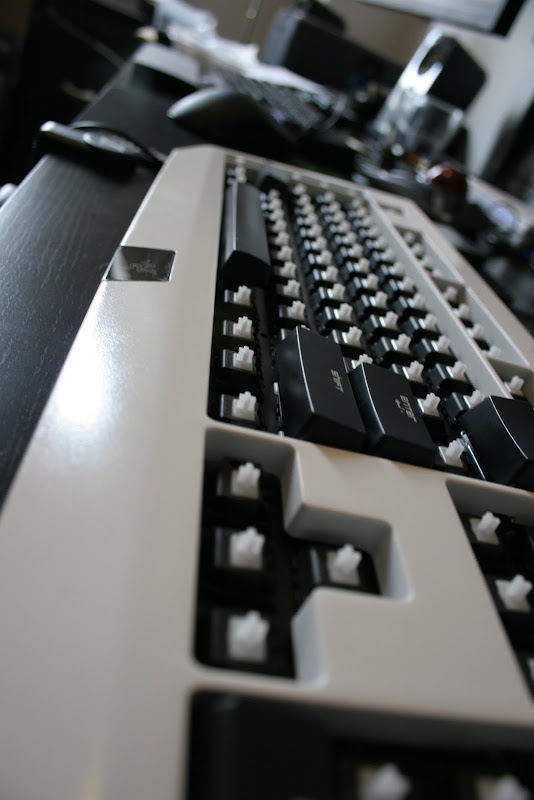
Installing MX whites/clears
Before I could install the switches I needed to swap the tops of the blue and clears switches; the clears are board mounted and the blues are plate so it took almost 3 hours to pull apart all the switches blue and clear and then rebuild the clears on the blue bottoms. There is no real trick to this that I know of... I just used a small flat head screwdriver to pop the sides of the switches.
Image
Image
Image
Image

First Coat with problems in the finish
I used the Rustoleum Auto Gloss Paint from Lowes Hardware store. This finish is NOT hard enough of a finish to last on your keyboard, mine is currently in the auto body shop down the street getting a shot of clear on it. On this first coat you can see some trash in the paint. I started off with two thin coats and then i wet sanded the whole thing down for the 3rd and 4th coats. The first three coats where done in the first hour of the project but the final coat i waited for 3 days to fully cure and then wet sanded it with 600grit.
Image
Image
Image
Image
Image

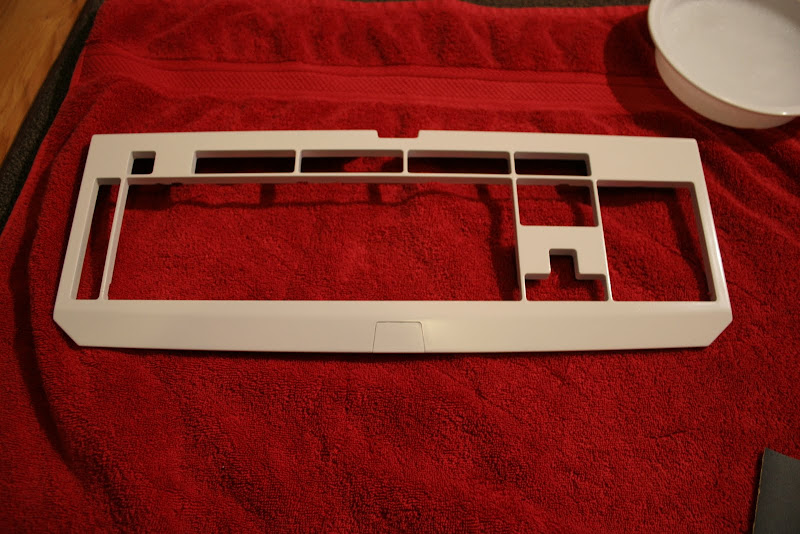
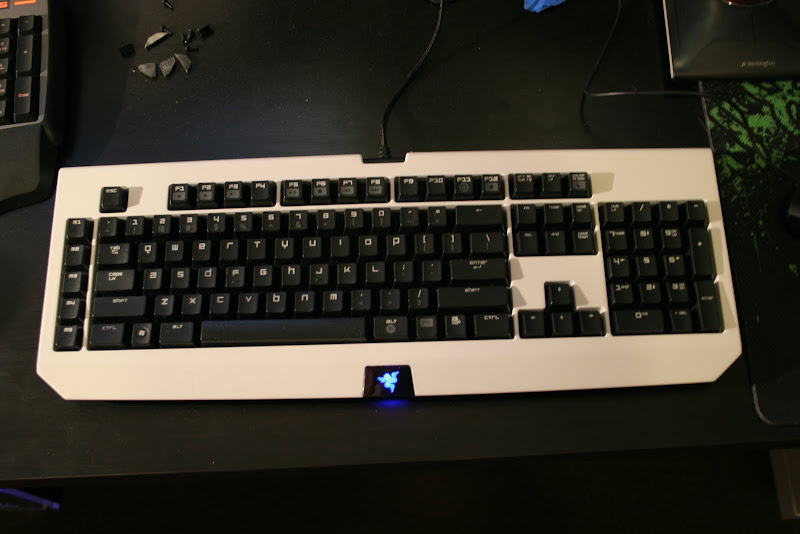
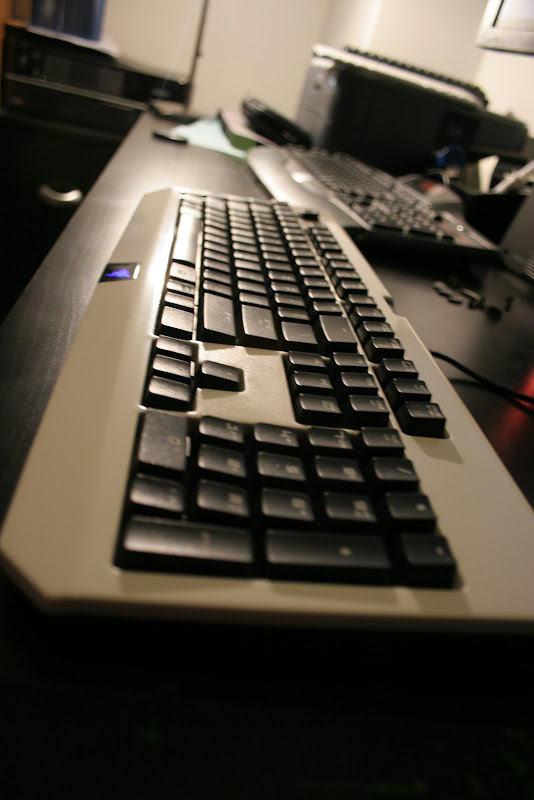
After Final Coat and no Keys
Image
Image
Image


After a wetsand and a new coating of white + Keys
Image
Image
Image
Image
Image
Last edited by YetAnotherDeveloper on 18 Mar 2011, 21:35, edited 1 time in total.

User avatar
sixty
Gasbag Guru

18 Mar 2011, 20:24

Wow, that came out awesome! The white case looks much better than the real deal. The keyboard looks pretty nice now, despite the silly font!

I'm curious - do the LEDs still shine through or is your paint too thick?

ripster

18 Mar 2011, 20:29

Looks like FR04 throughhole pcb. Funny, I don't remember a lot of people talking about the BlackWidow being more solid while typing like the Filco marketing guys contend their Generation 2 keyboards will be.

Oh well, I'll wait until the OTD and KBDmania guys start gushing about it.

User avatar
sixty
Gasbag Guru

18 Mar 2011, 20:32

ripster wrote:Looks like FR04 throughhole pcb. Funny, I don't remember a lot of people talking about the BlackWidow being more solid while typing like the Filco marketing guys contend their Generation 2 keyboards will be.

Oh well, I'll wait until the OTD and KBDmania guys start gushing about it.
Feels pretty much the same to me as the Filco generation 1... only difference I really noticed with this type of PCB is that its much harder to desolder and seems to even require a higher wattage iron.

Also YetAnotherDeveloper, you should have painted the plate white too, just for the heck of it!

User avatar
YetAnotherDeveloper

18 Mar 2011, 21:00

sixty wrote:Wow, that came out awesome! The white case looks much better than the real deal. The keyboard looks pretty nice now, despite the silly font!

I'm curious - do the LEDs still shine through or is your paint too thick?

i was fighting on what to do with this one... i just left it and paint over it all. I guess i could add holes for the leds but i dont really want to.
sixty wrote: Also YetAnotherDeveloper, you should have painted the plate white too, just for the heck of it!
DAMN.... i didnt even think of that; now i want to take it all a part and do that! i think that would prob add at least 2 or three more hours to the project.

Jimmeh

18 Mar 2011, 21:34

That looks really neat, well done!

User avatar
CephalicCarnage

18 Mar 2011, 22:12

Great job! That finish looks superb. I really like the look of that white you've got there.

xis

19 Mar 2011, 01:52

wow!! love the white finish

User avatar
gorb

19 Mar 2011, 02:02

Looks very classy in white :D

wap32

19 Mar 2011, 02:08

Very nice job!
The smooth matte finish looks awesome.

User avatar
Crazy9000

19 Mar 2011, 03:15

Well done :).

User avatar
YetAnotherDeveloper

19 Mar 2011, 03:17

I'm thinking about making a BrownWidow now.... i kinda feel the need to add on to the set.

User avatar
Crazy9000

19 Mar 2011, 03:23

YetAnotherDeveloper wrote:I'm thinking about making a BrownWidow now.... i kinda feel the need to add on to the set.
If you do another one change the color of the LED's :) .

What about a red widow?

User avatar
YetAnotherDeveloper

19 Mar 2011, 03:26

Crazy9000 wrote:
YetAnotherDeveloper wrote:I'm thinking about making a BrownWidow now.... i kinda feel the need to add on to the set.
If you do another one change the color of the LED's :) .

What about a red widow?

Good idea... i'm going to change out the white one to a white led.

javifast

19 Mar 2011, 07:02

Looks fantastic. Perhaps with white and gray keycaps you'll have a nice vintage look.

User avatar
webwit
Wild Duck

19 Mar 2011, 12:17

White Widow is a famous Dutch export product.

IloveYou

19 Mar 2011, 20:31

looks very nice :)

paat

20 Mar 2011, 01:20

Wow looks very good. Like javifast said white with gray keycaps would be very nice vintage look. I'd like to see that. :)

User avatar
DanGWanG

21 Mar 2011, 20:34

Looking great.
webwit wrote:White Widow is a famous Dutch export product.
This is originally what I thought of when I read the title.

User avatar
keyboardlover

21 Mar 2011, 21:21

I tried white widow back in college.GOOD STUFF.

Magna224

27 Mar 2011, 21:37

It needs some doubleshots =P

User avatar
keyboardlover

27 Mar 2011, 22:45

I used a double shot gravity bong.

Post Reply

Return to “Workshop”