Model M screw mod on a white barrel plate + case repair

minimal

16 Feb 2024, 00:28

Having purchased a 1391401 from clickeykeyboards.com last year, I found that enjoy using the keyboard so much that I have decided to try my hand at a full refurb and screw mod. I found the 1391401 pictured here on eBay for $10, listed as untested, missing keycaps, and no cable. Well, it works just fine, and cables and key caps are not hard to come by, so this is a great start!
m001.jpg
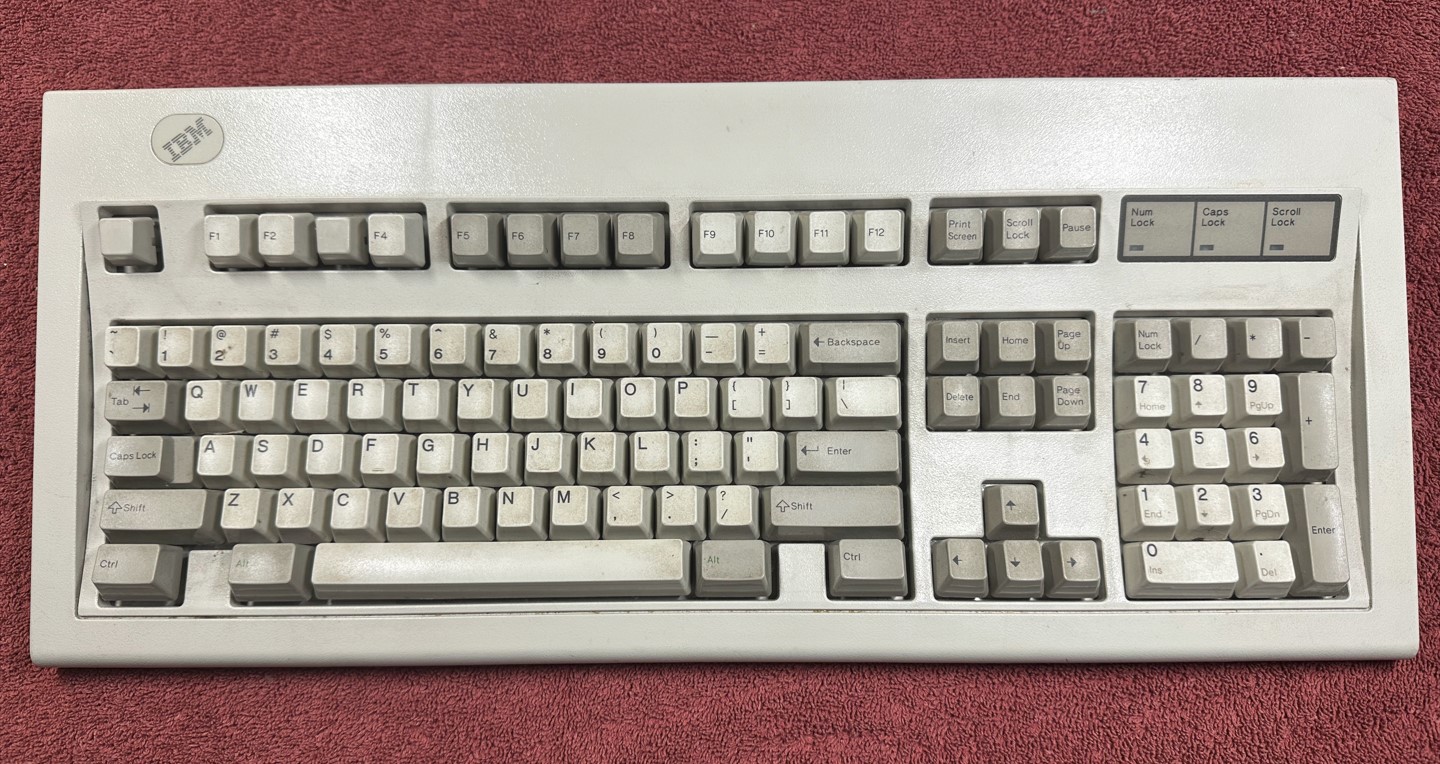
m001.jpg (354.6 KiB) Viewed 1709 times
m002.jpg
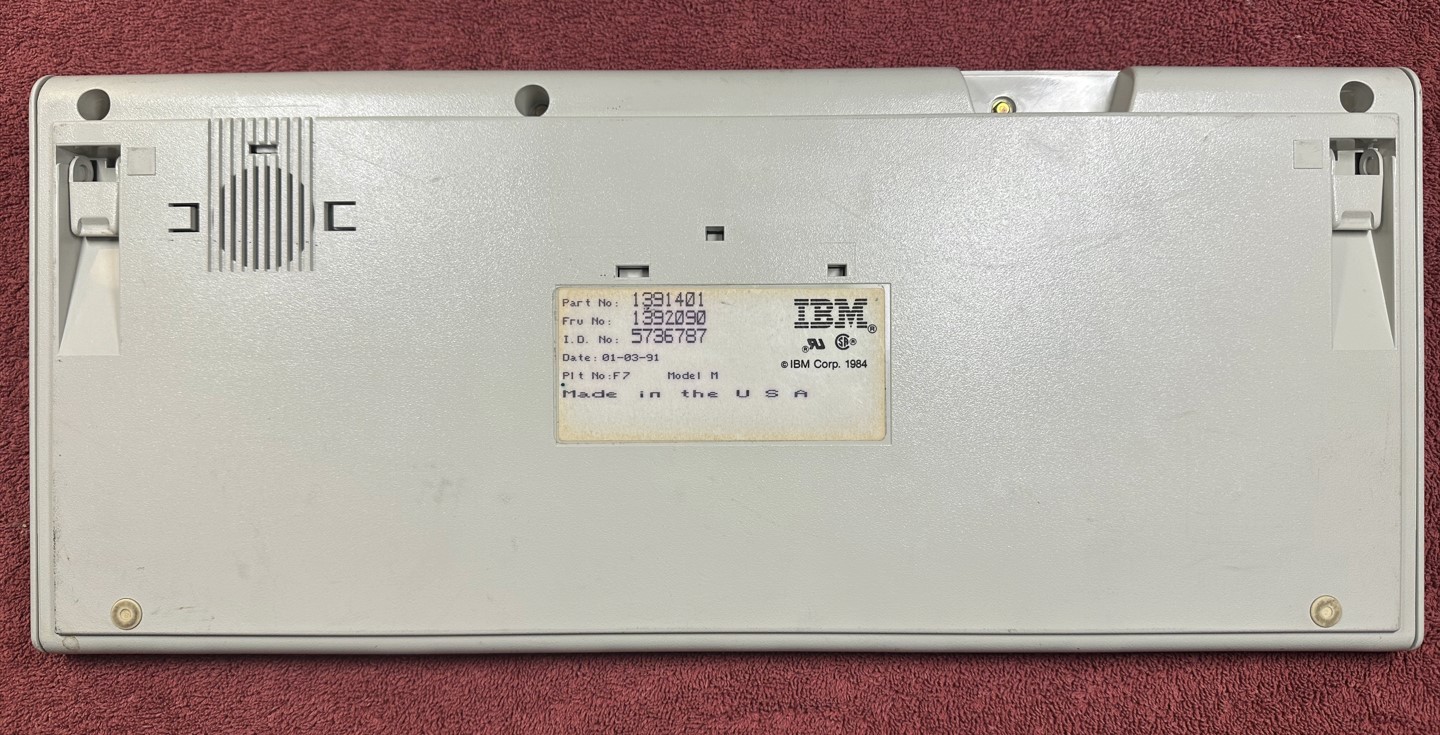
m002.jpg (302.04 KiB) Viewed 1709 times
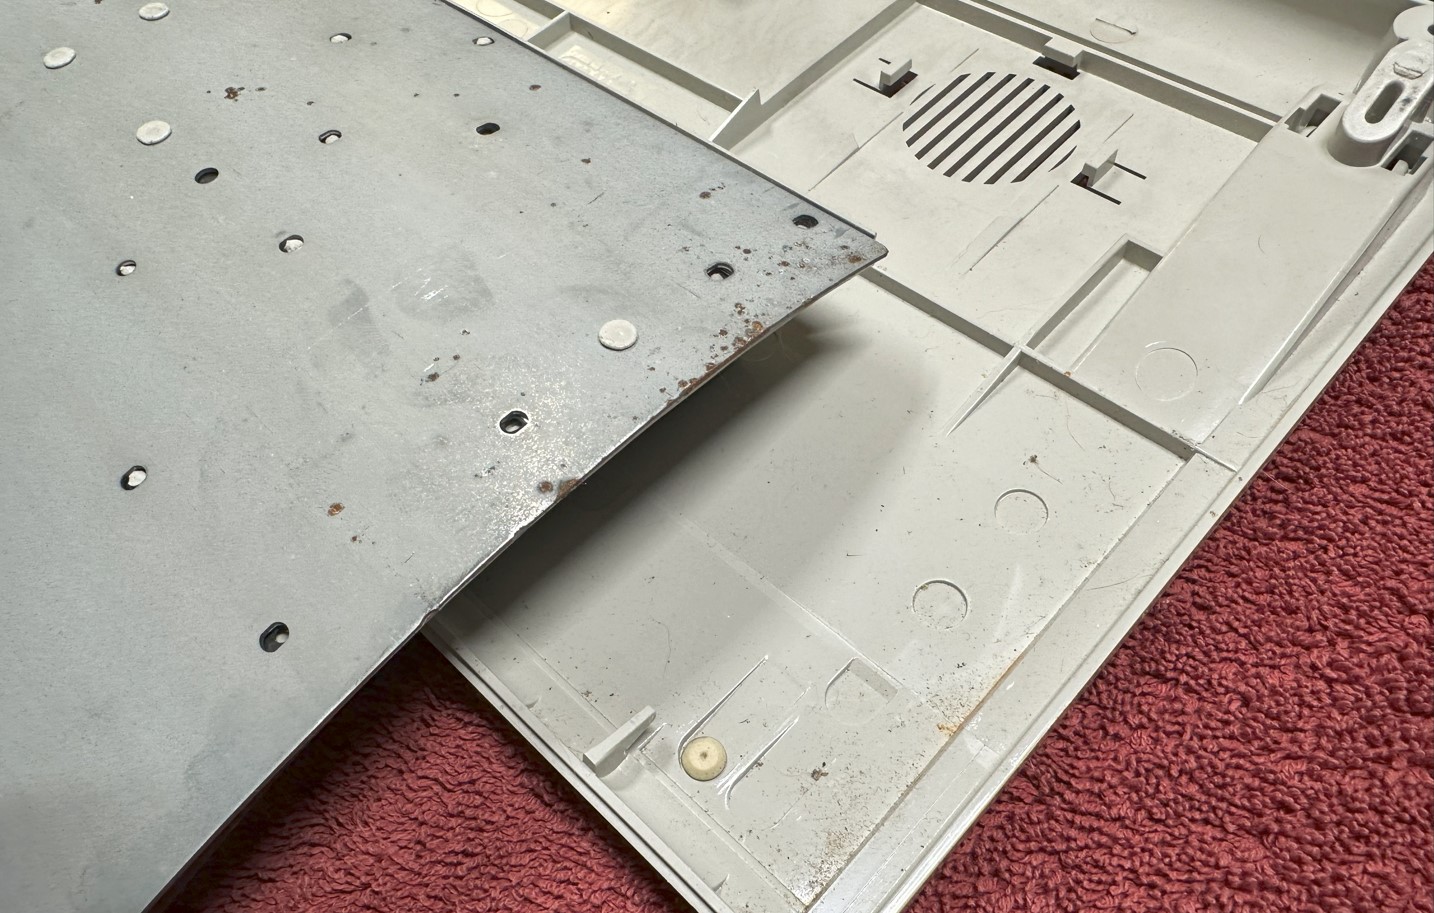
First, just an observation I've seen questioned and discussed: I can tell you at least from the Ms that I have, the black barrel plate on my first unit (not pictured) is far more sturdy than the white one on this unit. This guy flexes kind of easily in ways that I think it shouldn't and the remaining rivets are easy to just peel off using my fingernail.
m003.jpg
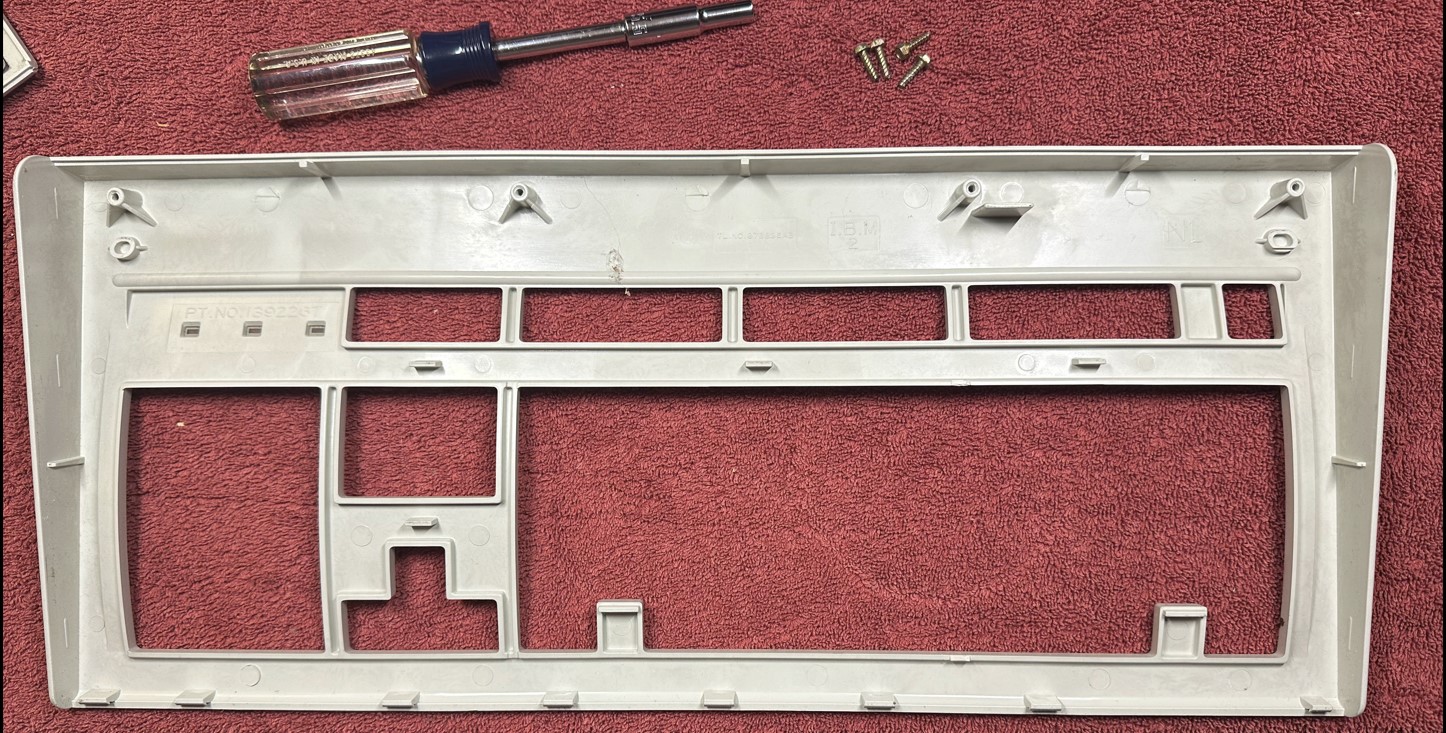
m003.jpg (410.92 KiB) Viewed 1709 times
m004.jpg
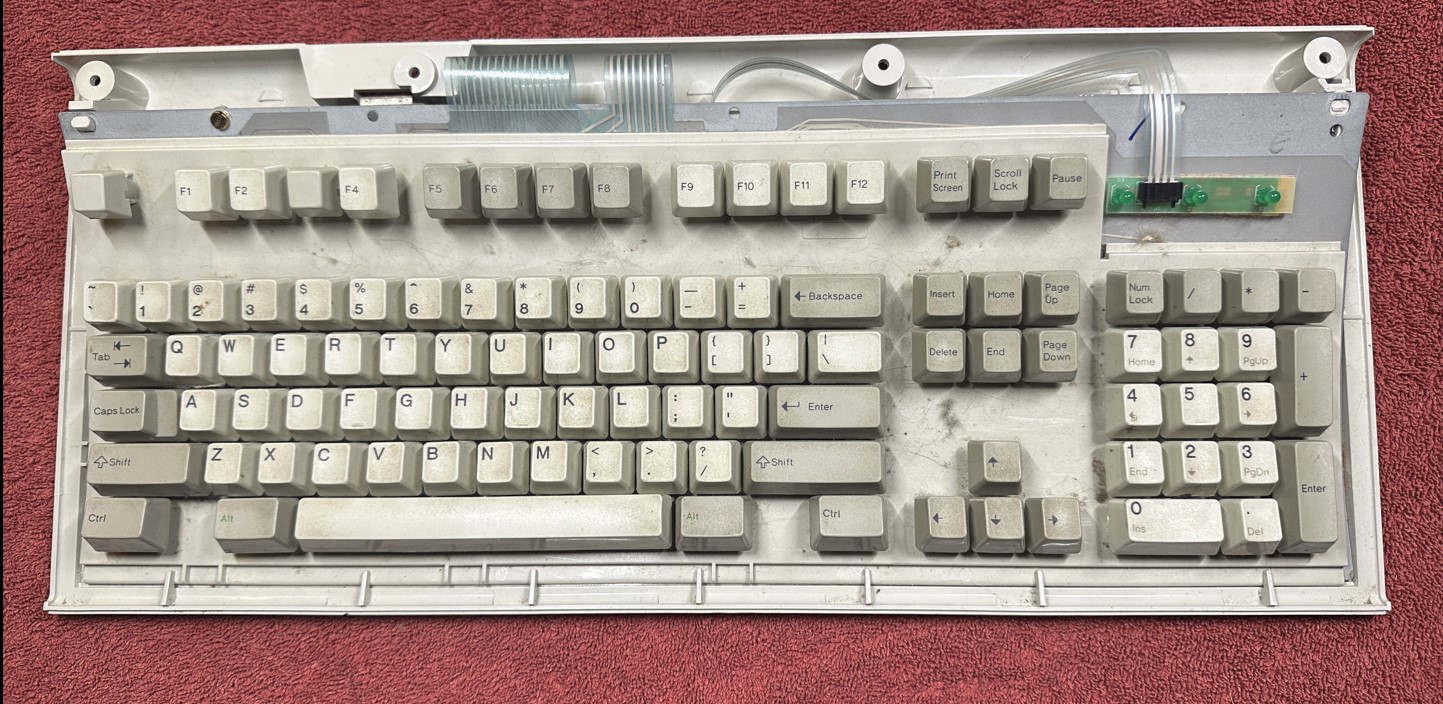
m004.jpg (340.61 KiB) Viewed 1709 times
That leads into my first question for those who have gone before me: assuming that the white barrel plate is of a lesser durability than the black barrel plates, am I wasting my time with a screw mod? I'm concerned that the screws may not be able to get good purchase on the rivet stems if the plastic is too weak or degraded. Hard for me to tell without having started the work, but the alternative, of course, is to use bolts + washers + nuts. Also something I've wondered (whether using screws or bolts) is whether a bit of thread lock on each screw would also help seal it in and prevent the screws or bolts from working themselves loose over time.

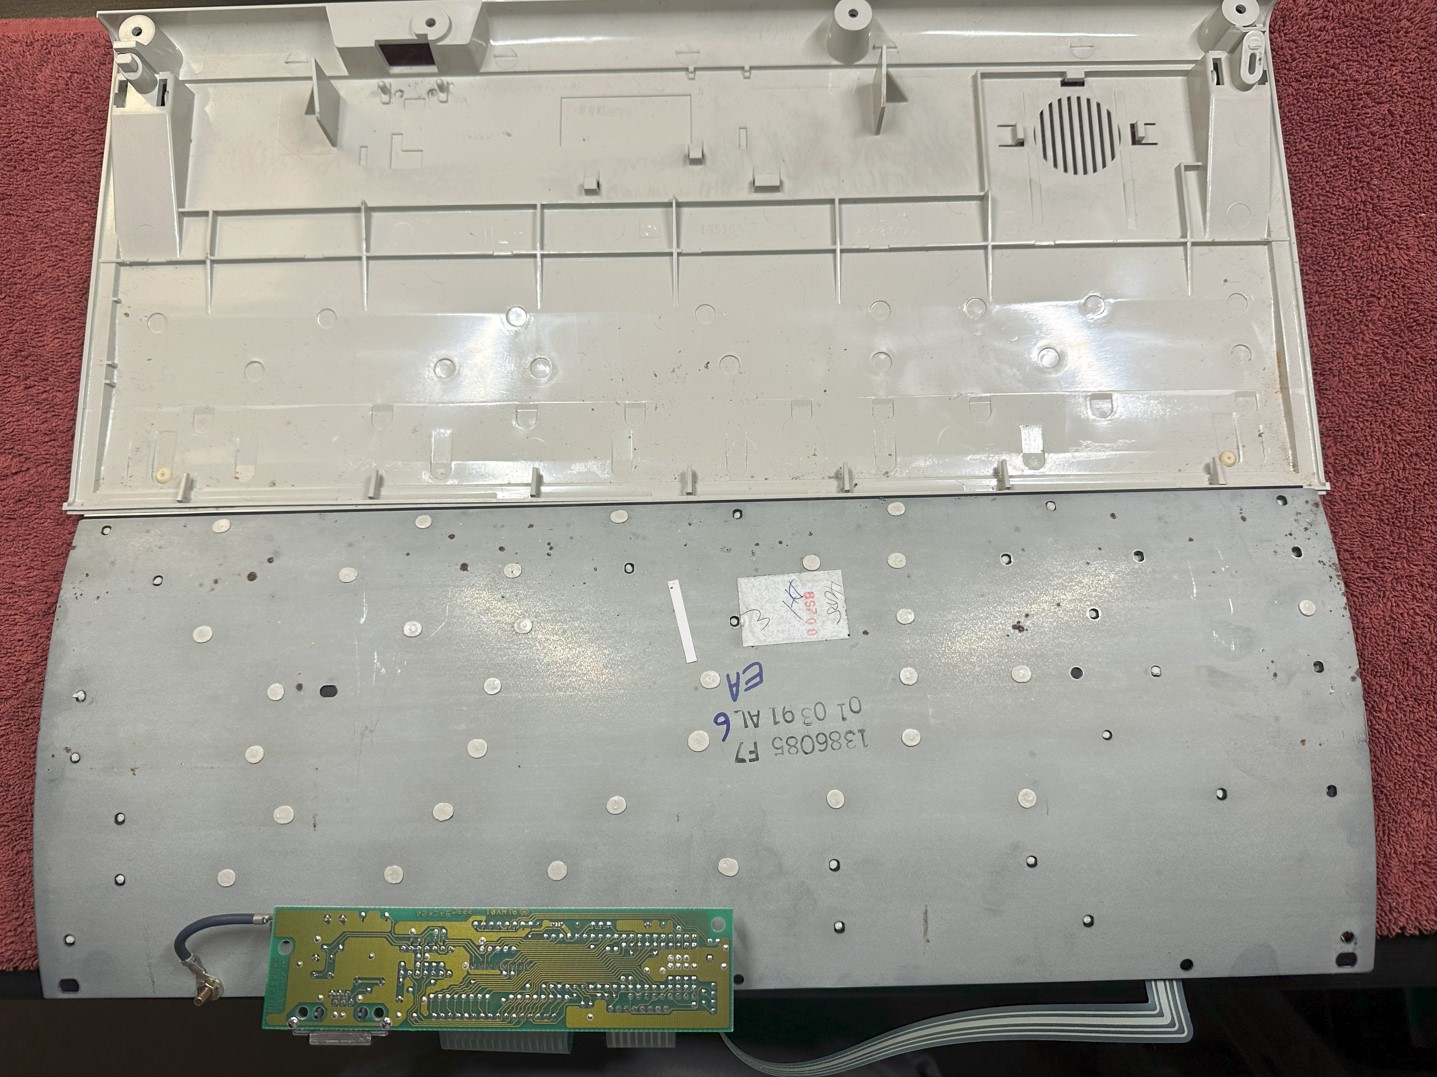
Second is a question about the tiny rust spots appearing on the back plate. Sanding and treating with Rust-Ooleum (or similar) is my plan, but is this also a waste of time? That is, once this starts, is it likely that the membranes are corroded as well? And I've seen some folks wrap the back plate in an adhesive kind of plastic. From those with experience, does that tend to help prevent further corrosion?
m007.jpg
m007.jpg (338.25 KiB) Viewed 1709 times
m008.jpg
m008.jpg (340.88 KiB) Viewed 1709 times
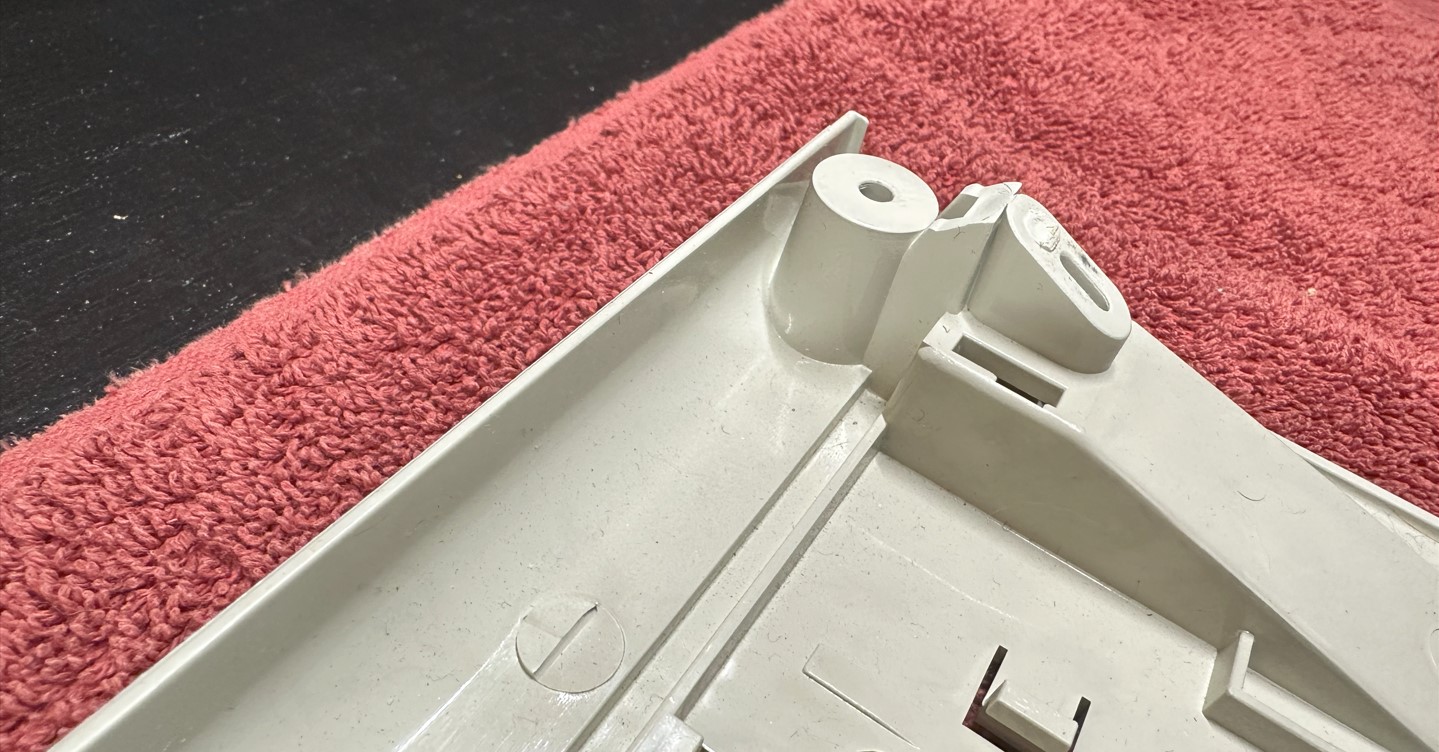
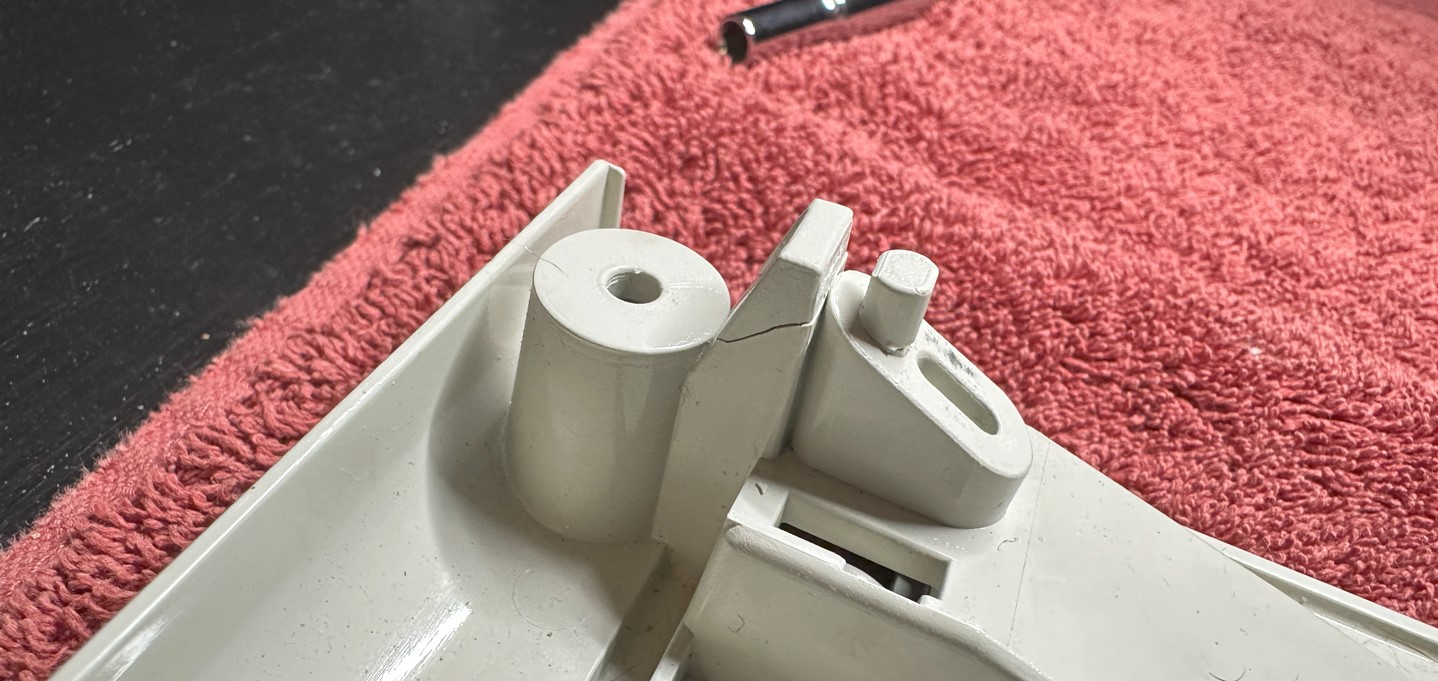
And lastly, you'll notice that the right rear support pillar is broken off at the tips. The inner assembly seems to rest in place just fine, but if I'm going to do a refurb, I intend to do the whole thing. Luckily, the broken bits were rattling around (along with a bunch of rivet heads) inside the case, and seem to fit pretty neatly back in place. To repair this area, I assume I'll need to use an epoxy of some kind, so I'm taking advice if you have it to give.
m005.jpg
m005.jpg (447.38 KiB) Viewed 1709 times
m006.jpg
m006.jpg (276.66 KiB) Viewed 1709 times
m009.jpg
m009.jpg (225.71 KiB) Viewed 1709 times
I know I'll discover more about the membranes and the integrity of the barrel plate once I get it fully disassembled and start working on it. I've had to button it back up for now to make room for some other projects I'm working on, but I can't get my mind off of this... you know how it is. :-) So I just wanted to get some of this worked out so I can be gathering supplies and materials in the mean time. I am so looking forward to this!

Thanks, everyone.

User avatar
fohat
Elder Messenger

16 Feb 2024, 21:52

I wouldn't worry too much about the barrel plate. It may be marginally weaker than the older ones, but a new replacement part from Unicomp would not likely be much different. A question of strength is rather moot since it is affixed to a metal plate. If you do order anything from them, I definitely recommend the new white latex blanket as an improvement over the old thick black rubber ones.

I have always done "nut and bolt" mods with washers wherever possible but it is a fussier job than using screws.

Repairing broken plastic with expoy has worked very well for me in the past.

User avatar
browncow

17 Feb 2024, 14:12

that is very minor corrosion, a bit of wire brush and some sort of rust inhibitor (i use the ones that come as clear liquid, just be careful not to inhale it, quite toxic), but they work great on cars. The membranes well you will only find out when you open it up. usually you can clean up some black oxidation from the traces with regular pencil eraser. If your traces are broken i had good luck fixing that with silver-based conductive paint/glue designed for fixing TV remotes. The graphite based stuff didn't work well for me. I'd always go for a nut and bolt mod over self-tapping screws, because i just don't feel too confident with old creaky plastic too much... it's much safer. I used M2 size bolts for this. Easiest to do with a drill press, but make sure to make small dips with soldering iron (round tip) in each place that you need to drill. They will act as a guide for the drill bit, otherwise you will have hard time with the drill bit slipping all over the place. It really is a bit tedious precise job. Good luck!

minimal

22 Feb 2024, 03:16

Thank you for the detail and encouragement fohat and browncow. As I mentioned, I am really looking forward to this work, especially the tedium, oddly enough.

User avatar
fohat
Elder Messenger

22 Feb 2024, 15:01

minimal wrote:
22 Feb 2024, 03:16

especially the tedium
Ha Ha Ha!

Then you will want to get rid of that trivial rust, just because. I have 2 things to say about the difficult part - re-assembly.

You can expect that it will take multiple tries to get it back together, and usually that means considerable dis-assembly, too. After doing this a few times trying to balance the internal assembly on books, upside-down, I made these frames out of scrap lumber.

Also, the metal screws that replace thin plastic cylinders are there for positioning only, and DO NOT need to be torqued down tight to add tension or compression.
Attachments
IBM-assembly-frames-e.jpg
IBM-assembly-frames-e.jpg (105.71 KiB) Viewed 1286 times

minimal

28 Feb 2024, 01:09

Yeah, I've been wondering how to manage that part of it, so this will be quite helpful, thank you! Especially since I have 9 in total that I will eventually be working on, including a 122-key (1395660), and two "Quiet Touch" specimens (71G4644).

Man, on the topic of the RD ones - I got them for a good price, so I couldn't resist. Being rubber domes I kind of though I would like it just "okay"... but they totally rock! These two were never used and are pristine and crisp in every way, offering a very solid tactile experience. Now... both of those have terribly frayed outer jackets on the fixed cables (in fact, one of them I would say is more disintegrating than fraying), so I'll have to figure that out when I get there. The jackets on those specimens also have that sticky degraded plasticizer feel.

minimal

09 Mar 2024, 00:14

I am ready to start work on this project except for sourcing the type of screw I want to use. I've read all of the opinions about screw vs bolt and I have decided to go with screws. Can anyone post a product link or otherwise tell me where to find the right ones? Some suppliers use different terms, but what am really after are the same ones that clickykeyboards.com uses for his mods. I have a line-up of Ms I'm going to work on, so I think I'll need about 500+ of them by the time I am finished.

Post Reply

Return to “Workshop”