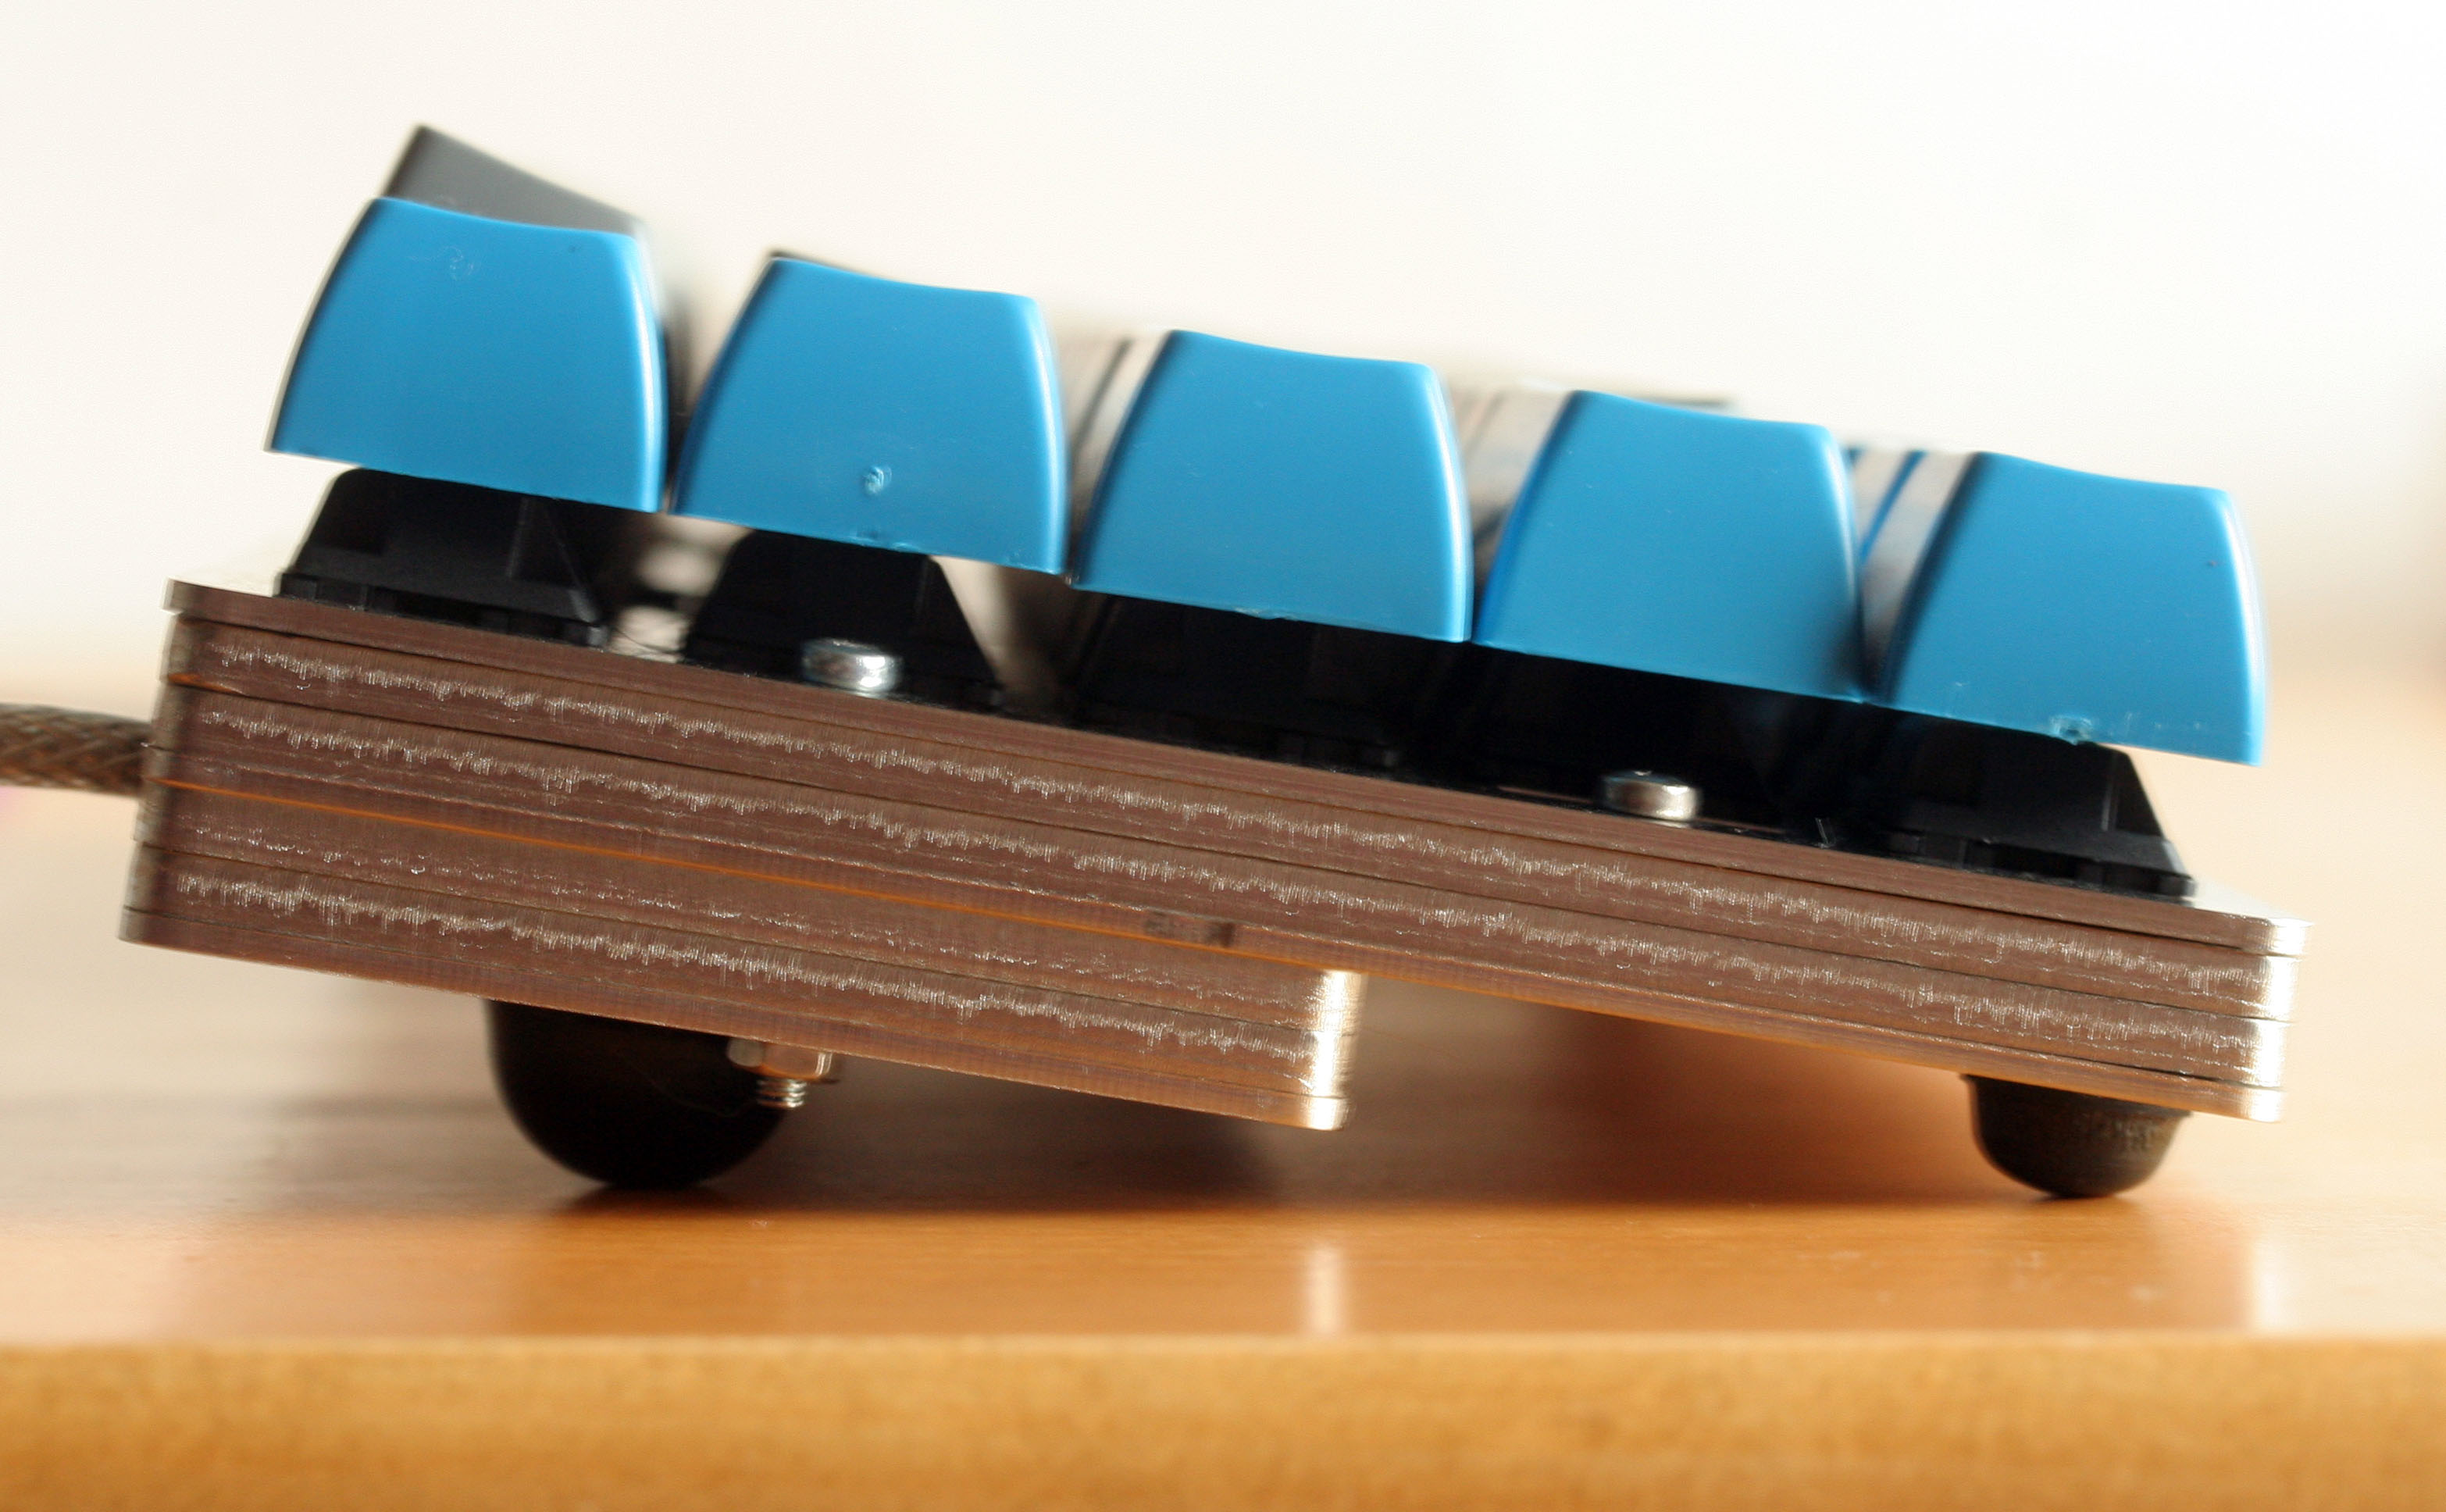
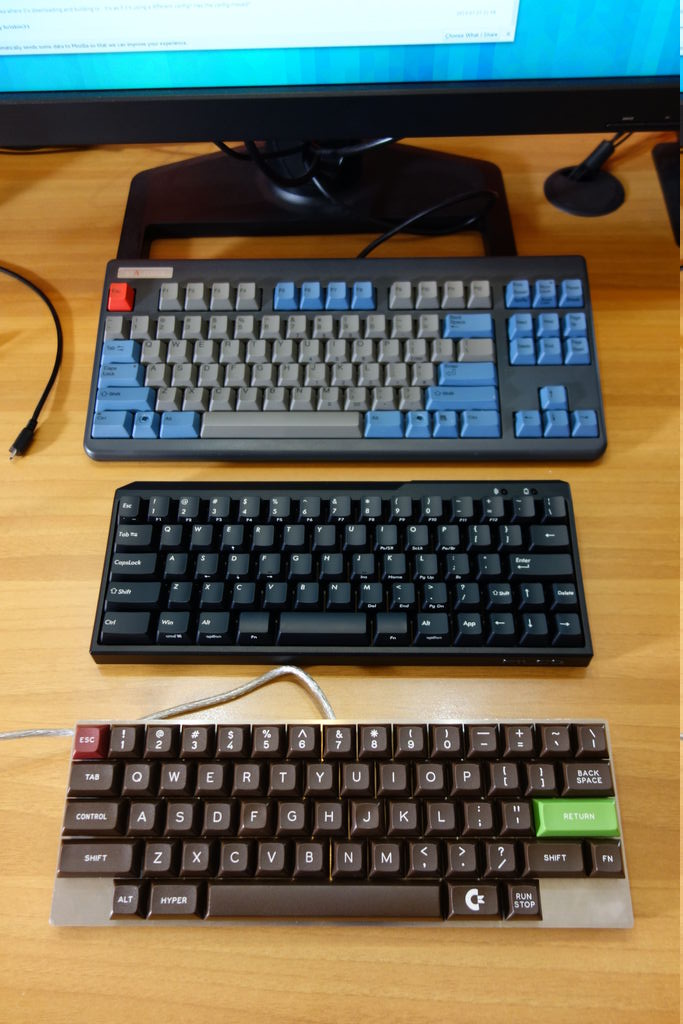
Nice job, as always. What was hard about it compared to earlier efforts? The PCB or the new case design? I found the stepped case a bit of an art to line up, but my version has been essentially well behaved once I got bolts into it. My wiring is the suspect part, a problem I doubt you have!matt3o wrote:Keyboard finally finished!
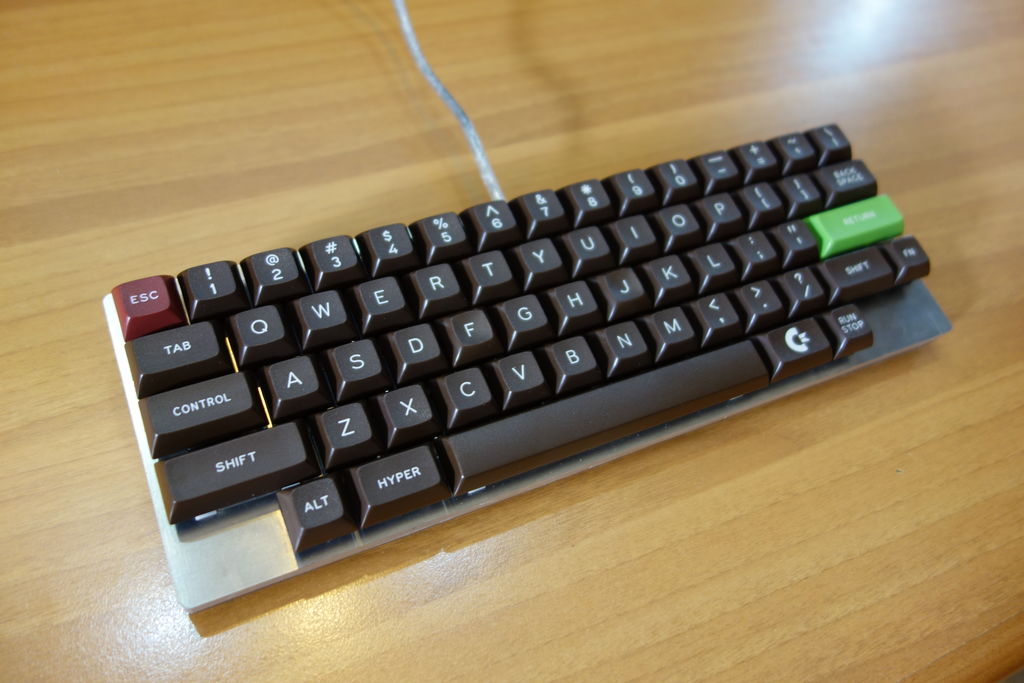
Just a pinch smaller than Filco Minila Air!
I'm now trying to get used to the HHKB layout (with some important variations actually).
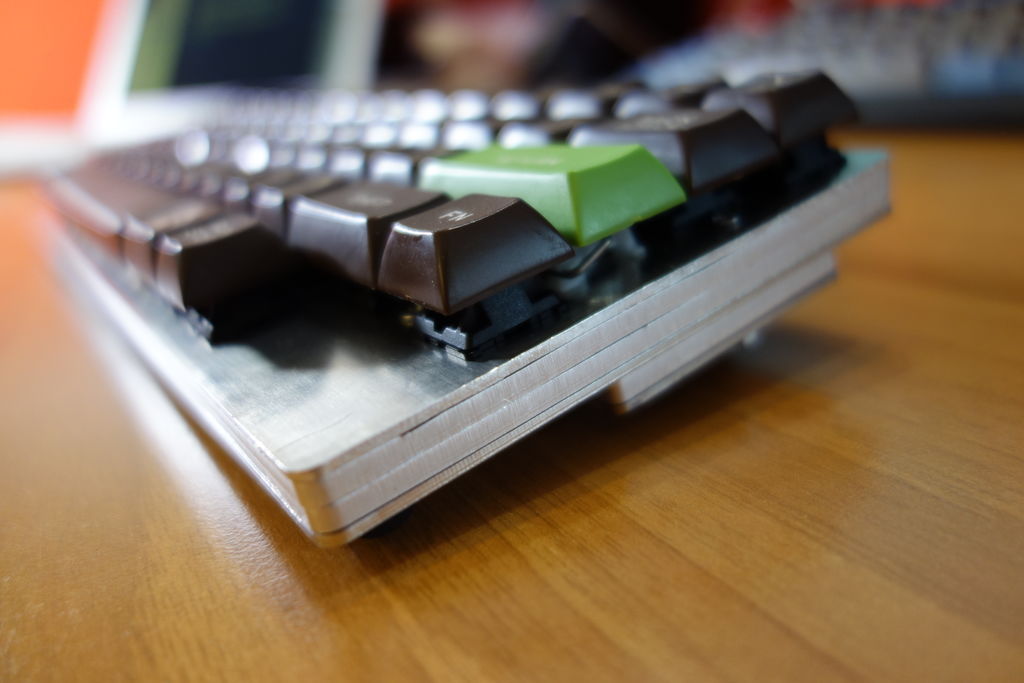
All switches are MX Blue except for the right FN which is Red. After a while working on it I found a little tiring to pinky-press it, so I softened it a bit with a MX Red.
Home/End are on < and > instead of L and .
It feels much more natural to me this way.
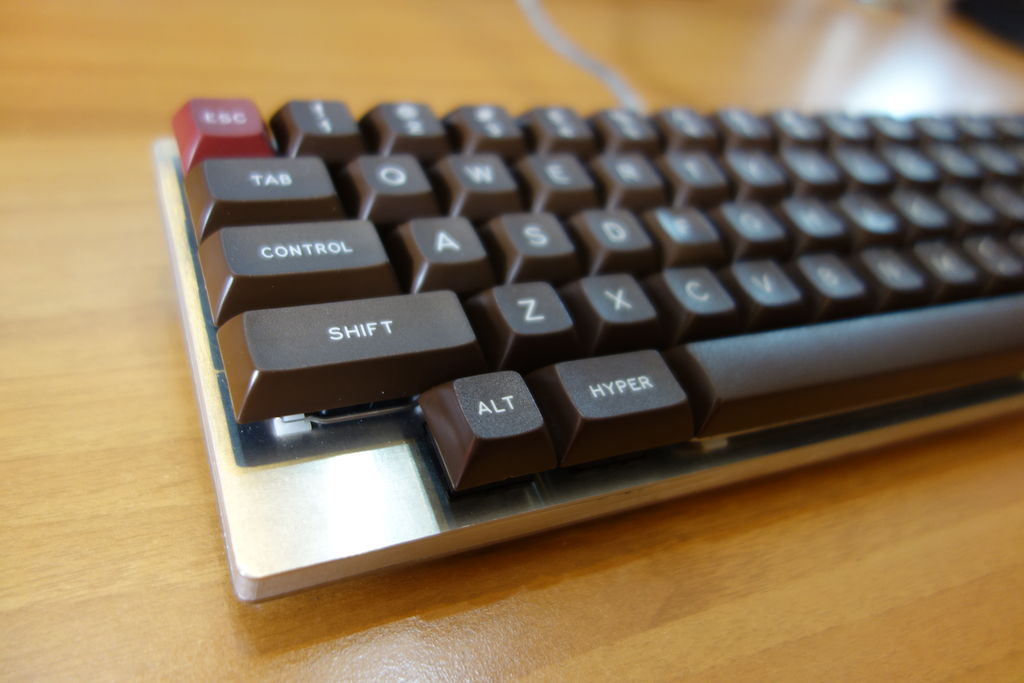
The Hyper key is actually a second FN key. very useful to reach the function layer with the left hand. The C64 is for firmware update. Everything else is very close to the HHKB.
This is by far the most complicated, long to build, swear-prone, keyboard I've ever build... But it's also definitely the best one!
Stay tuned for the next custom keyboard(I've got an ALU poker case so I might end up doing something with it)
But a firmware reset key right where my thumbs expect Command to be: never let me near your keyboard, I couldn't help but trip that in a minute!