Page 1 of 1
Data General Dasher D200, xwhatsit USB
Posted: 08 Feb 2018, 07:10
by OldIsNew
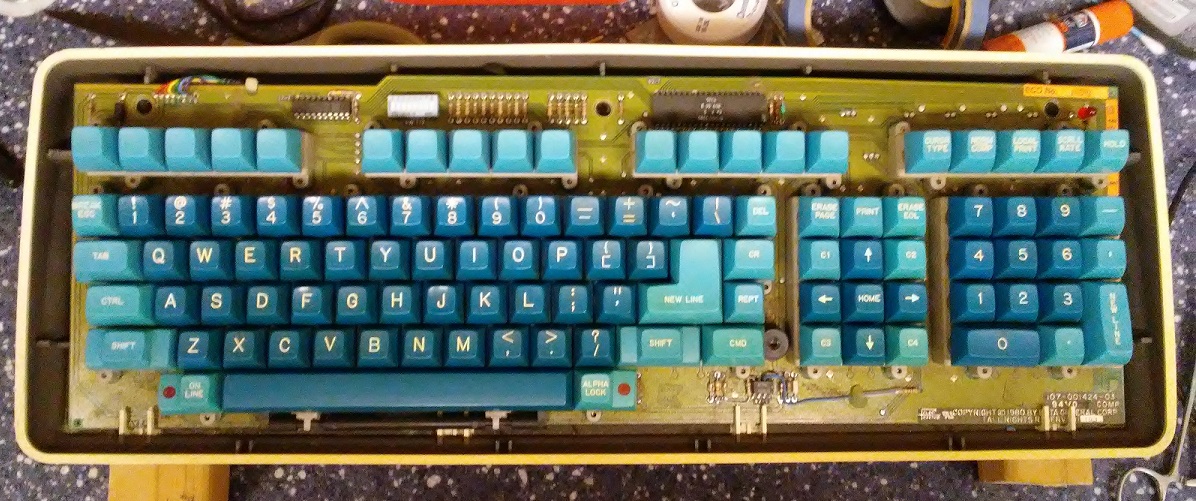
I was able to pick up one of the Dasher D200s that came up recently and set about cleaning it up and converting it with the xwhatsit Model F USB. The inside of the case is stamped "8 MAY 1983."
- dasher_open2_sm.jpg (312.28 KiB) Viewed 4947 times
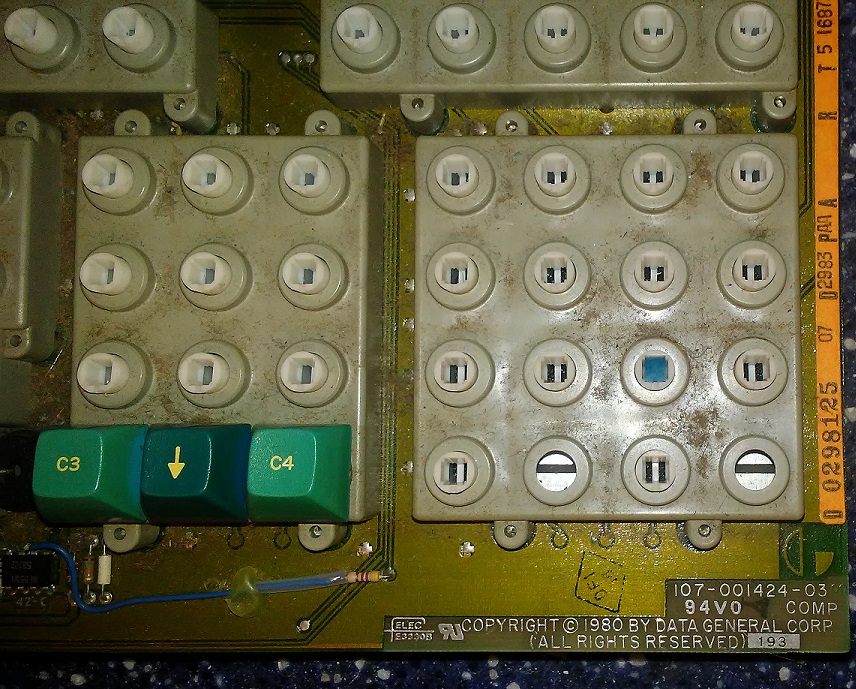
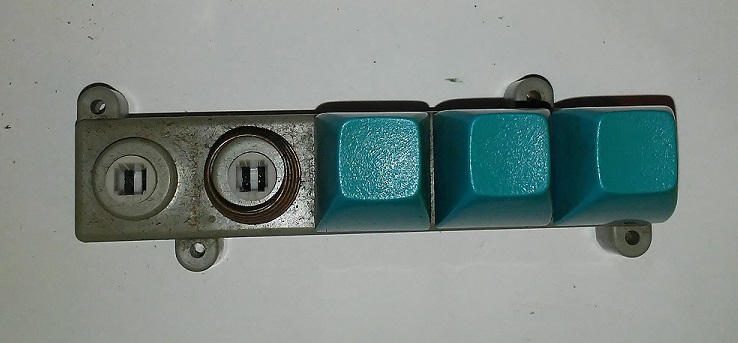
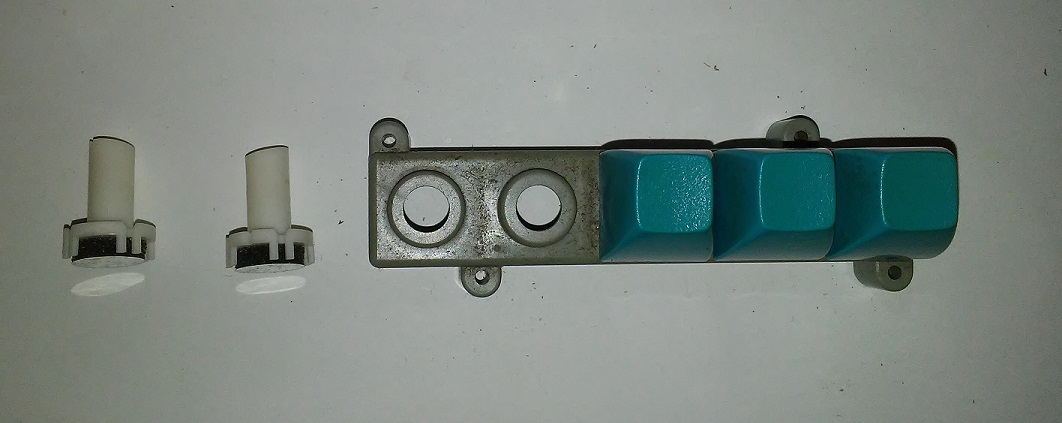
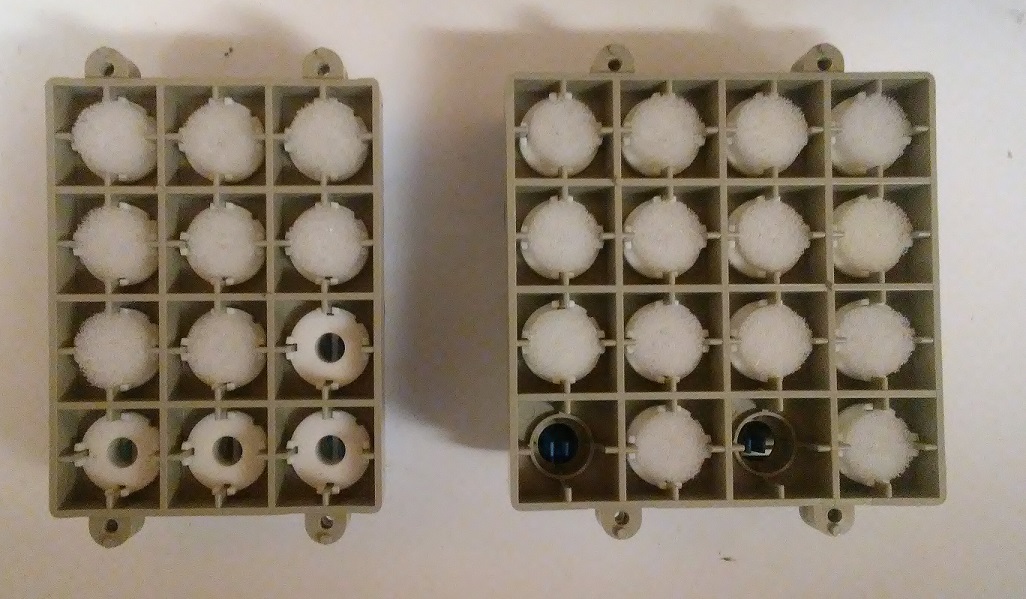
It's foam and foil, but different from the typical Key Tronics - I'm not sure who actually made them. There are no markings on the switches and no markings other than Data General on the PCB. The Switches are arranged in modules, one for the main keyboard section and each of the smaller sections. Although the seller packed the board pretty well a couple keys did snap off in transit and had to be repaired.
- note the broken key
- keys_removed1_sm.jpg (299.65 KiB) Viewed 4947 times

- module_removed1_sm.jpg (327.35 KiB) Viewed 4947 times
- spring_sm.jpg (75.24 KiB) Viewed 4947 times
- plungers1_sm.jpg (104.8 KiB) Viewed 4947 times
The foam and foil was shot, as usual, so I replaced it:

- cleaning_parts_sm.jpg (289.67 KiB) Viewed 4947 times
- new_foam_sm.jpg (213.06 KiB) Viewed 4947 times
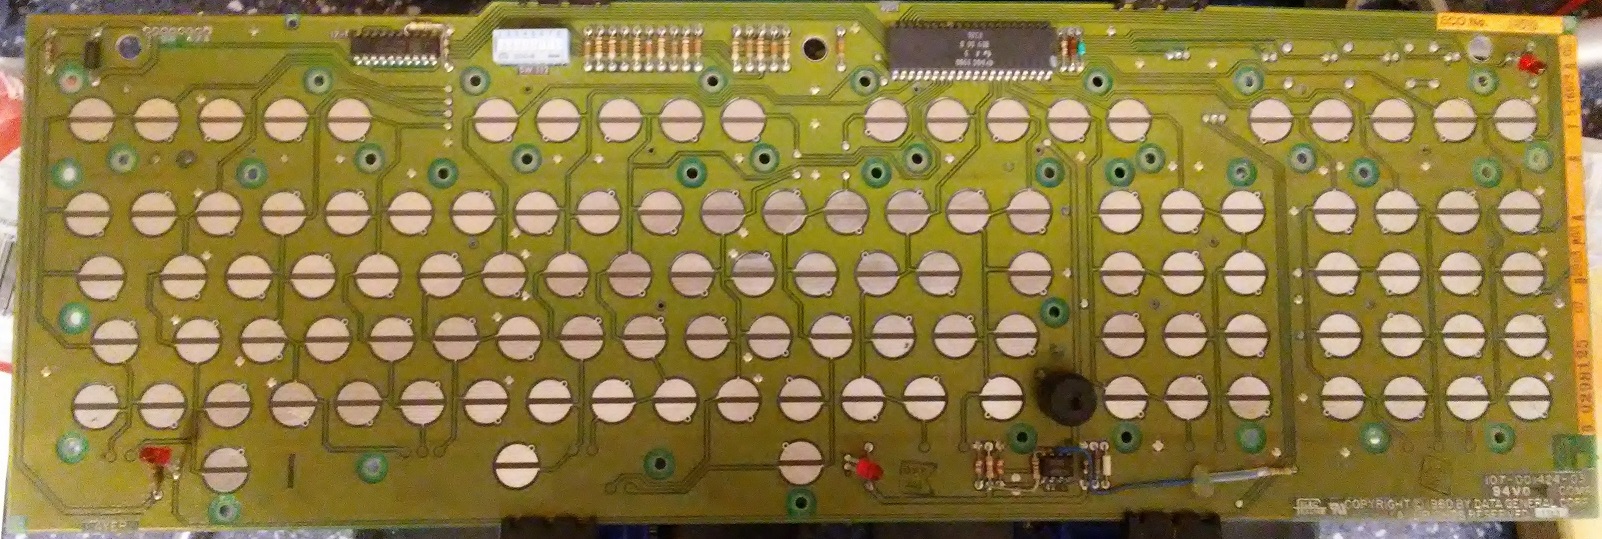
- PCB Front
- Dasher_PCB_Front_sm.jpg (393.15 KiB) Viewed 4947 times
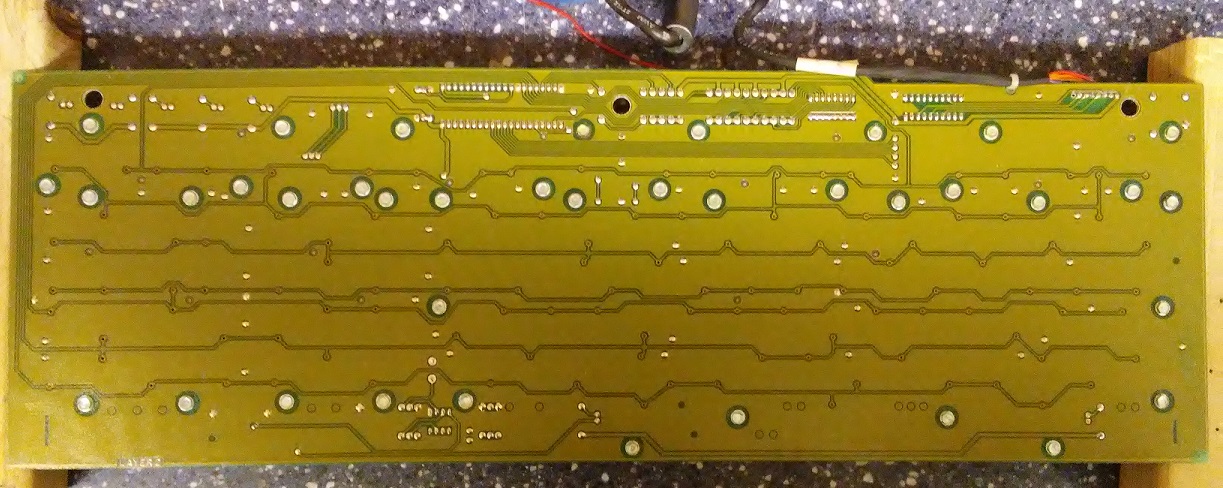
- PCB Back
- dasher_PCB_back_sm.jpg (248.62 KiB) Viewed 4947 times
Then wired up the xwhatsit:
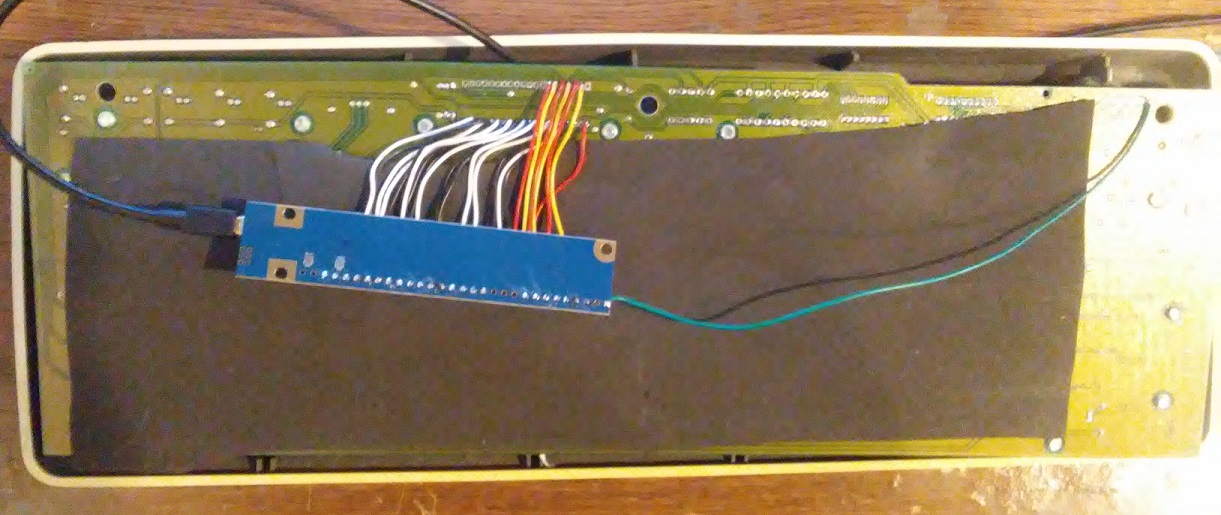
- xwhatsit_sm.jpg (233.21 KiB) Viewed 4947 times
I retrobrited the keys since they were a little yellowed and they came out very nicely! Reassembled the board and typed this post with it.
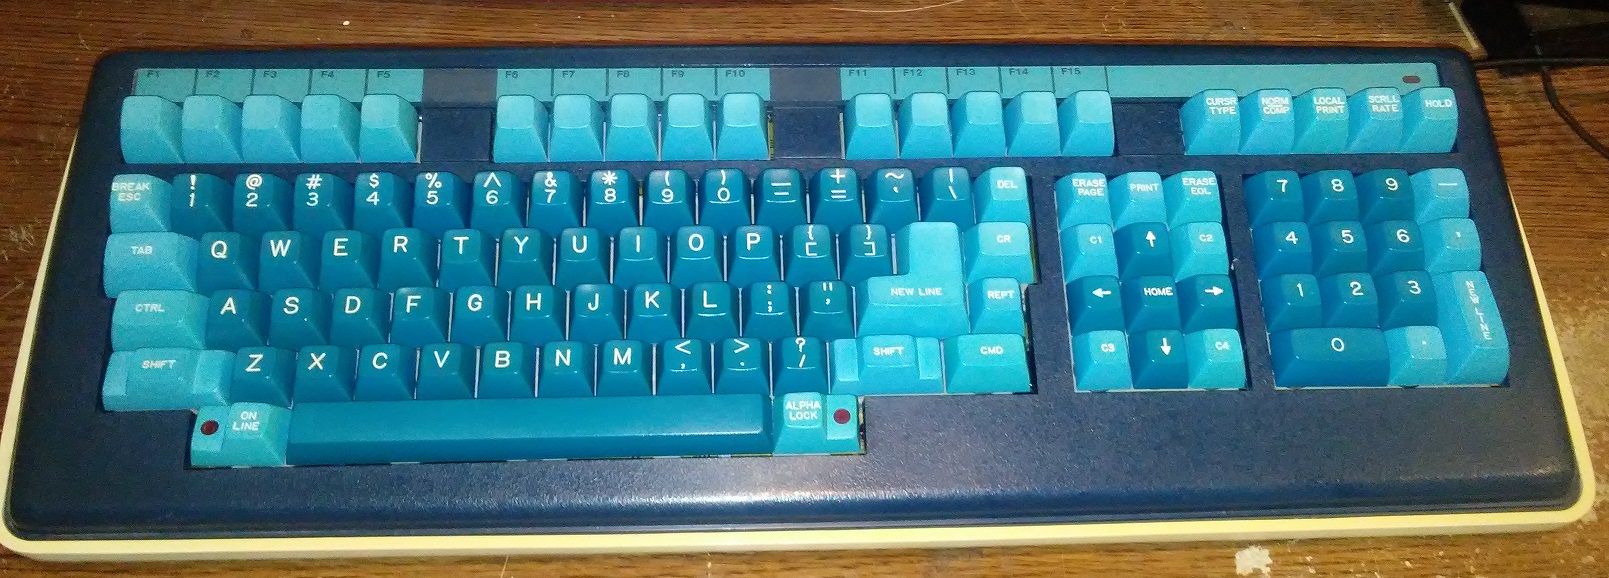
- finished_sm.jpg (404.7 KiB) Viewed 4947 times
The switches actually aren't bad once cleaned up and foam replaced, though I think I prefer "vintage" Key Tronic F&F.
Quick video of typing on board:
Posted: 08 Feb 2018, 08:03
by Chyros
Very nice! I'm still looking to pick one of these up xD . So I might well use this guide someday!
Posted: 08 Feb 2018, 08:24
by Myoth
What foam did you use ? I'm eyeing a vintage f&f keyboard and would like to know what to restore it with

Posted: 08 Feb 2018, 14:24
by OldIsNew
Myoth wrote: What foam did you use ? I'm eyeing a vintage f&f keyboard and would like to know what to restore it with
I've been using polyurethane cushion foam that I picked up at Michael's and a Mylar emergency blanket for the foil (conductive side away from PCB).
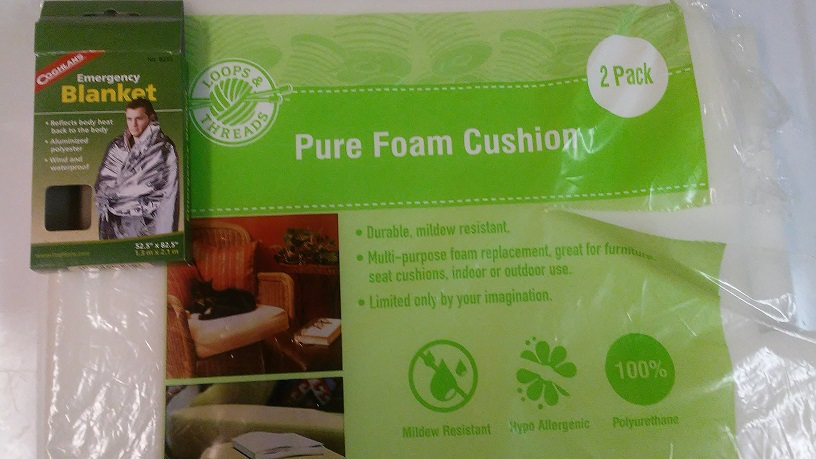
- foam.jpg (151.09 KiB) Viewed 4857 times
The foam was just what I could find locally and it's worked well. I've done I think 6 F&F boards now and they seem to be holding up well.
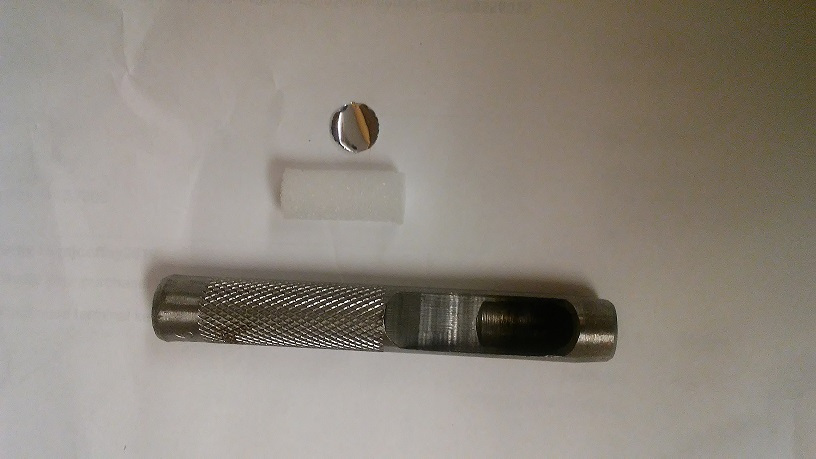
For the Key Tronic boards I found a 7/16" leather punch works very well for cutting the foam and foil:
- punch2.jpg (101.34 KiB) Viewed 4857 times
Then I use an Exacto knife to cut the foam into 0.20" segments:
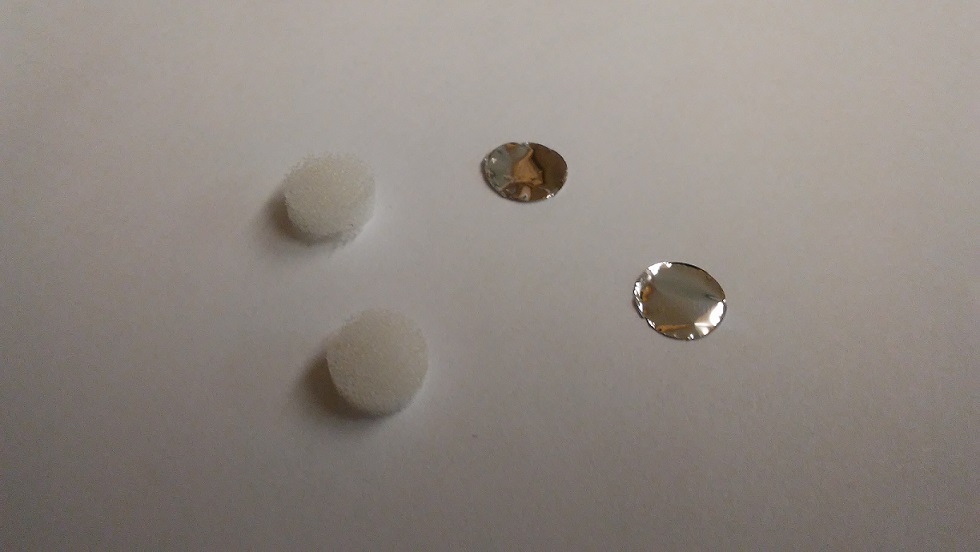
- foam_foil.jpg (101.44 KiB) Viewed 4857 times
The Data General F&F was a bit larger diameter, very close to 0.5" but apparently not quite. I used a 1/2 in punch for it and it worked fine for the foam, but I did end up trimming the foil just a bit so the edges wouldn't catch.
Posted: 08 Feb 2018, 15:09
by JP!
Wow really impressive work as usual.
Posted: 08 Feb 2018, 19:02
by zslane
Neat!
Those old switches sure do make an unholy racket though, don't they.
Posted: 09 Feb 2018, 05:02
by OldIsNew
Thanks everyone for the nice comments. And yes, the keys are rather rattly - they have some side to side wobble which I think contributes. I'd say that vintage KeyTronic springs also have a more pleasant, less stiff feel and that the vintage KT switches overall have a more solid feel to them. All in all I'd say these switches are OK. Somehow I do kind of like the racket though - it's got to be the loudest board I have that doesn't have a solenoid!
Posted: 09 Feb 2018, 12:49
by andrewjoy
Good job mate. I have a mad foam and foil , will have to do this some time.
Posted: 09 Feb 2018, 18:11
by Blaise170
I had a pretty cool Keytronic F&F a few years back but the typing experience was so awful that I eventually just threw it out. I wonder how it would have been fully restored?

Posted: 09 Feb 2018, 18:39
by Sangdrax
Neat. I've seen a few of these on ebay for about a hundred bucks over the last year, but since I knew they were foam and foil, didn't want to spend that kind of cash on them. Boy the keycaps are gorgeous though.
Posted: 14 Feb 2018, 00:58
by OldIsNew
Sangdrax wrote: Neat. I've seen a few of these on ebay for about a hundred bucks over the last year, but since I knew they were foam and foil, didn't want to spend that kind of cash on them. Boy the keycaps are gorgeous though.
It is true - the switches on this board are not the greatest feeling. But they're OK. Also I've now hooked up the lock lights which makes it look even nicer, and after all (who remembers this quote?):
" 'It is better to look good than to feel good.' You know what I am saying, and you know who you are."
Posted: 14 Feb 2018, 01:31
by Sangdrax
They really sound pretty good in the video. Much better than my old BTC-5100 in terms of travel and bottom out. And I can be even less picky than usual about the price since I just spent a good chunk on a General Radio terminal board that might wind up being a Keytronic, and the keycaps don't look half this good.
Posted: 14 Feb 2018, 03:59
by ClickMe
That keyboard is stunning in its blue color scheme. But IMO the terminal base unit is even more stunning with its futuristic styling. Actually, I think the correct word today would be "retrofuturistic." People were so optimistic about the future of technology back in those days.
Posted: 16 Feb 2018, 01:28
by OldIsNew
Sangdrax wrote: ... I just spent a good chunk on a General Radio terminal board that might wind up being a Keytronic ...
That sounds cool - make sure to show us!
ClickMe wrote: ... IMO the terminal base unit is even more stunning with its futuristic styling. Actually, I think the correct word today would be "retrofuturistic." People were so optimistic about the future of technology back in those days.
For sure, looks straight out of "Space: 1999."
In case anyone is interested, here is the matrix and the main IC connections from my board. It's not hard to figure out but I figured I might as well post it, since it might be of some help to someone. The numbers and letters are, of course, completely arbitrary. If you notice, I forgot to label one row on one pad - but it doesn't matter with the xwhatsit - as long as you know all the rows and columns, the individual keys don't matter - the keys get assigned in the xwhatsit interface.
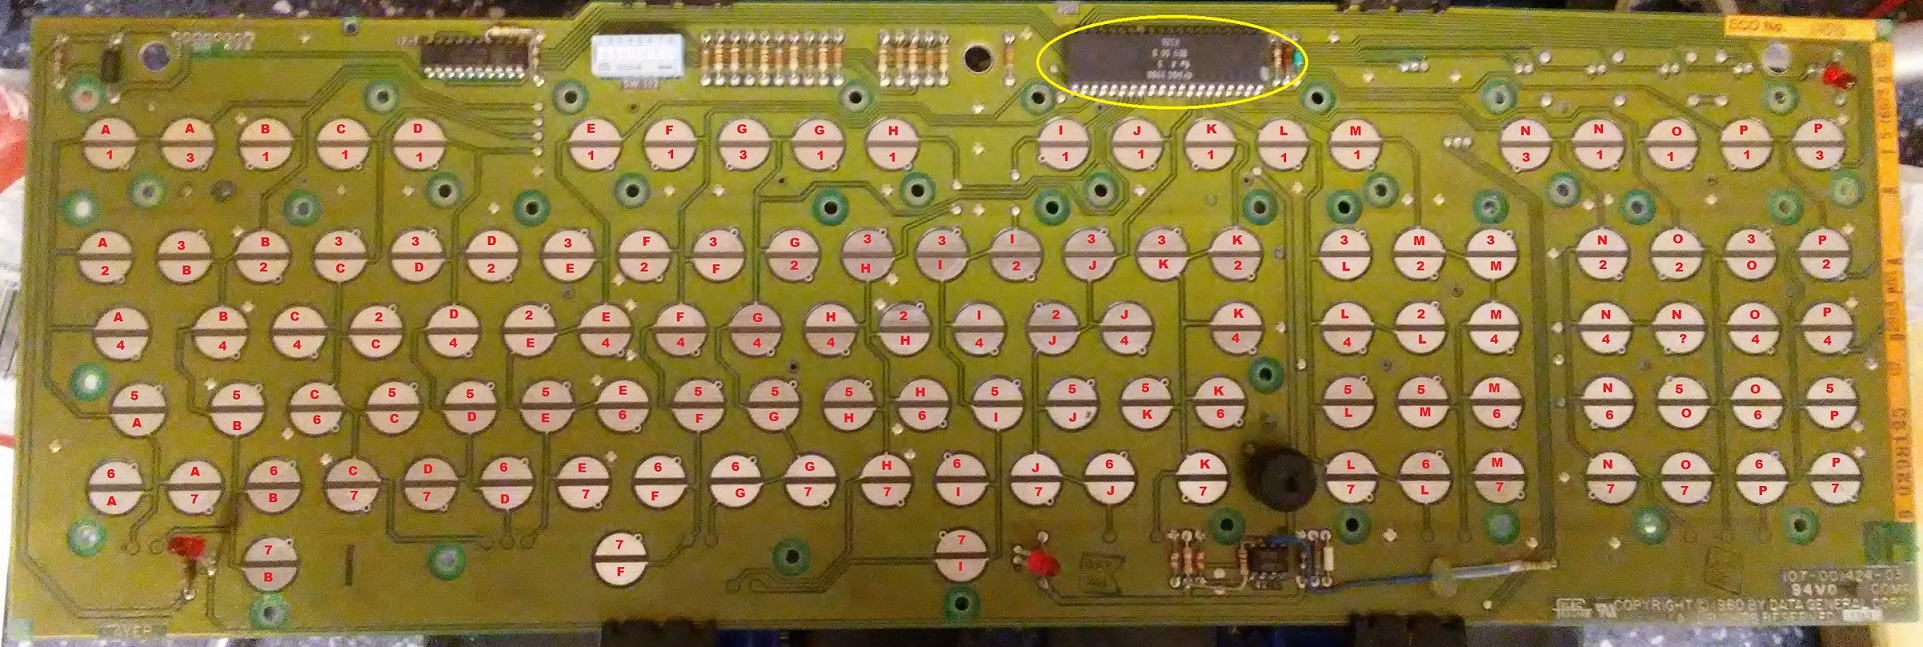
- Dasher_PCB_ROW-COLUMNS_SM.jpg (572.86 KiB) Viewed 4472 times
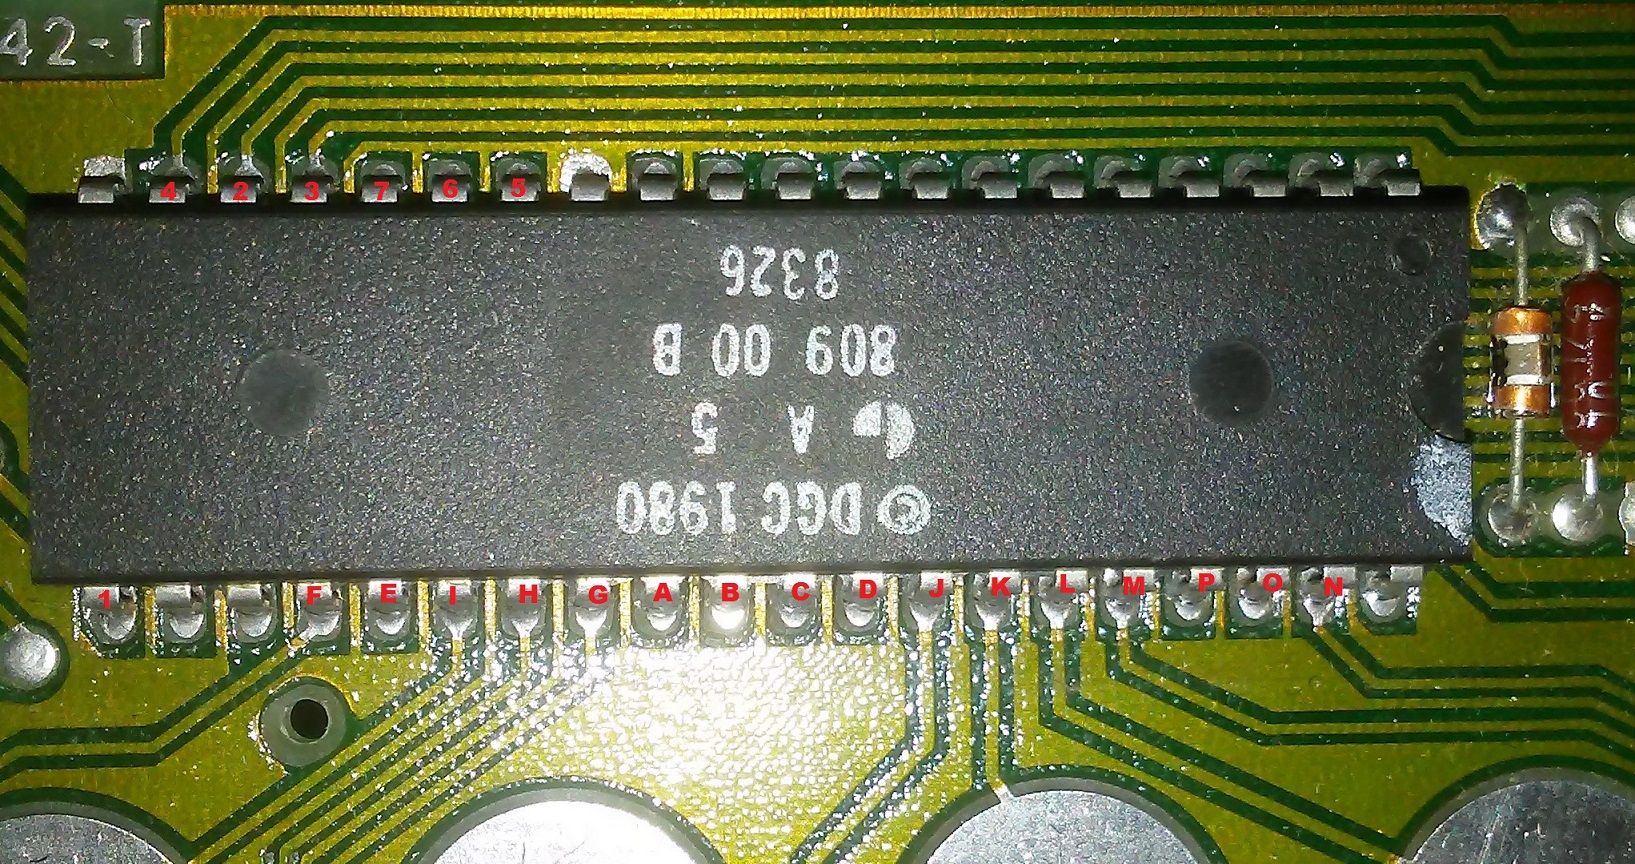
- Dasher200_IC_ROWS_COLUMNS.jpg (794.05 KiB) Viewed 4472 times