also known as adventures of an ambisinistrous

ohaimark wrote: ... getting the keyboard apart to the point where each discrete switch unit is laying on the table shouldn't be an issue for the mechanically inclined.
Lets see how mechanically inclined I am. Hello little Beamspring, smile as if it's the last day of your life. It might actually be

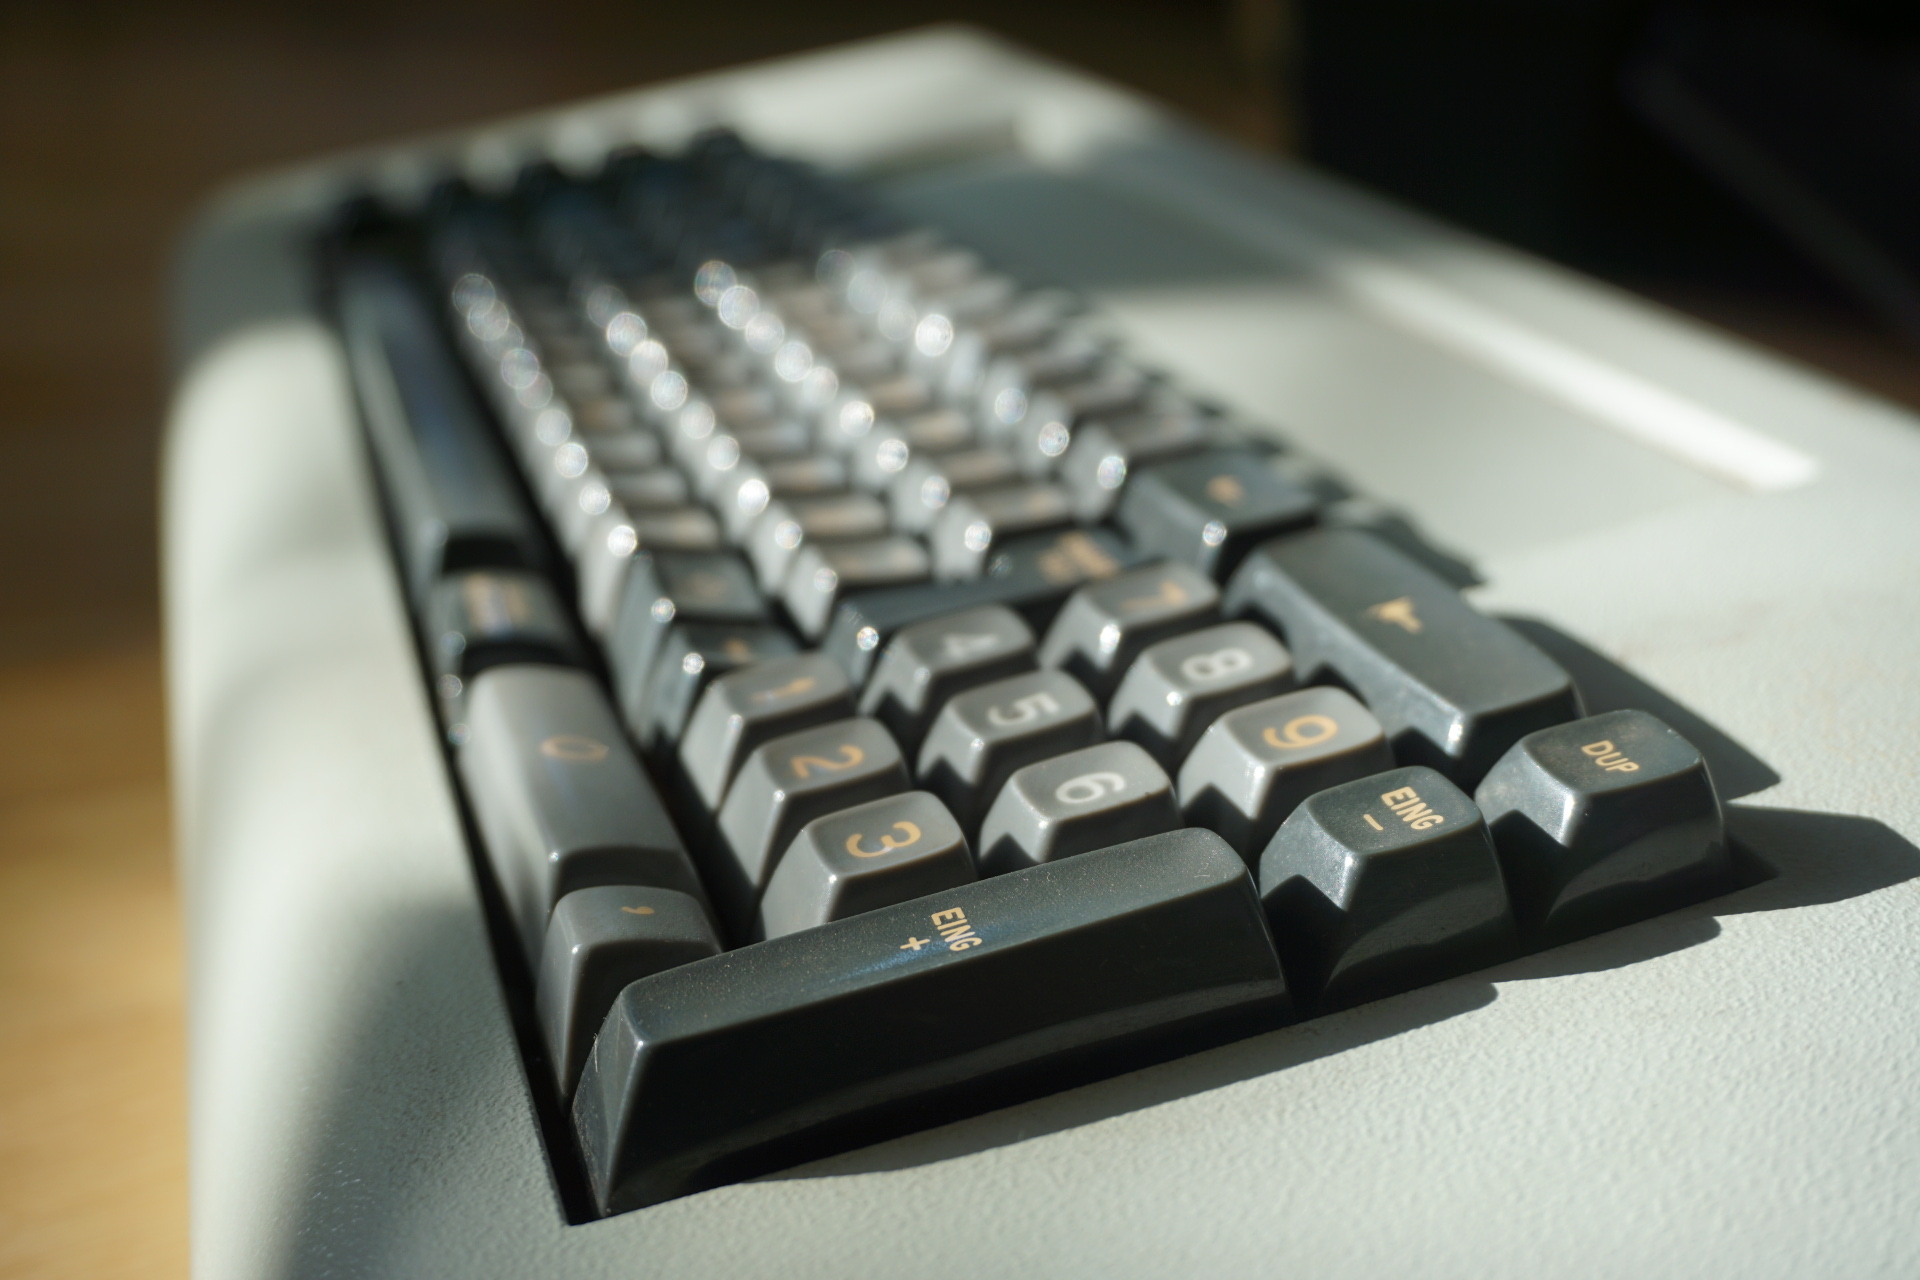
- before.JPG (497.34 KiB) Viewed 7648 times
We start by unscrewing the plastic top of the case from the bottom of the case. The screws in the bottom of the case are two-part: On brass(?) ring with threads on the inside and the outside that is screwed into the hole in the top case, and a "normal" screw that is screwed into the brass ring and holds the bottom case. In my case, the screws are pretty rusty, so that the ring will move inside the plastic. When it hits the bottom case, the resistance will markedly increase. At that point you better stop screwing until all 4 screws are lose, or you will damage the threading in the plastic. Guess how I know

For one of my screws, the screw came out of the brass ring. When I wanted to put the two parts together again, a piece broke of the brass ring. We are off to a good start ...
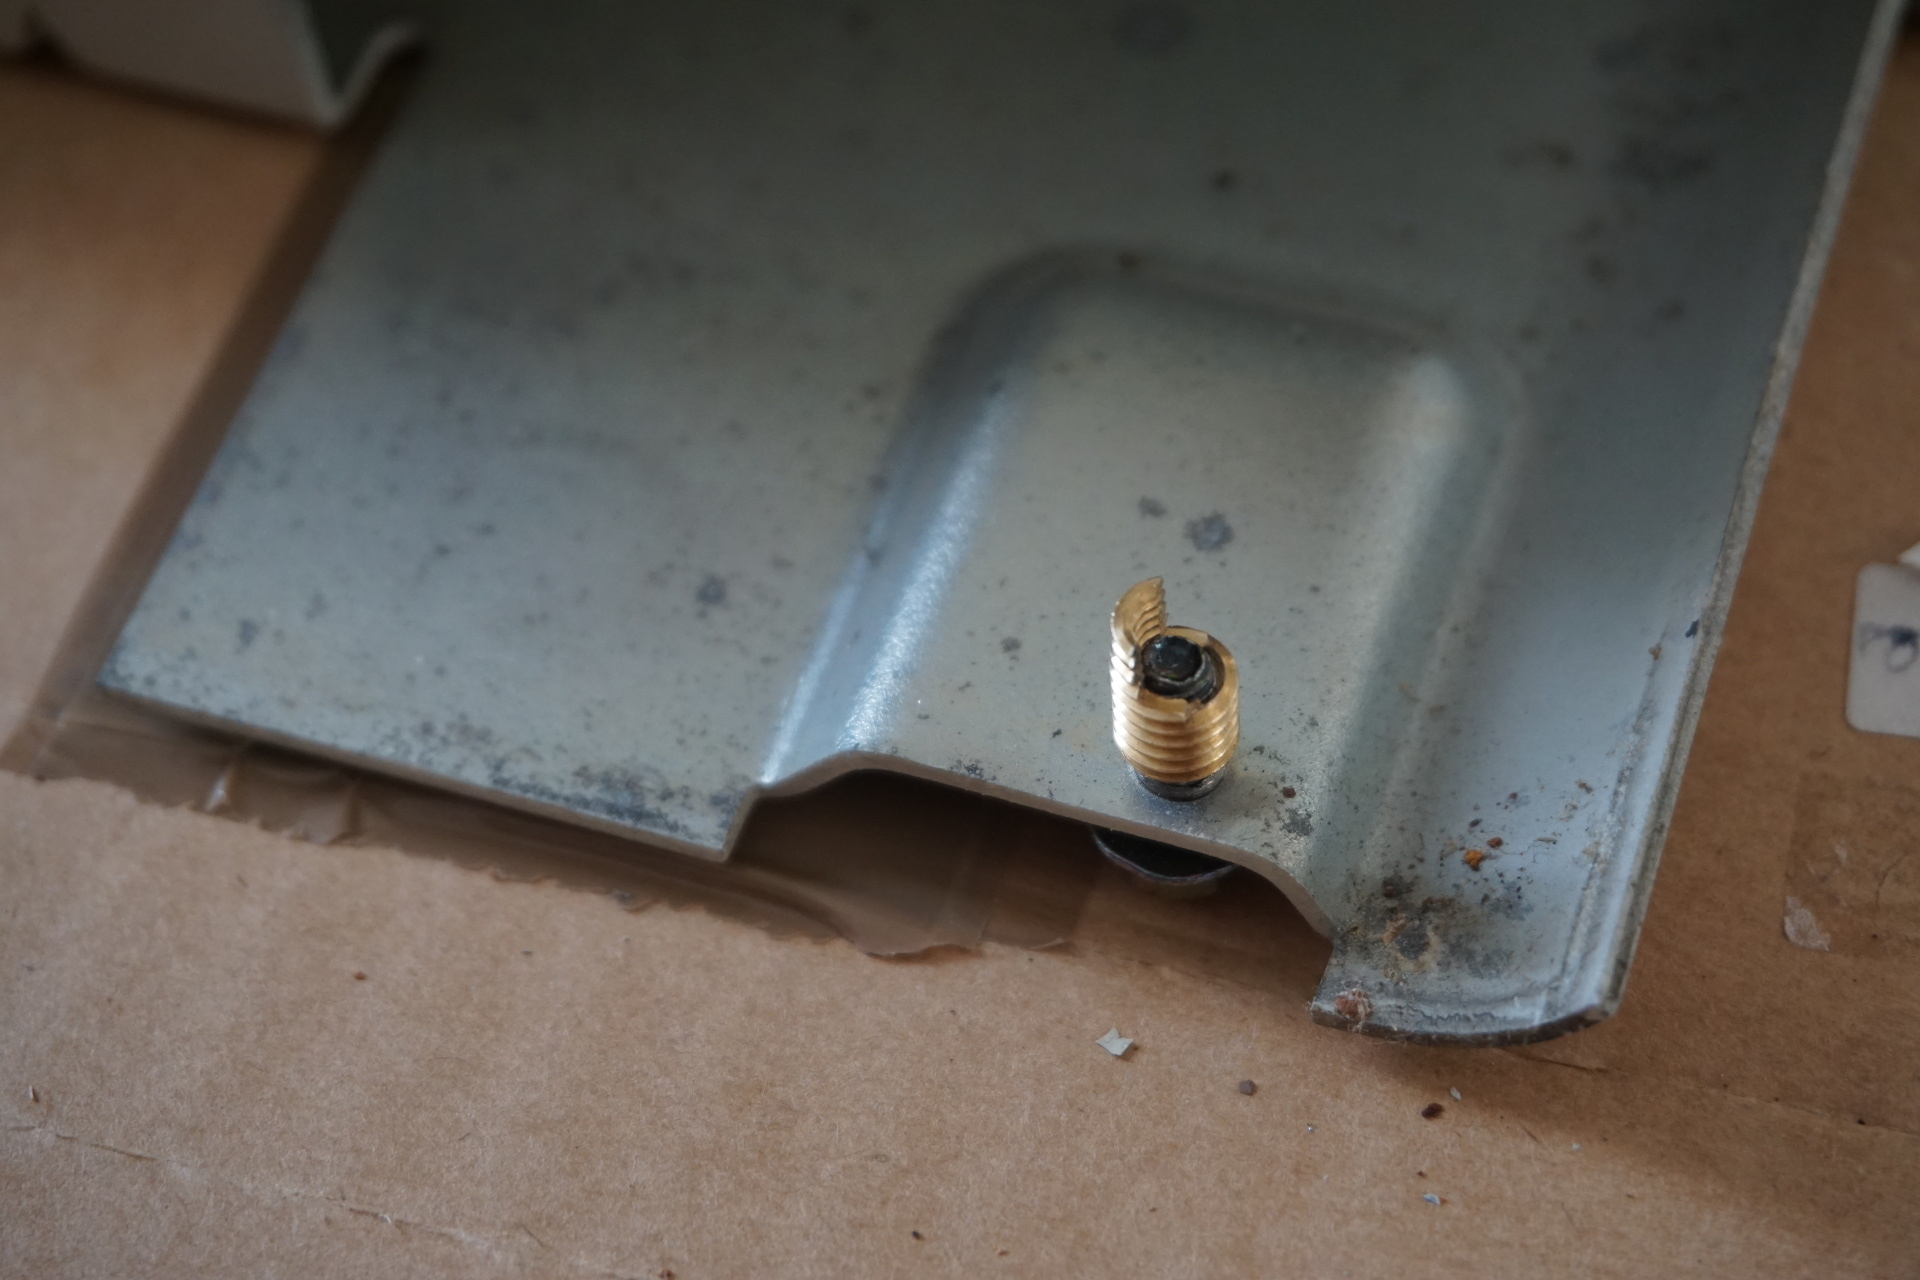
- broken screw.JPG (527.79 KiB) Viewed 7648 times
Ok, lets forget this little incident, and move along. The contamination shield is one the most aptly named keyboard parts I met so far. Also we see our first signs of rust on the stems and the solenoid.
- contamination shield.JPG (562.63 KiB) Viewed 7648 times
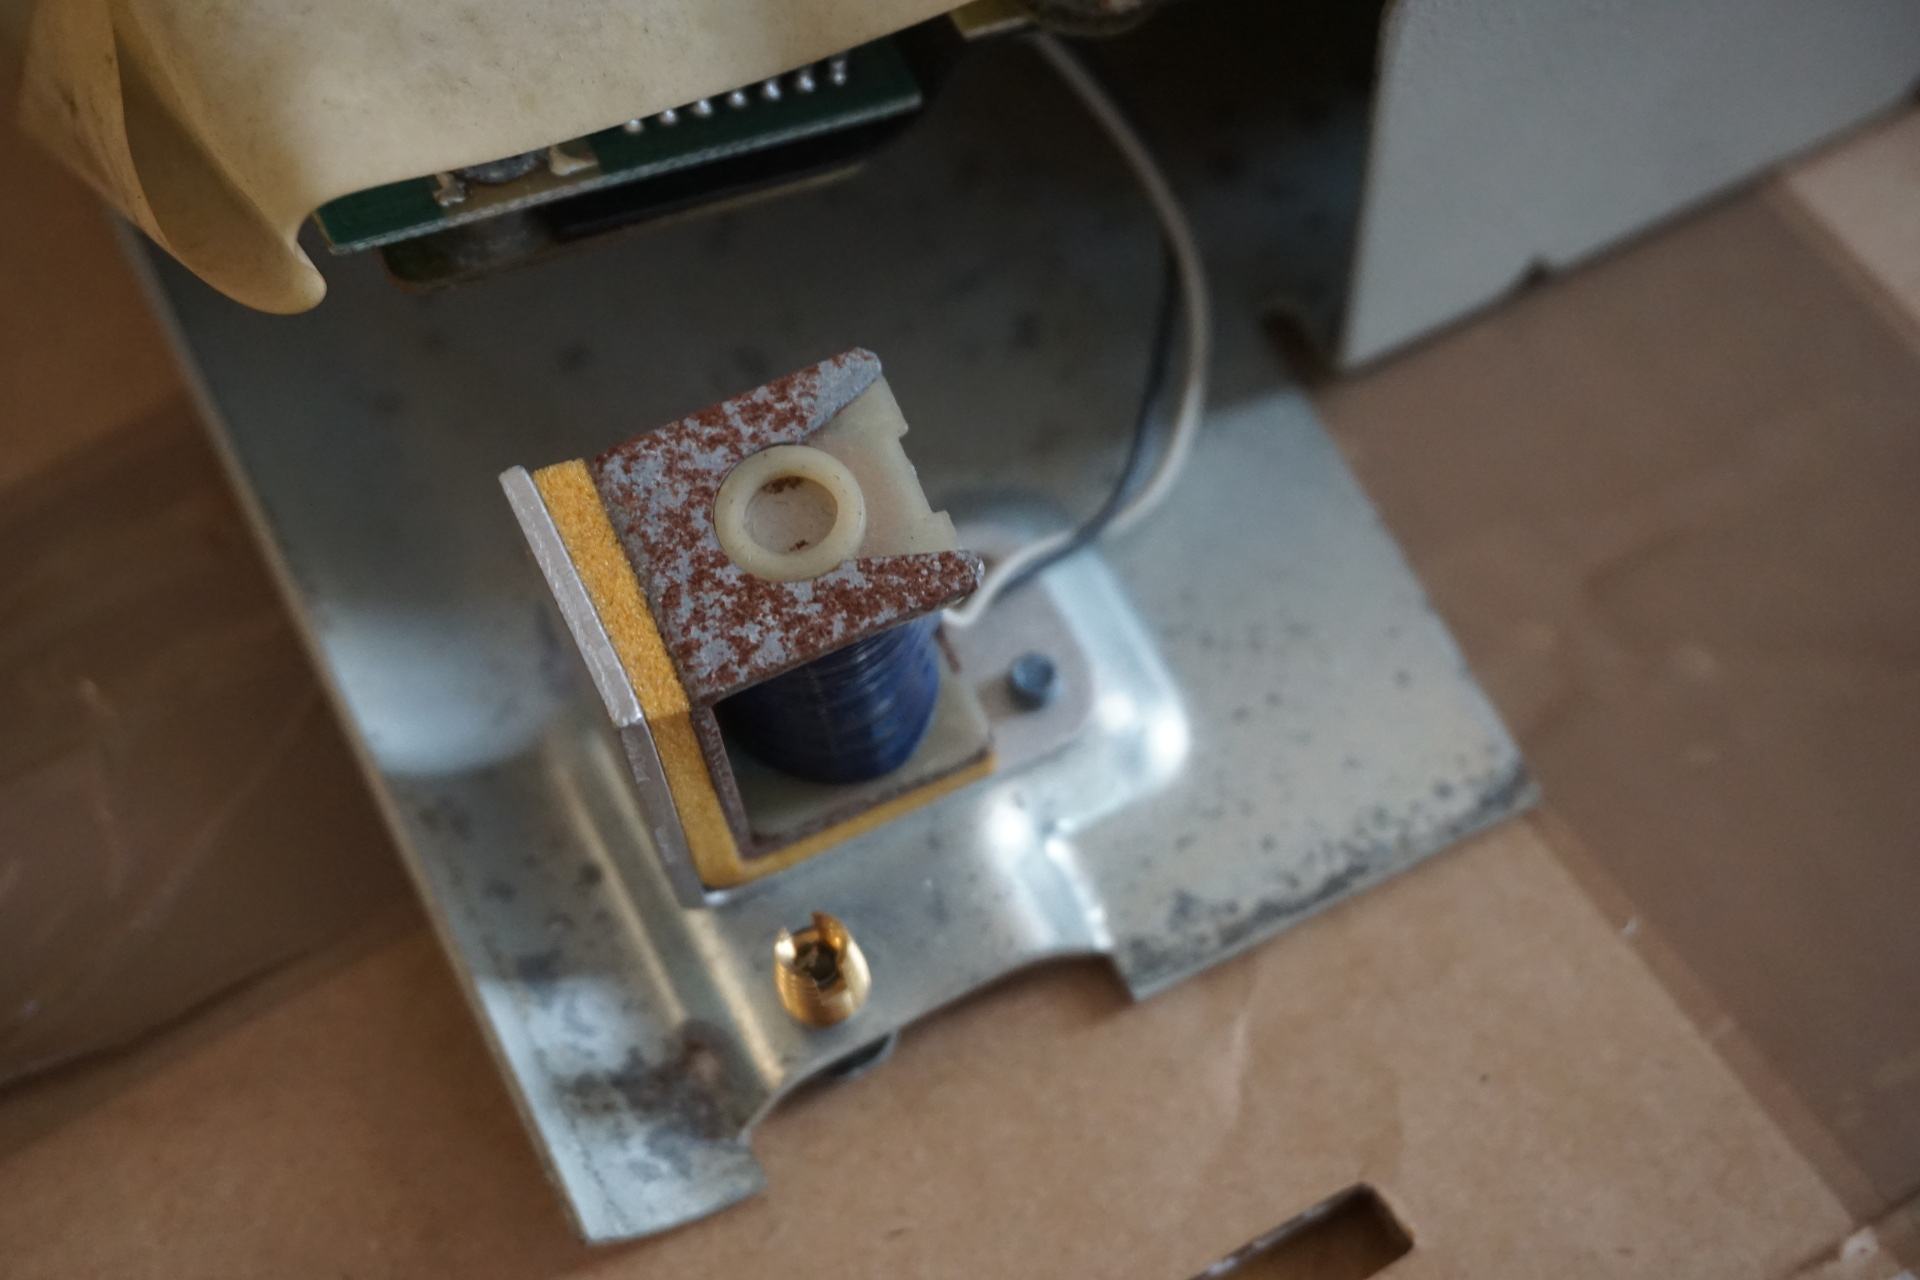
- solenoid.JPG (493.68 KiB) Viewed 7648 times
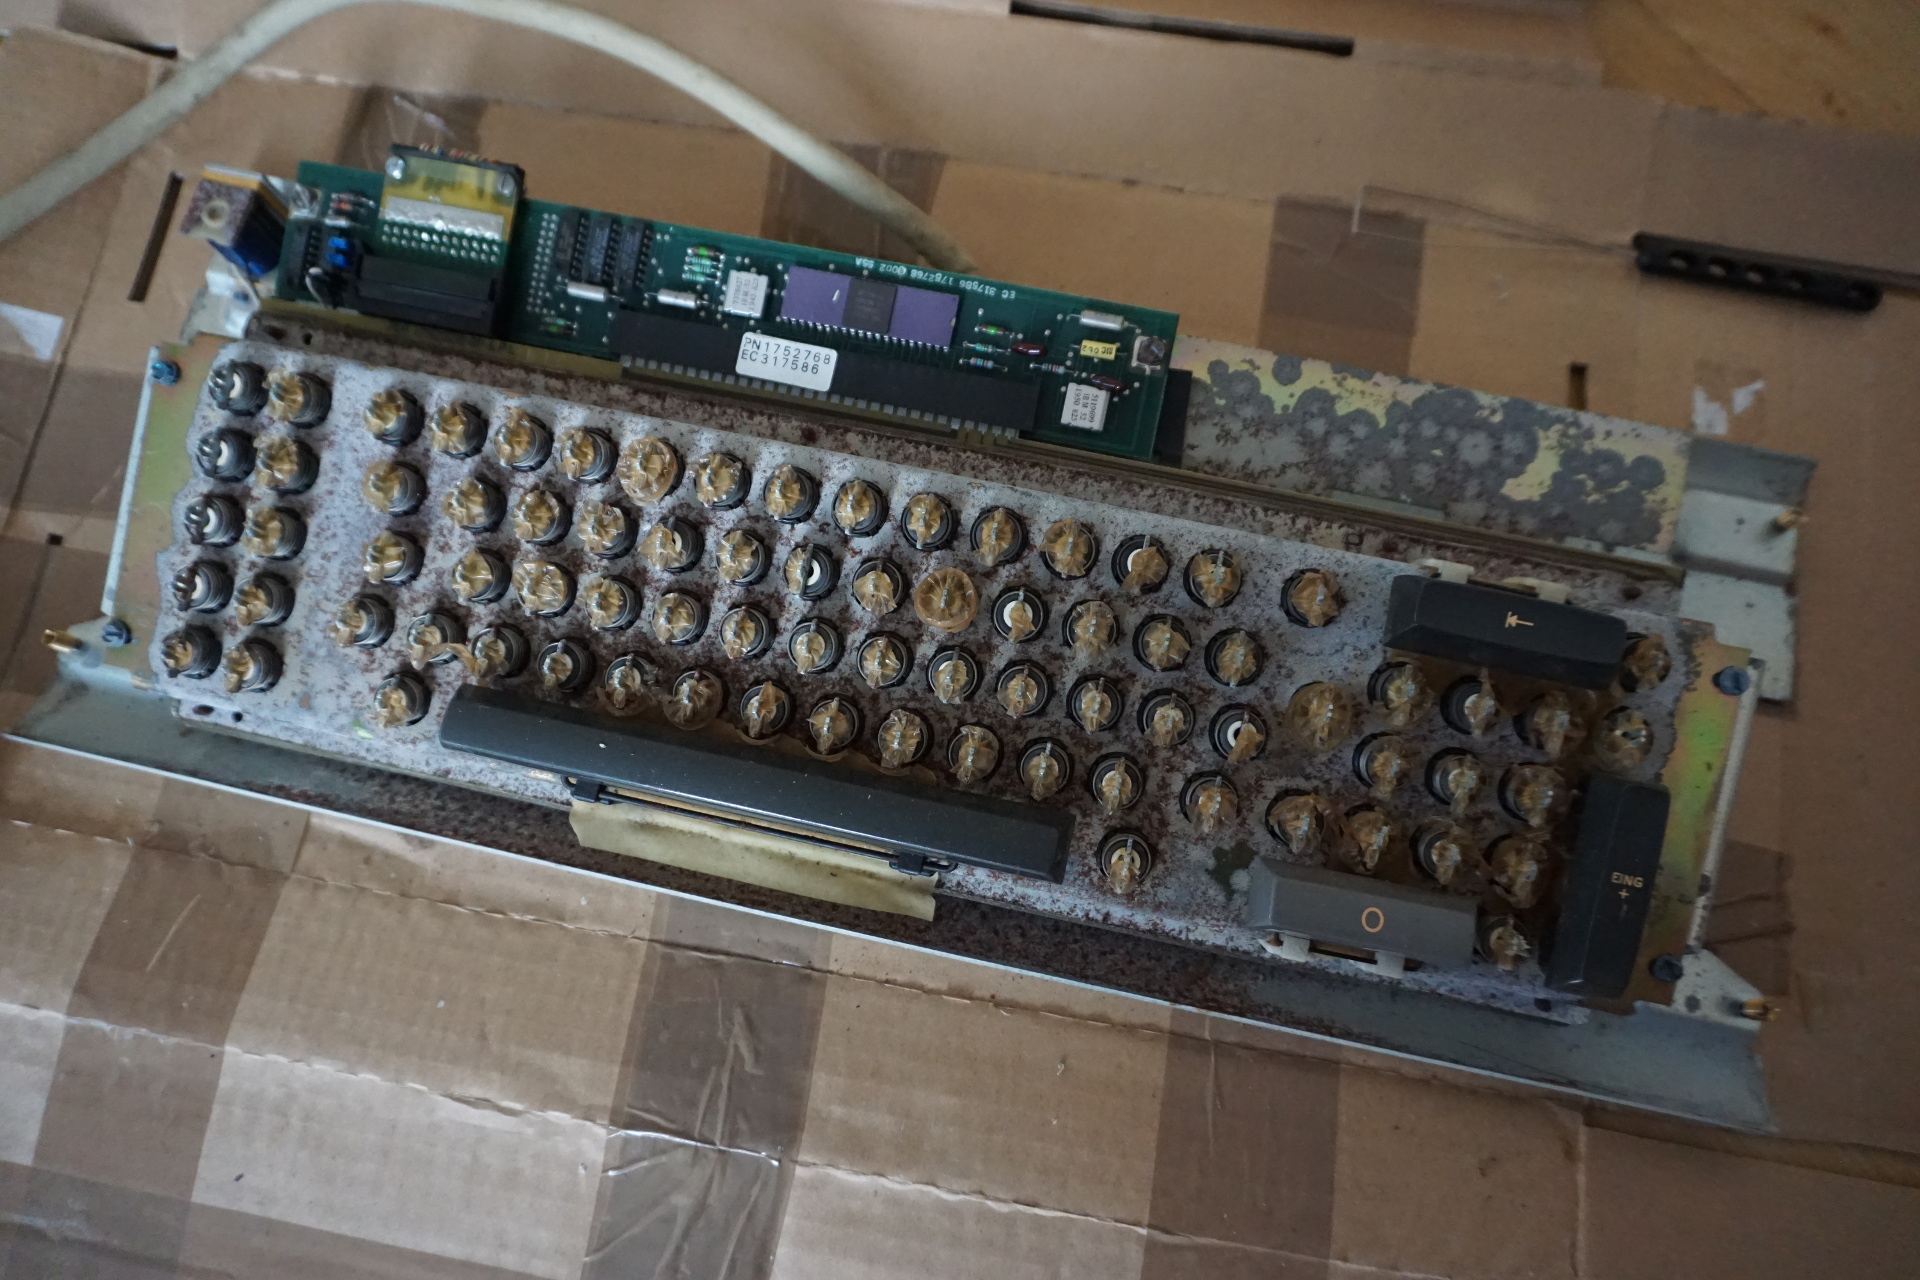
Off with the keycaps and the contamination shield, on with the horror
Rust, lots of rusty rust. I will need to buy quite some vinegar on Monday it seems.
- rust1.JPG (803.43 KiB) Viewed 7648 times
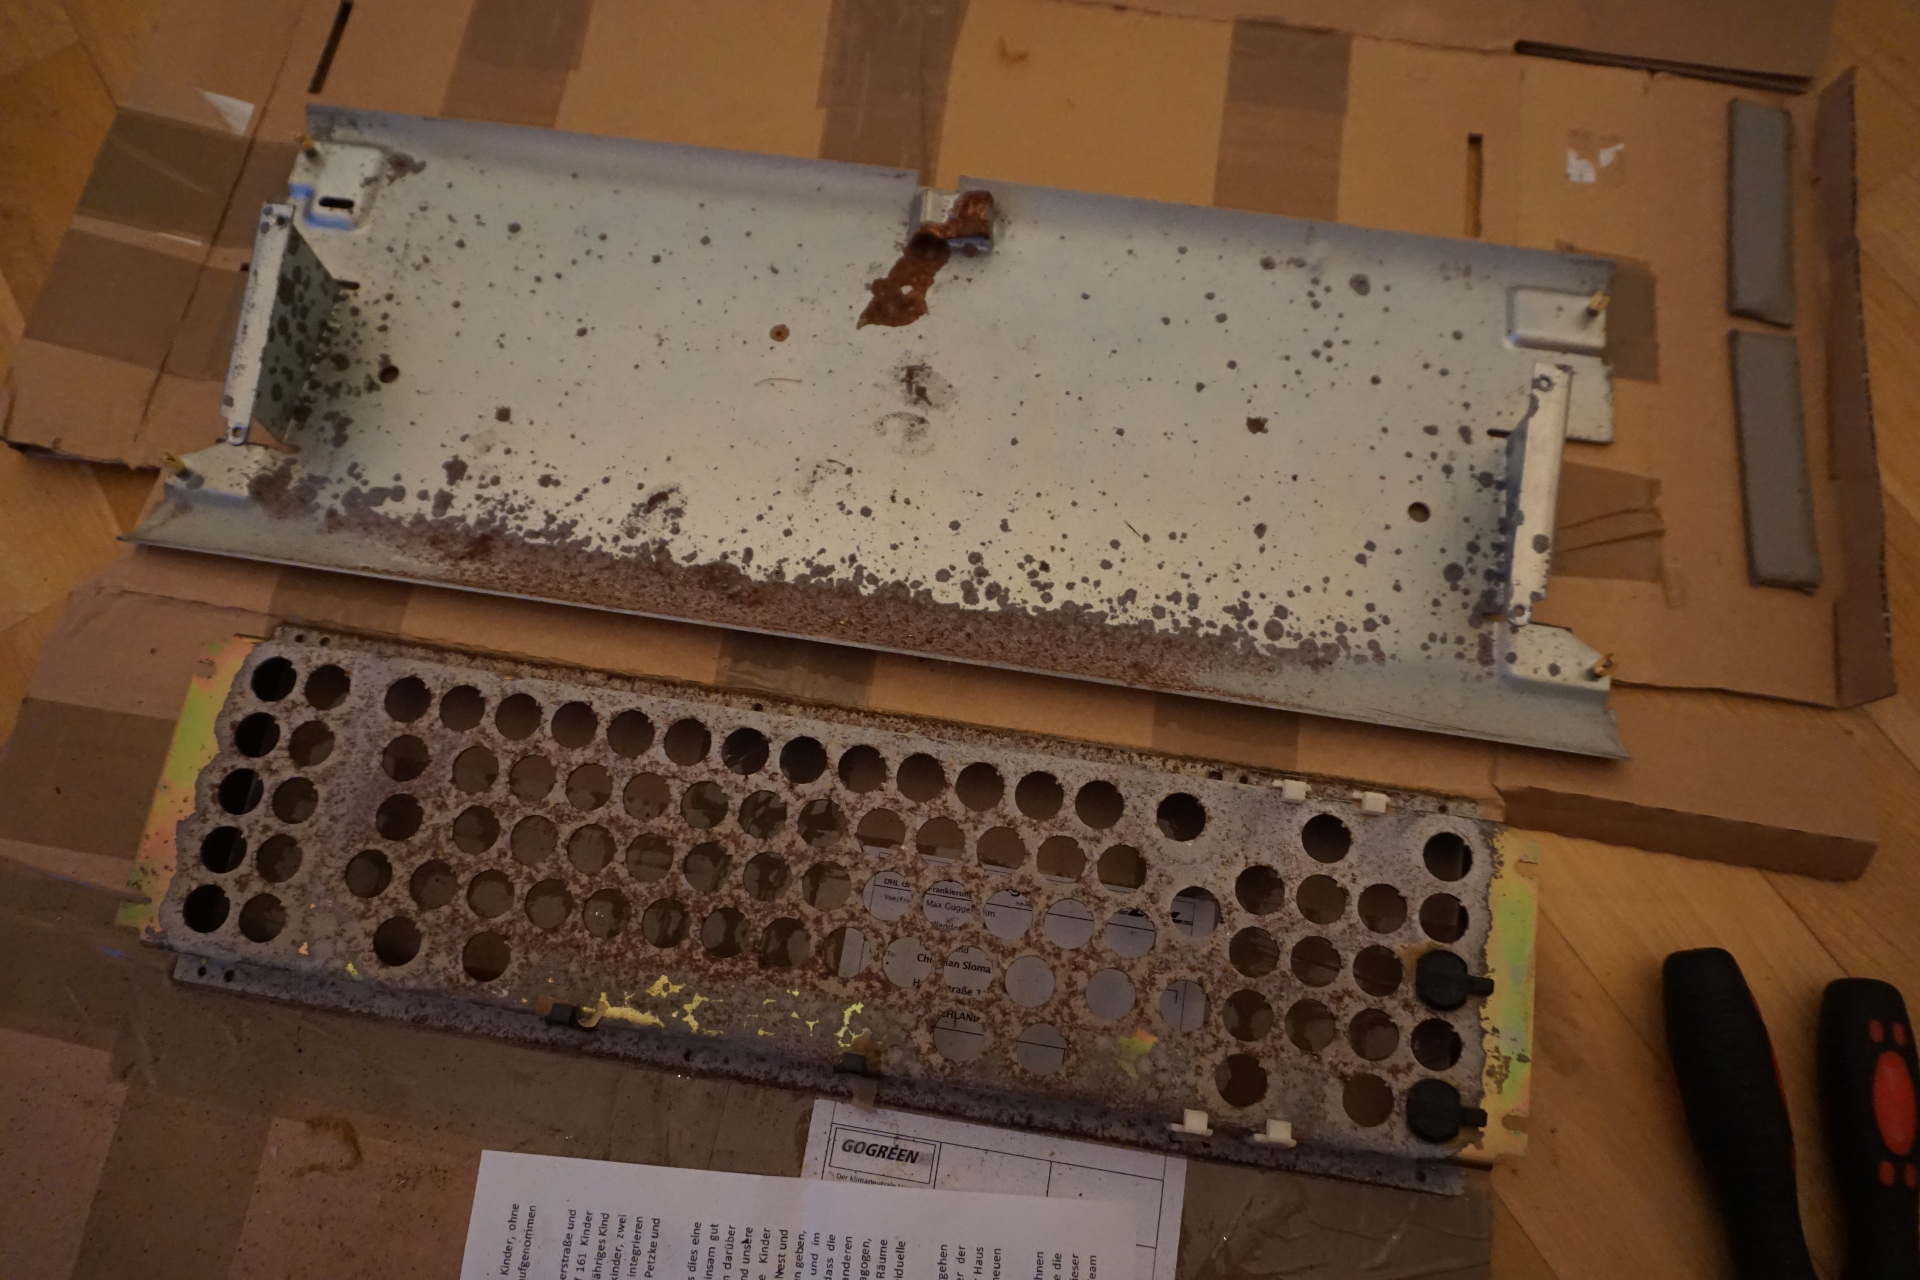
Loosen 4 screws between the switch sandwich and the lower case, unscrew the solenoid and the cable, inspect some more rust ...
- rust2.JPG (752.75 KiB) Viewed 7648 times
- rust3.JPG (735.97 KiB) Viewed 7648 times
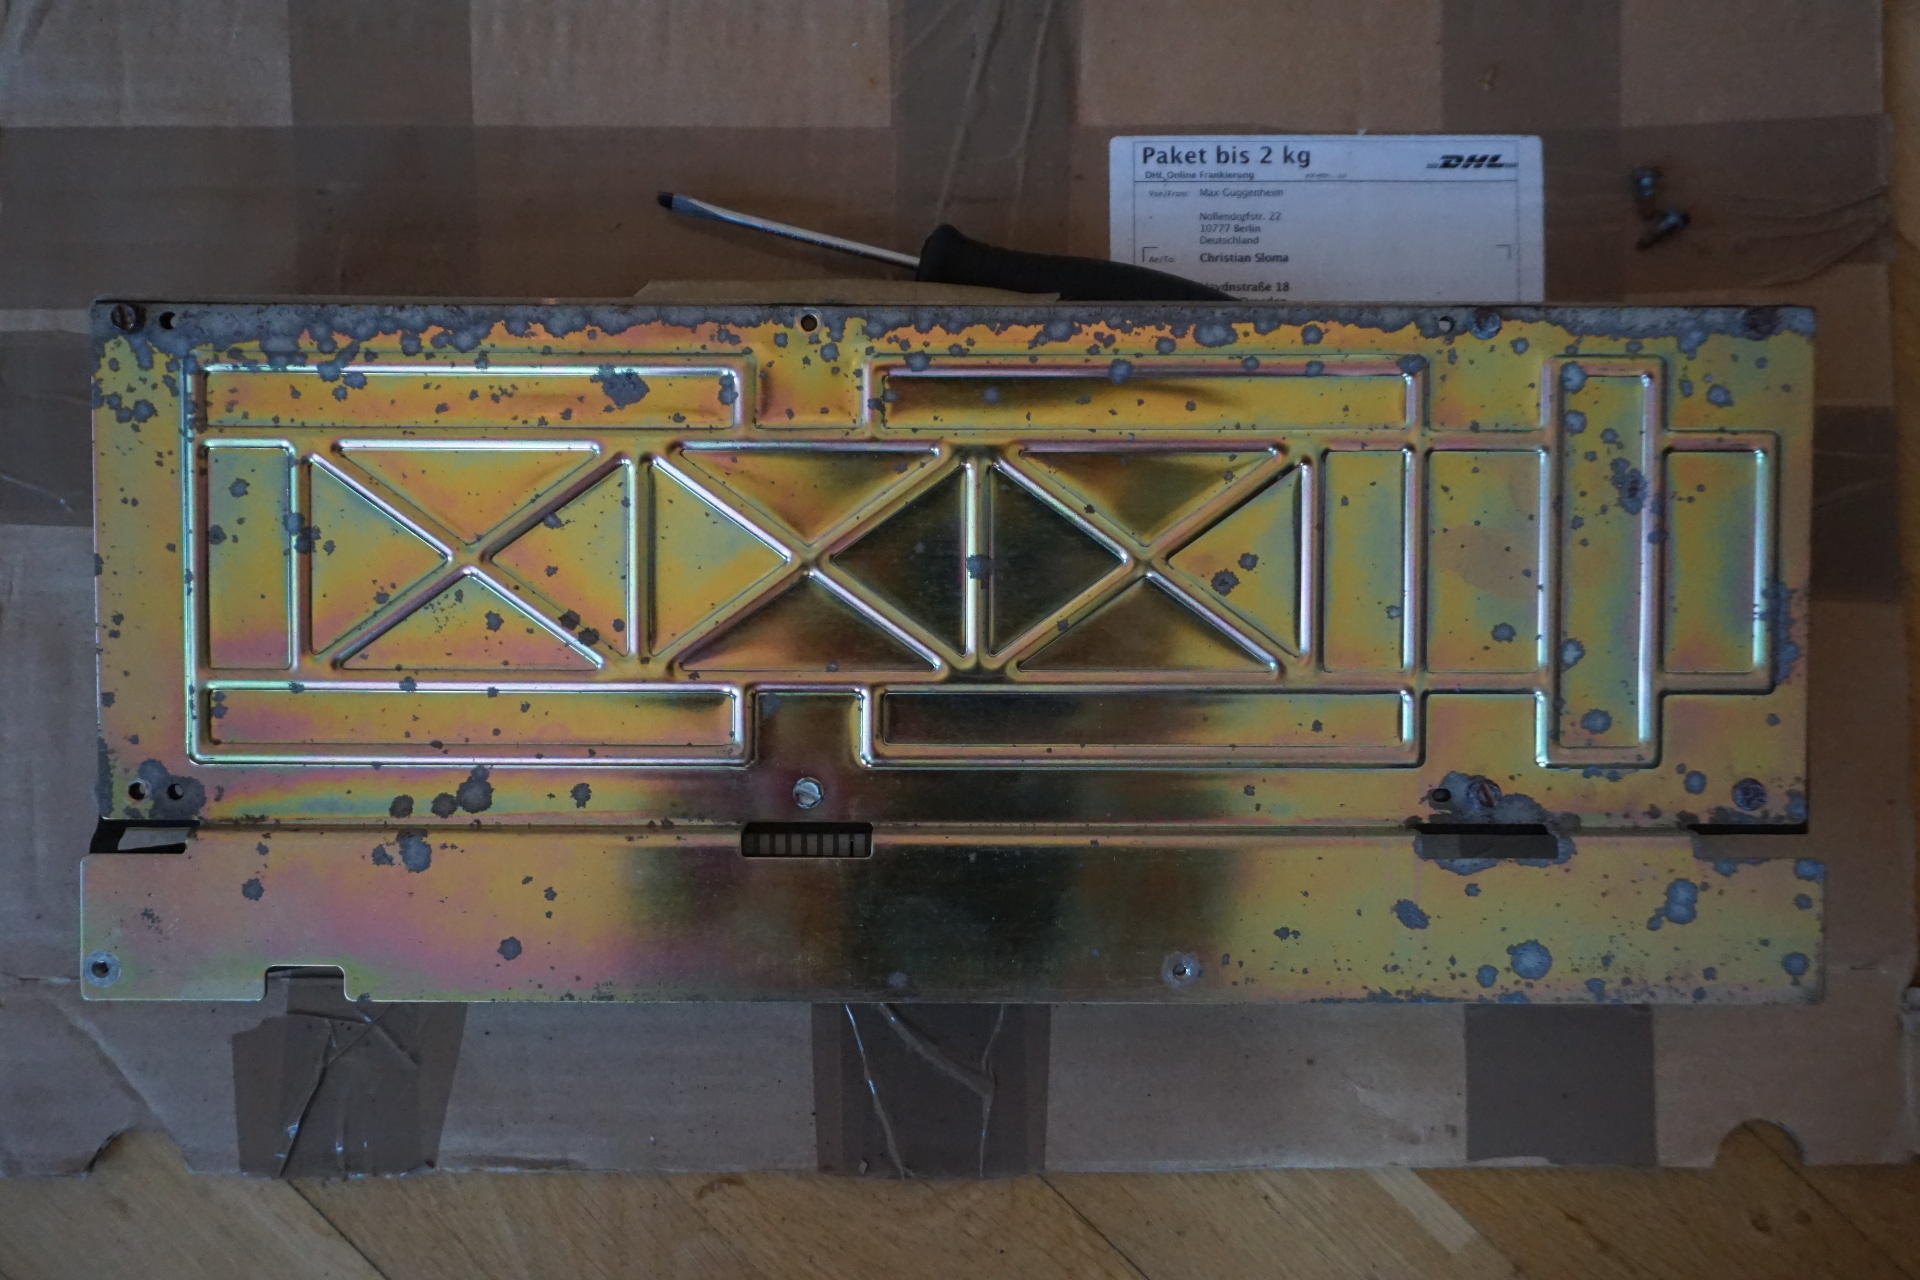
Here's a pic that includes the back of the case. That brown stuff where the cable has been? That's rust, who would have guessed.
- rust4.JPG (727.14 KiB) Viewed 7648 times
Ok, I got bored with grit pictures at that point. Enough of the expected (rust), here's some bonus pictures of some unexpected things.
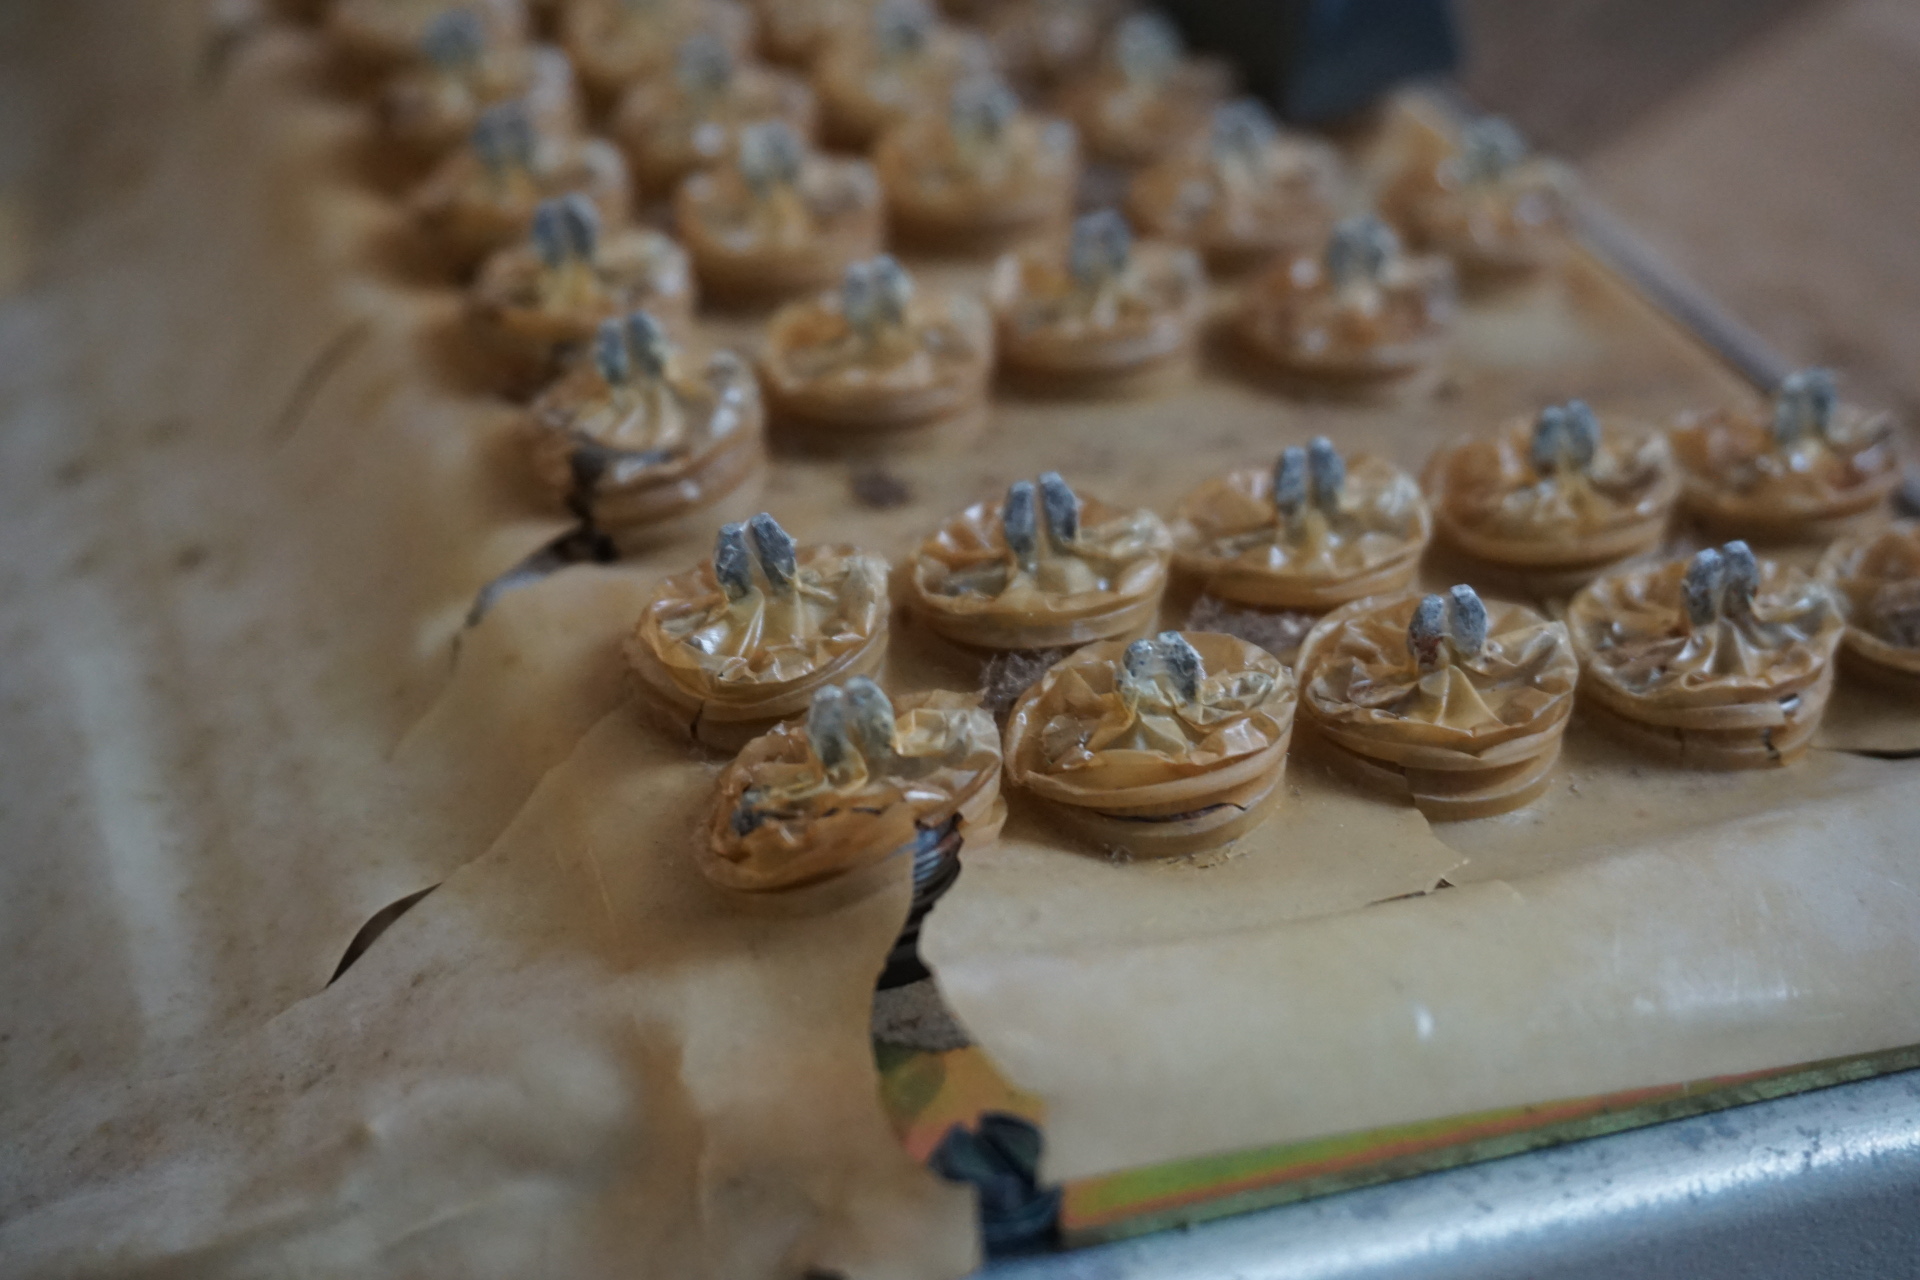
A lot of the 5251 that I have seen so far have mostly very yellowed legends, and then some that are white as snow. I always wondered if these where maybe replacement caps or something. Well today I found out that they are a completly different mold from the yellow ones. Note the stem color and the stripes inside the keycap. Also the yellow ones seem to have another color even inside the keycap. Maybe the color difference is not only due to yellowing. Maybe the caps had different colors even when new.
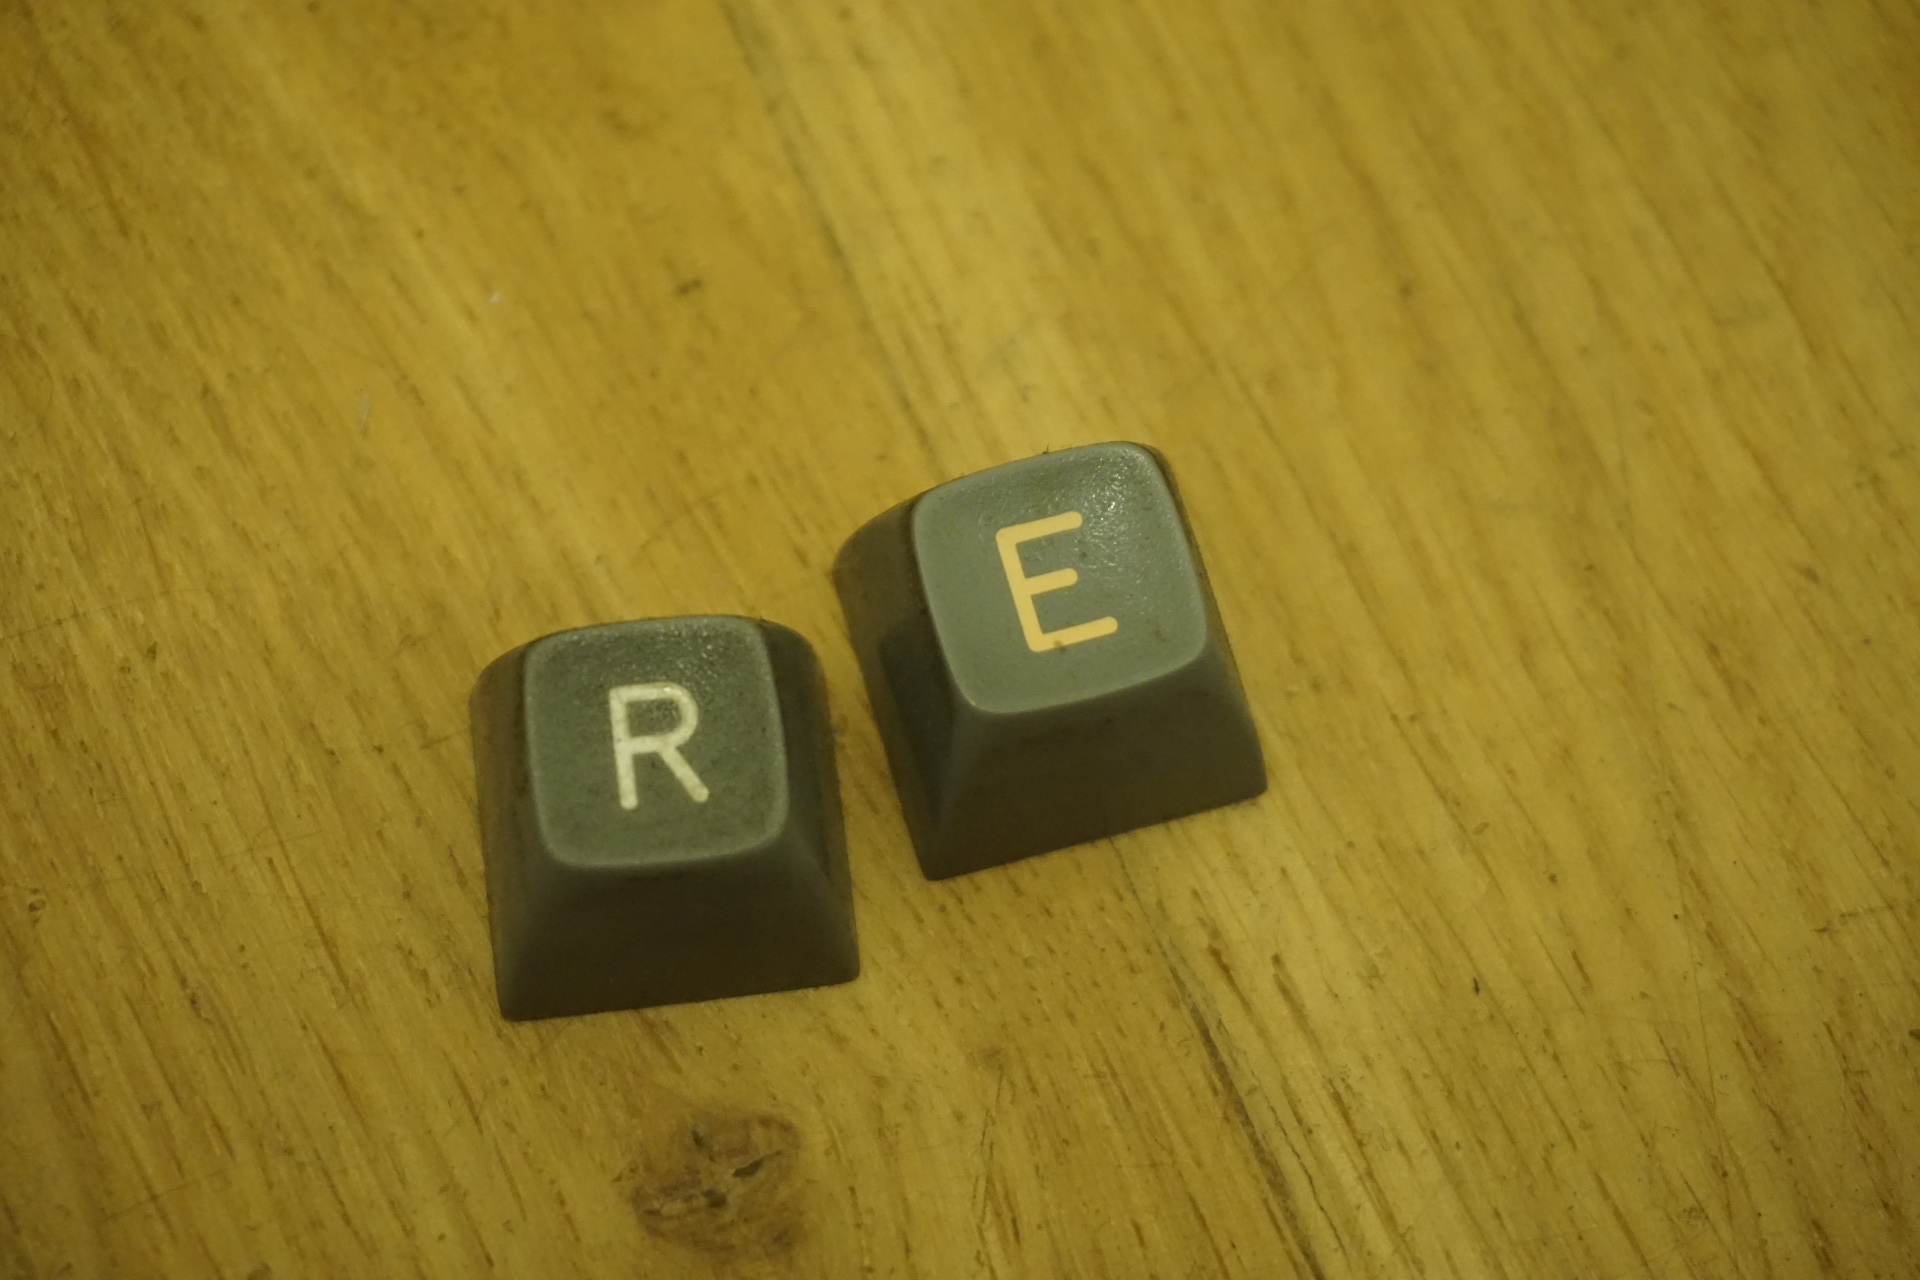
- caps1.JPG (547.11 KiB) Viewed 7648 times

- caps2.JPG (559.75 KiB) Viewed 7648 times
When I removed the switches I found that two had one of the little tabs that hold them in the plate broken. Something is broken and it wasn't me

. I think they got stuck on the foam when the keyboard was assembled. Between this nasty foam and the contamination shield, foam and foil would have been an apt name for these keyboards, don't you think


- broken tabs.JPG (495.32 KiB) Viewed 7648 times
One last thing for your beamspring nightmares: When I got the board, one of the switches wasn't clicking. I used this one to test disassembly of the switches themselves. Gloves help! Turns out that one of the springs on the sliders was bend and almost completely ripped of. Thankfully there is the second space bar switch which I can use as a replacement
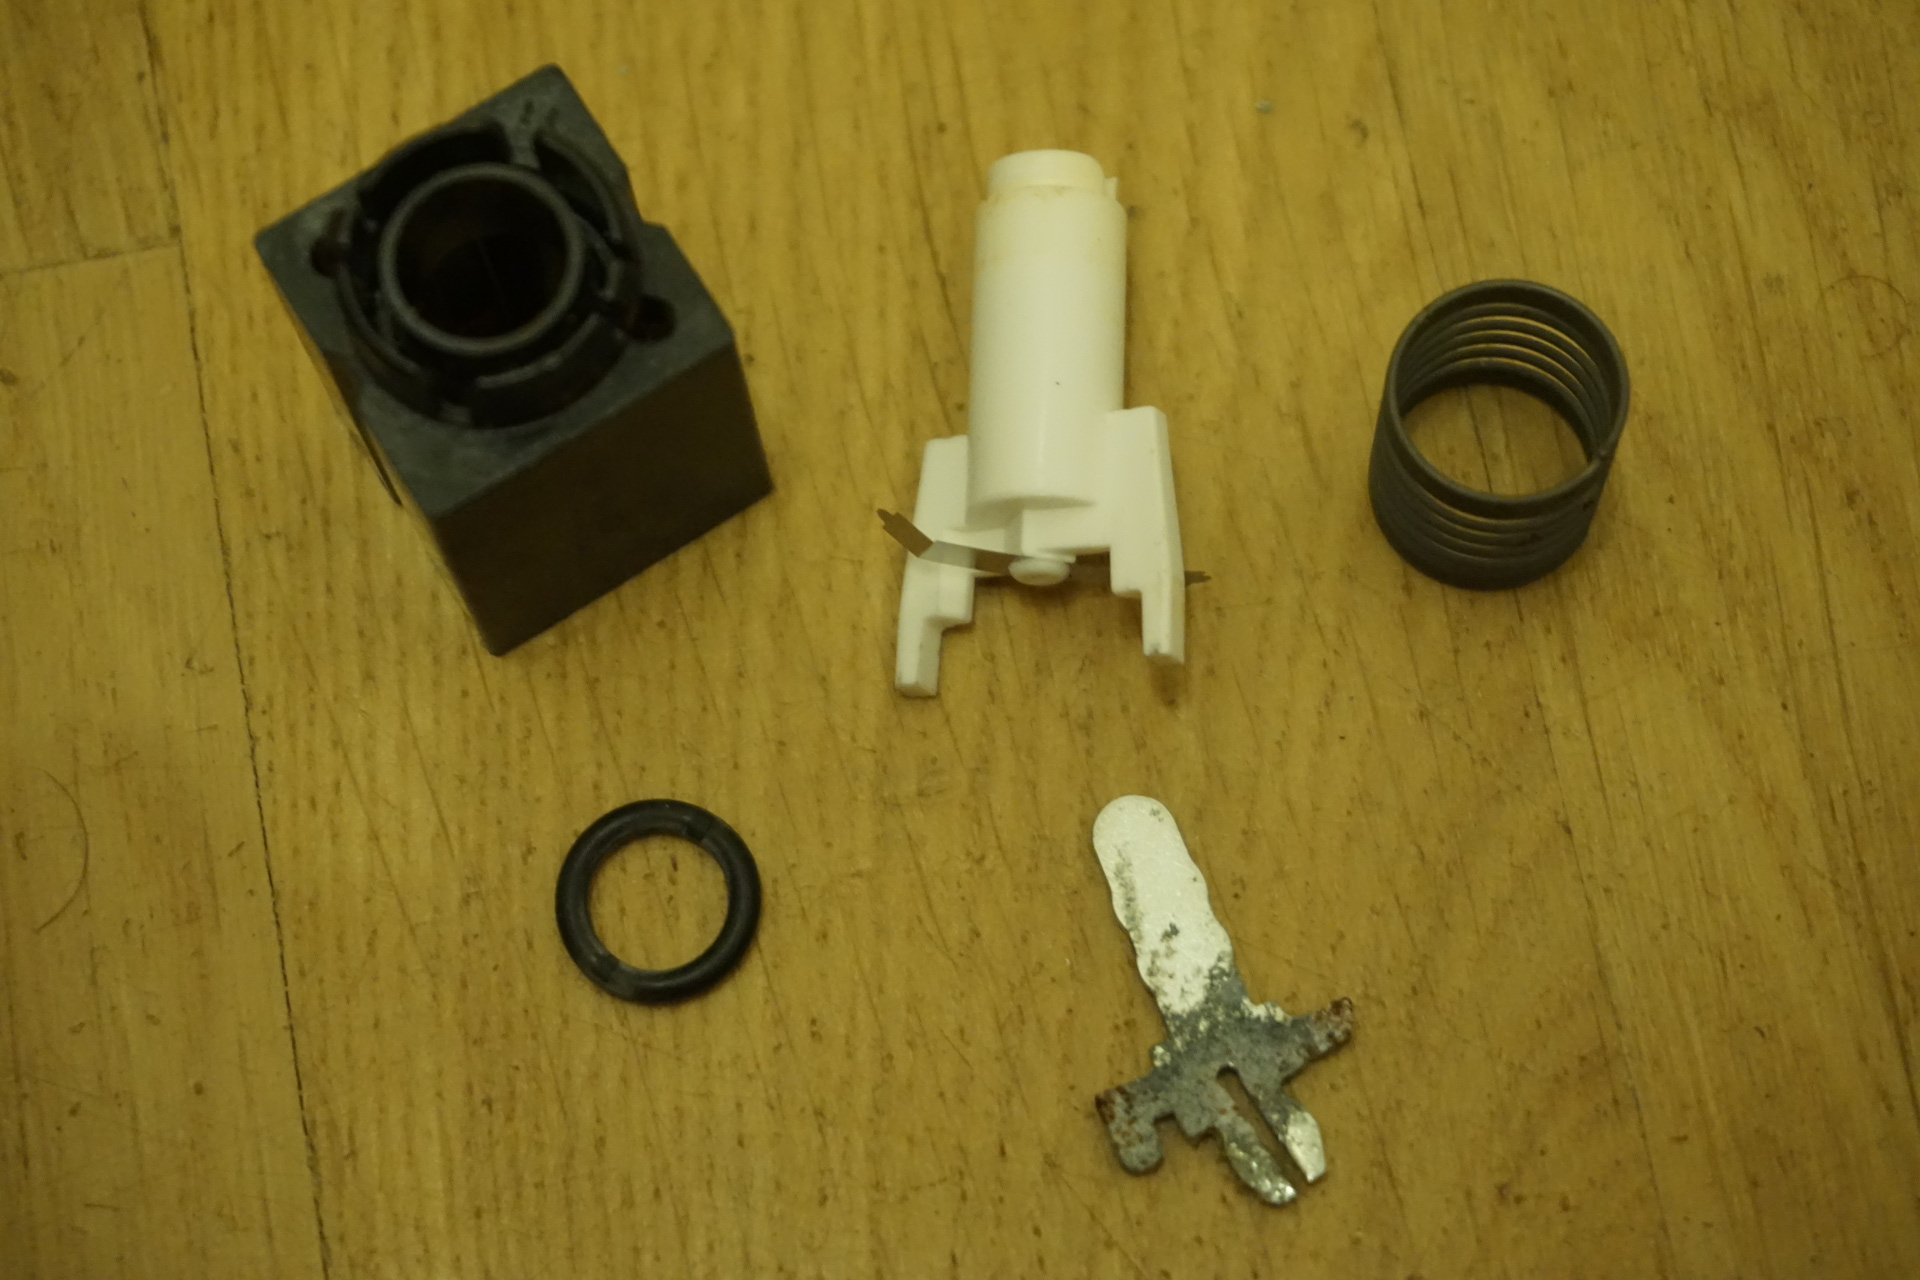
- broken spring.JPG (584.5 KiB) Viewed 7648 times
Not to shabby for a days work ... now I'm off to search my ultrasonic cleaner.


